
A local guy that I know from a couple car forums made a video about the show and put it on YT. My car is featured at the beginning for a couple minutes, then at the end while we’re pulling out. Enjoy!
First car show
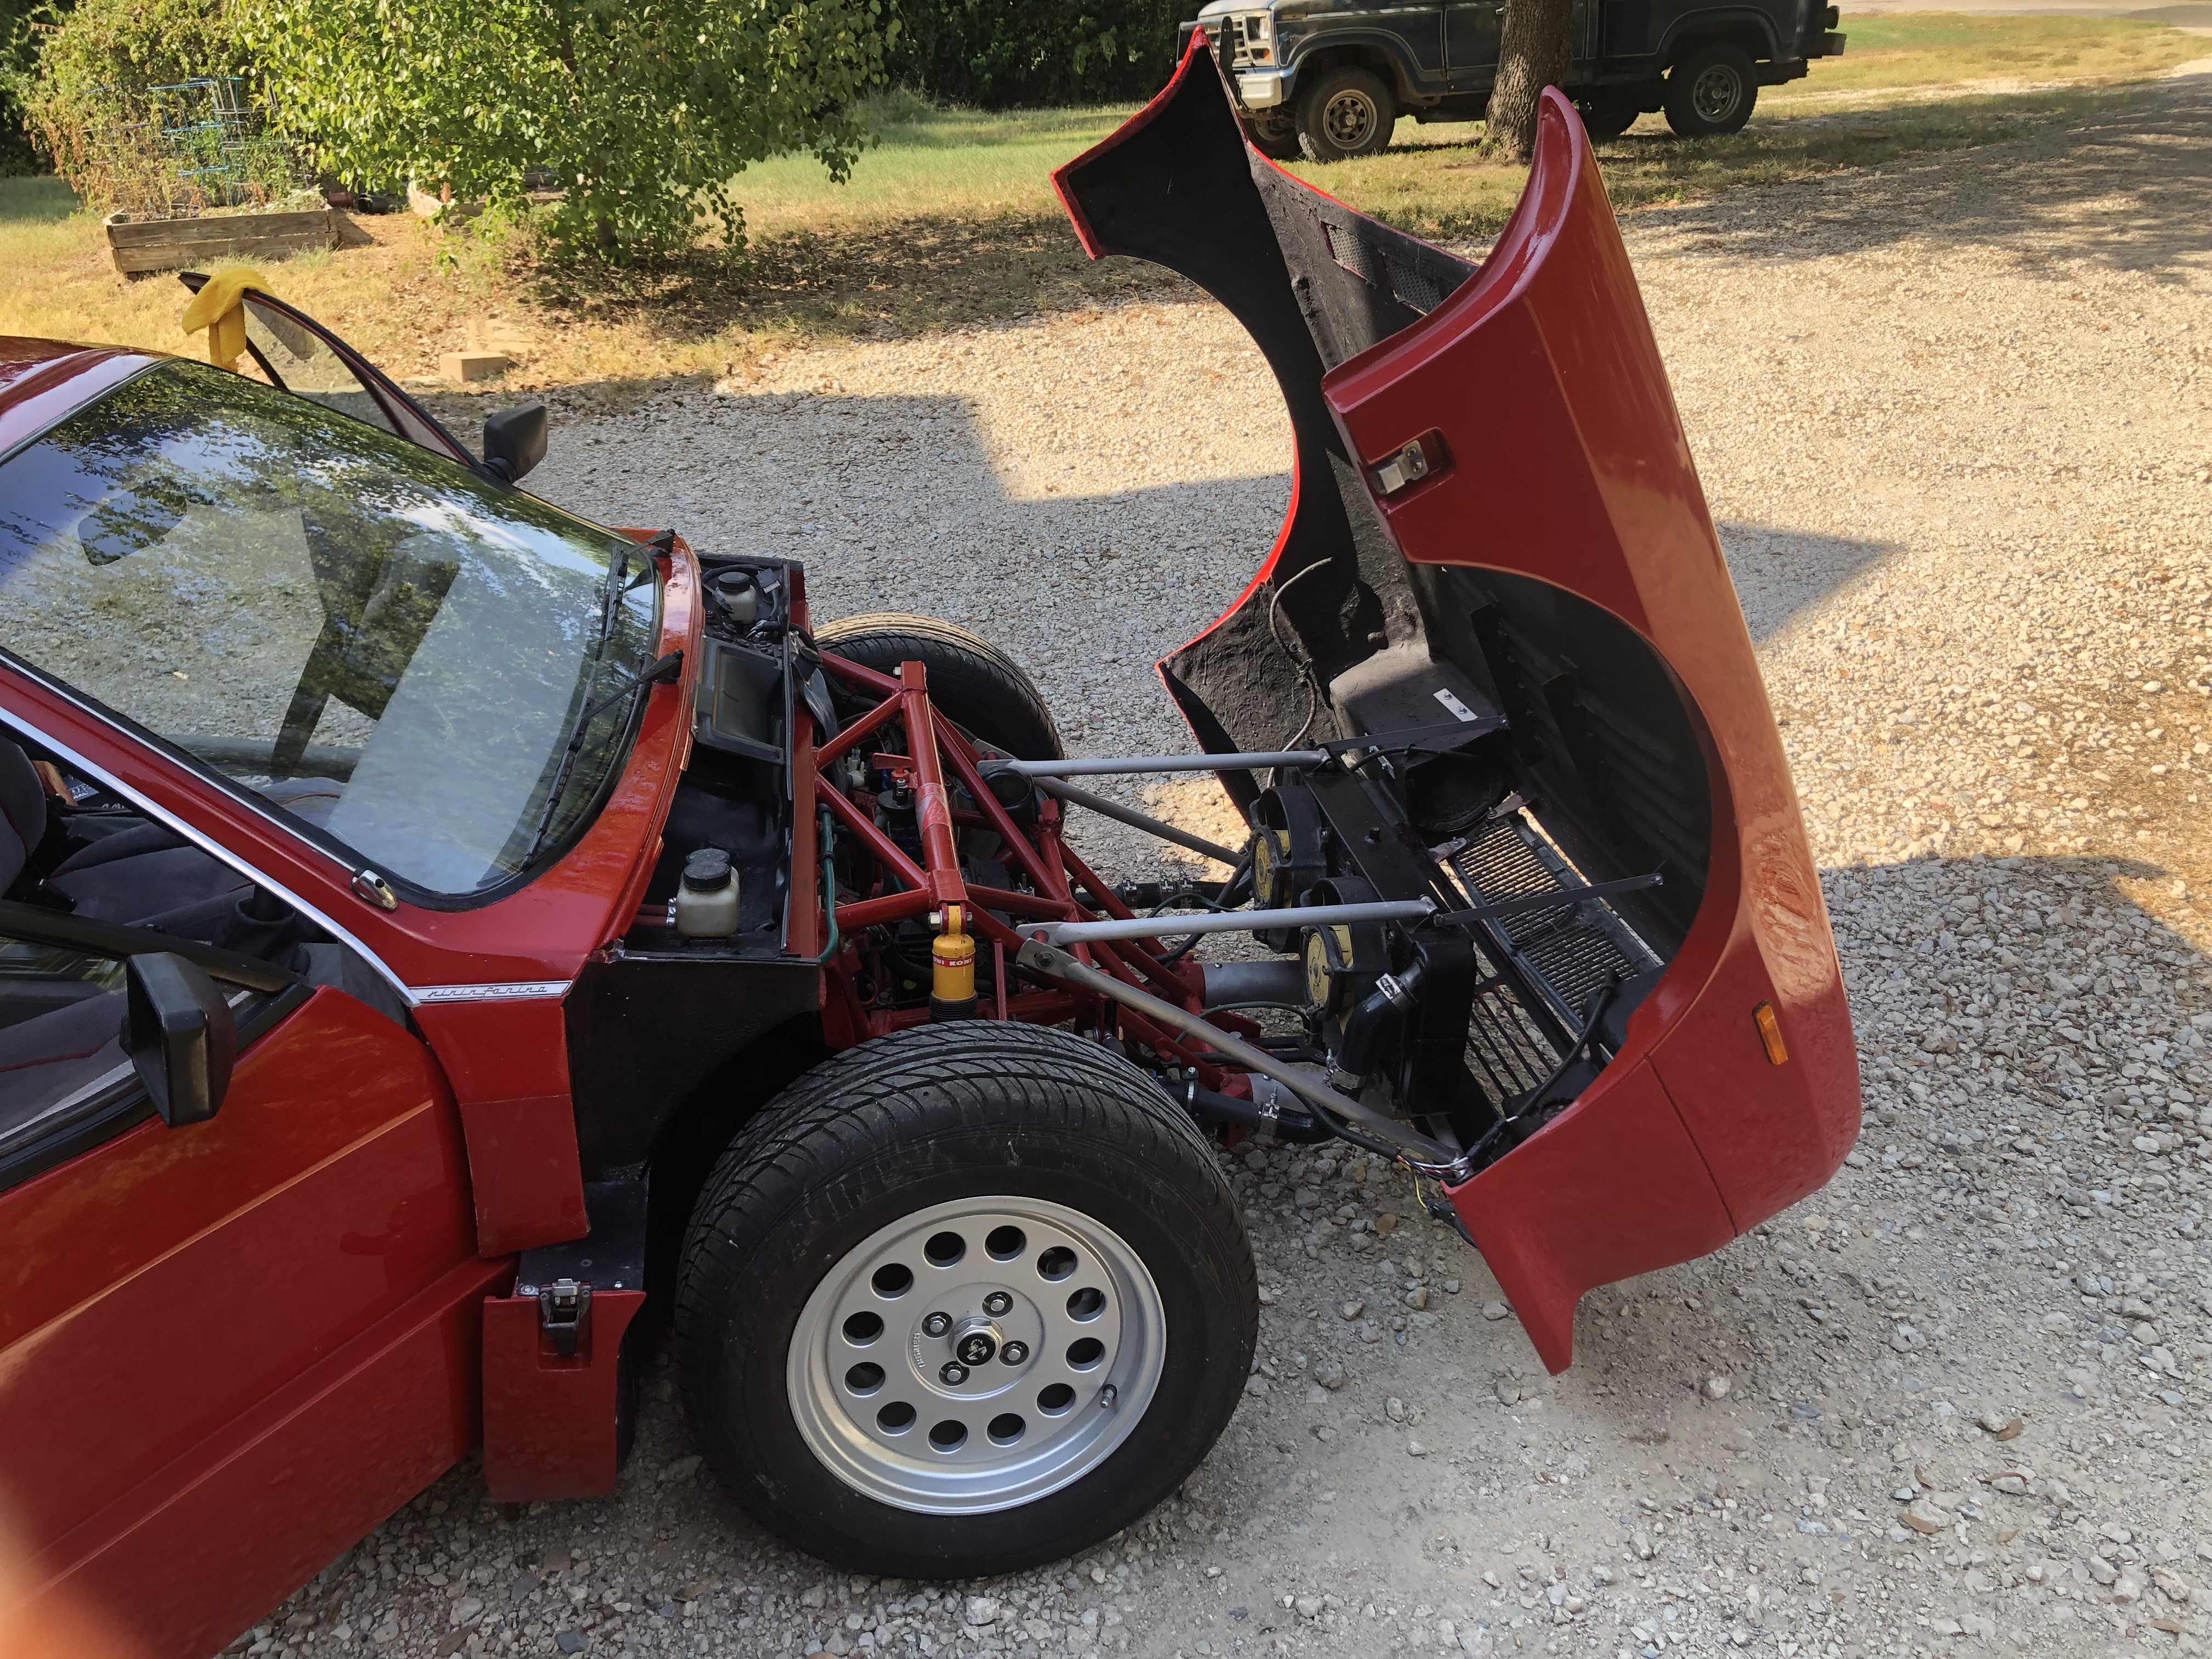
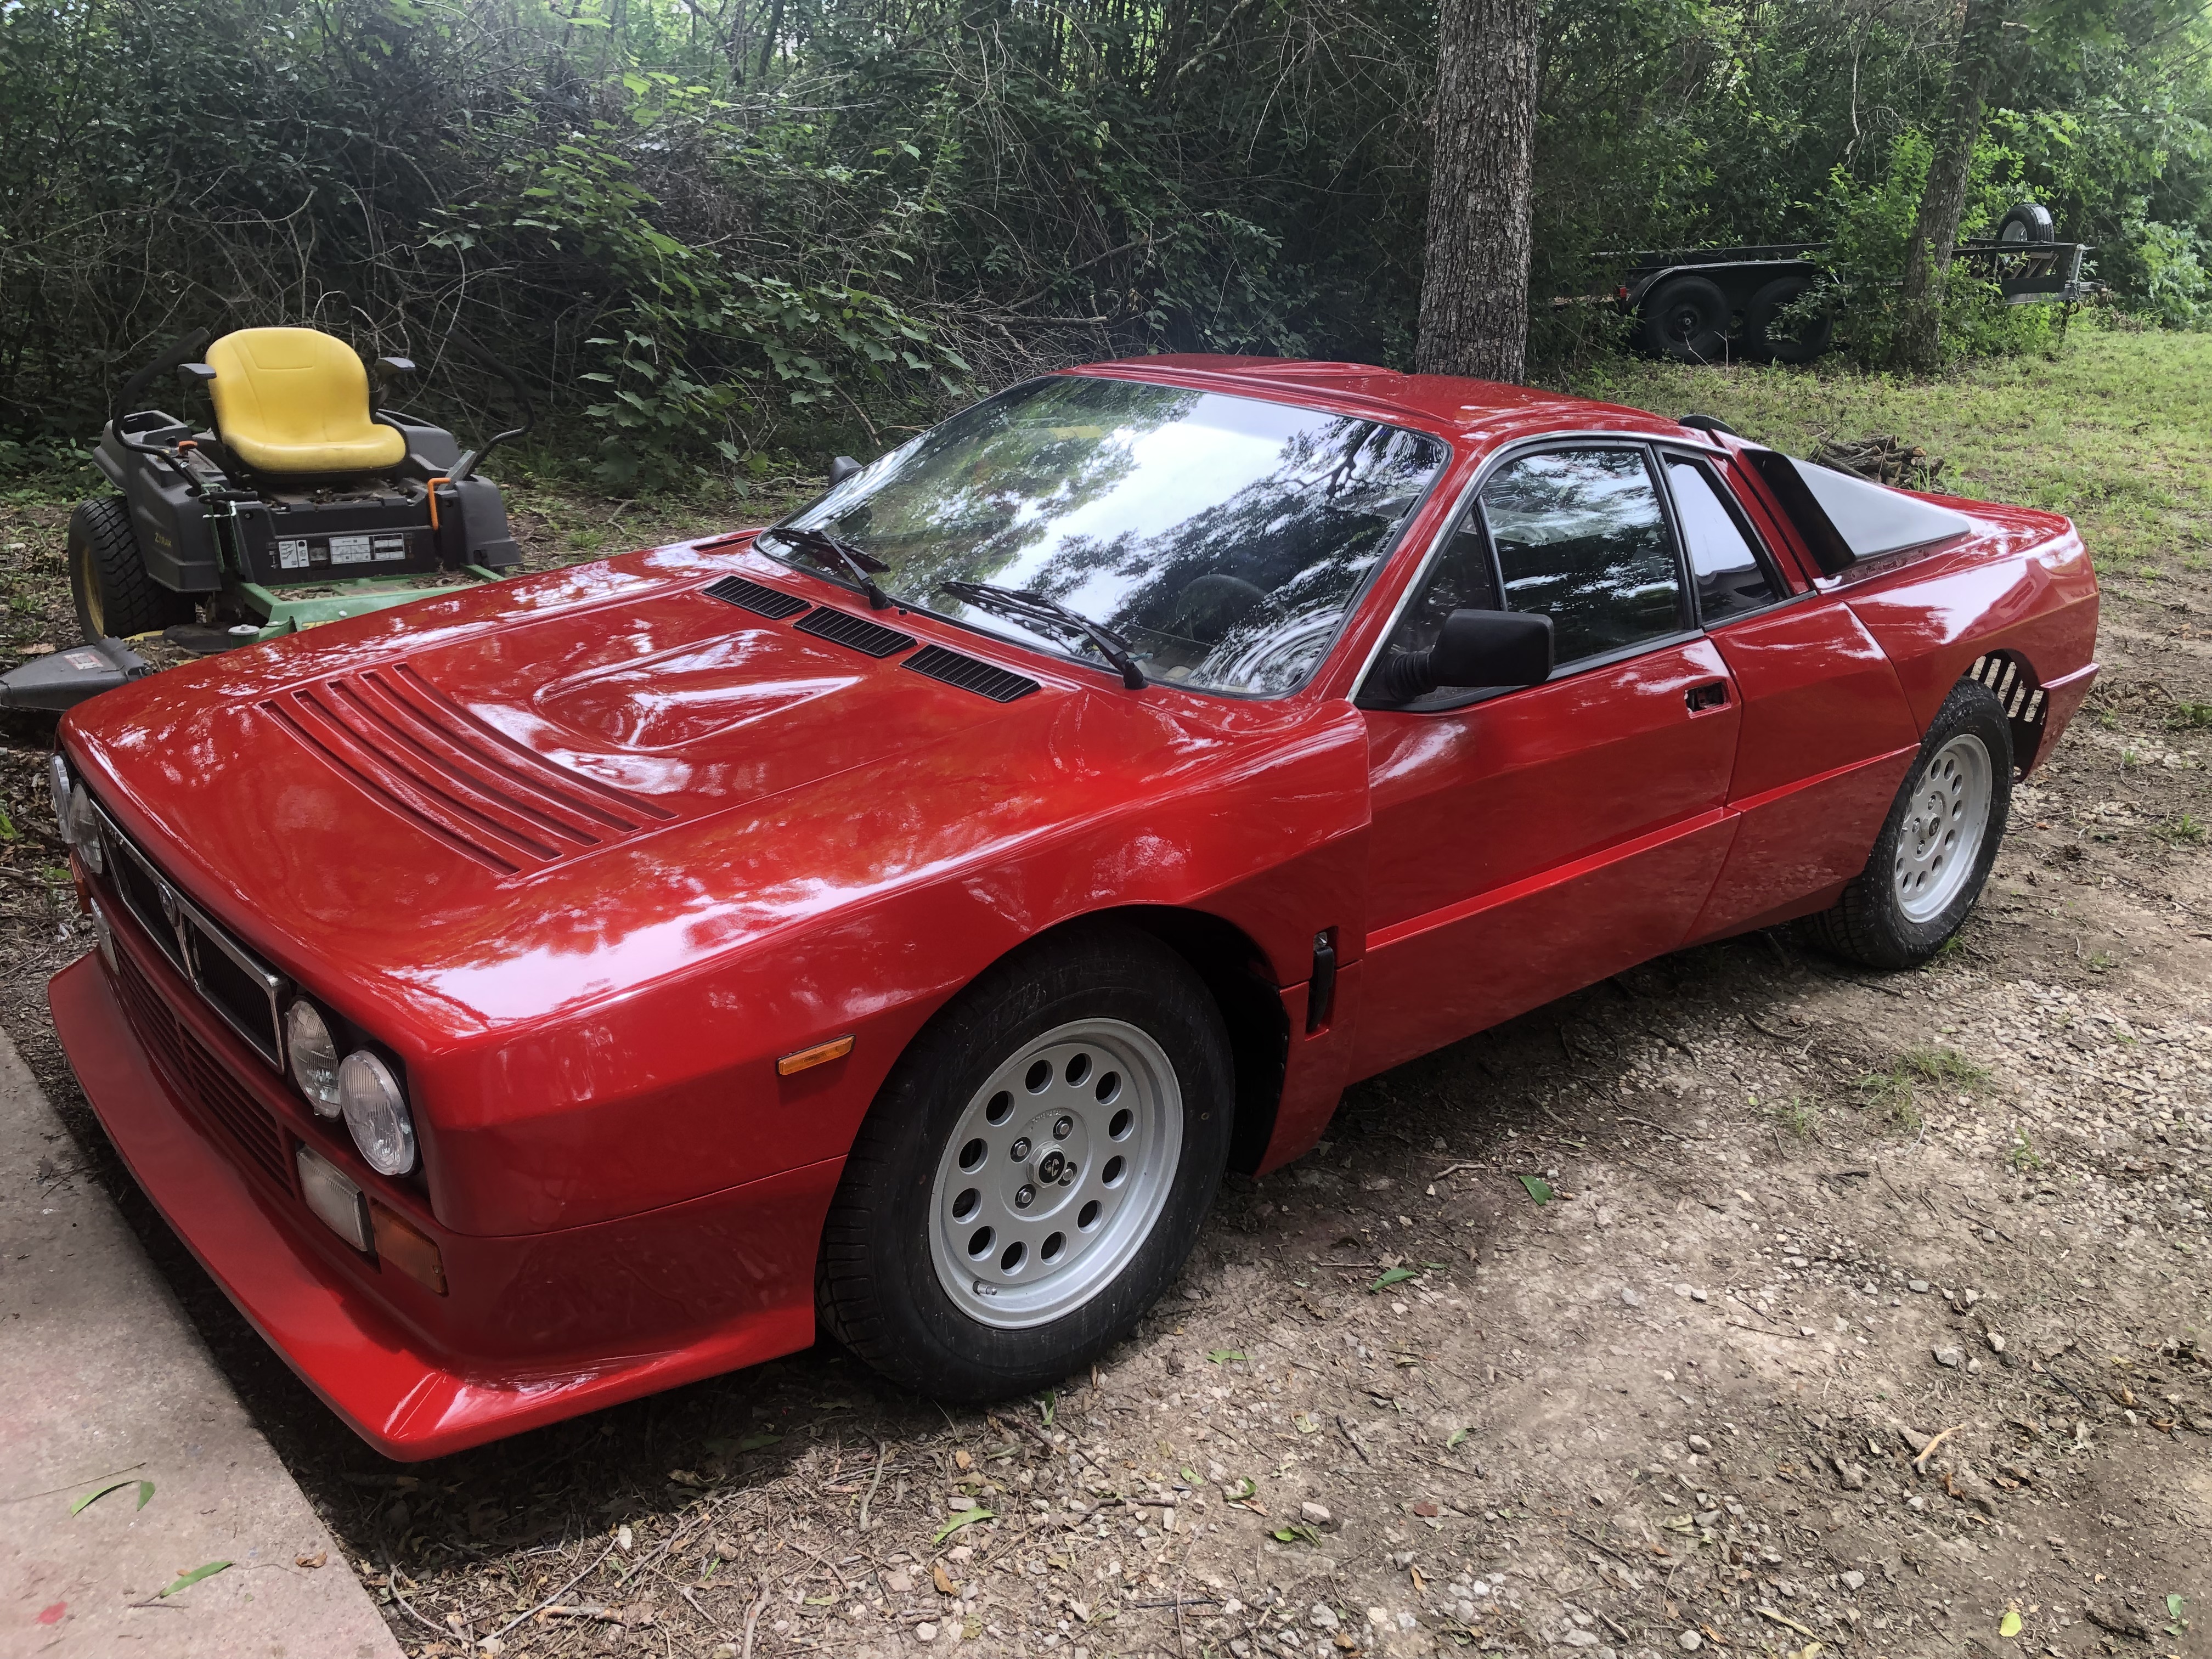
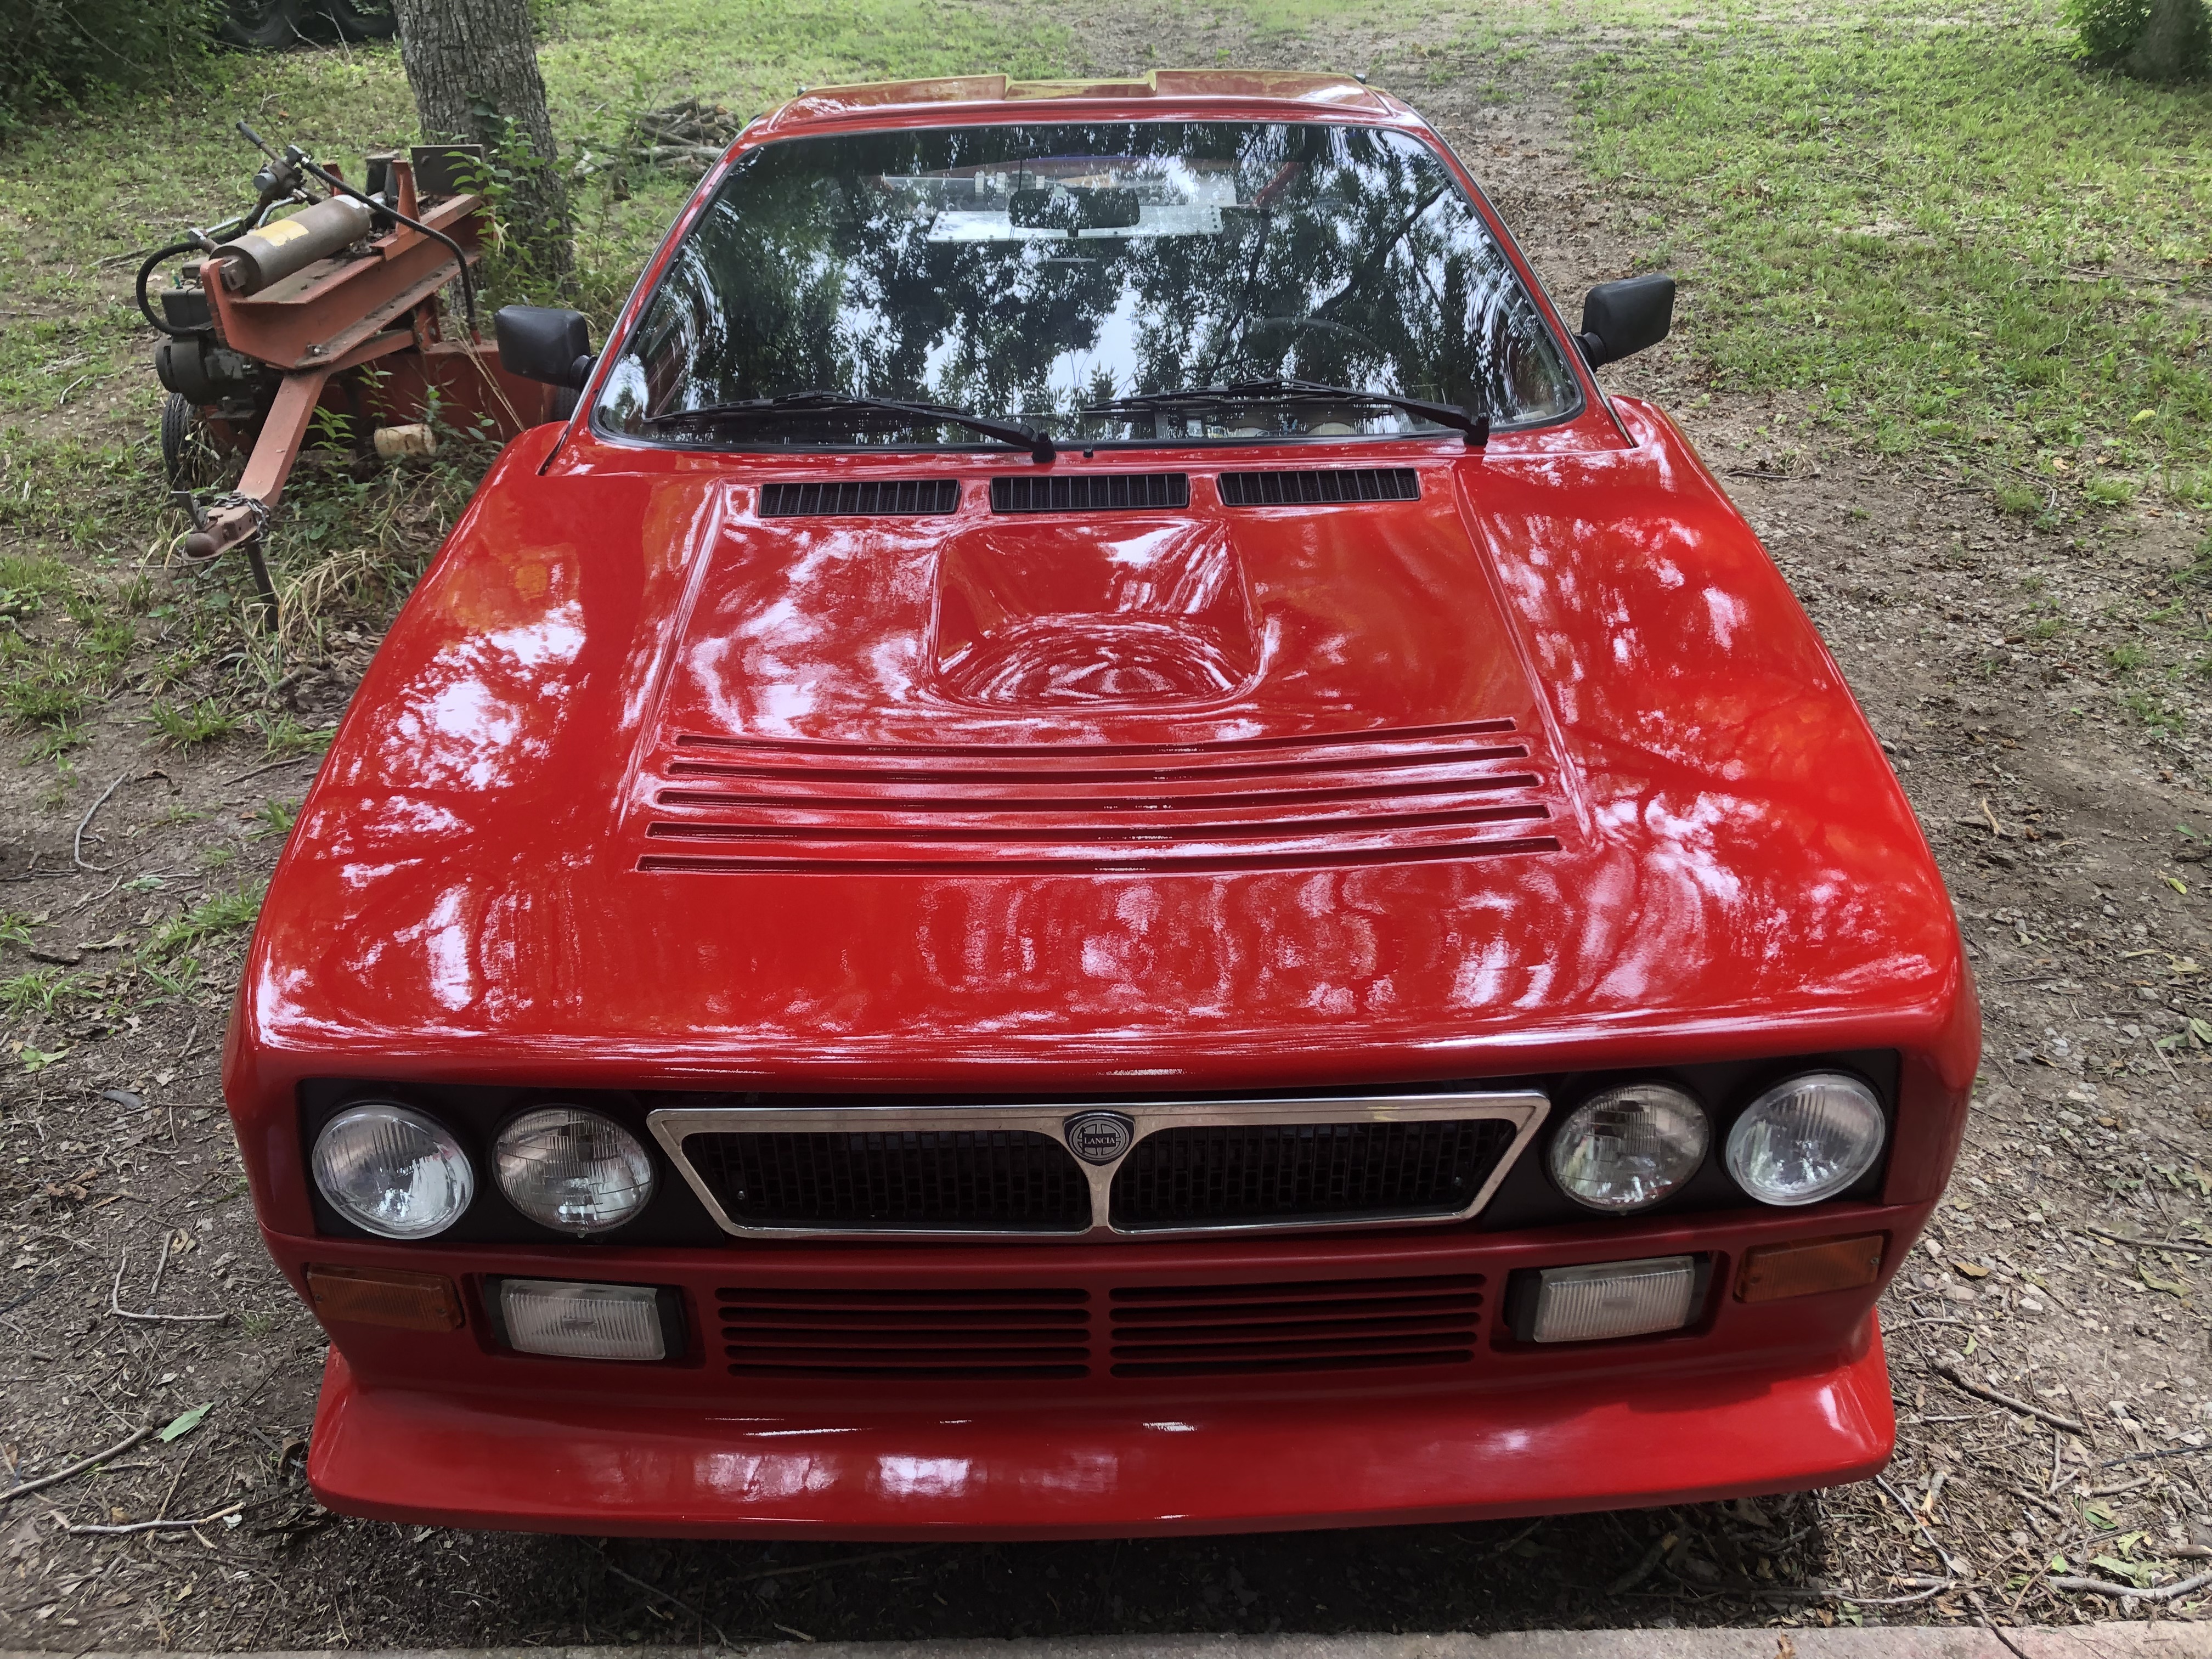
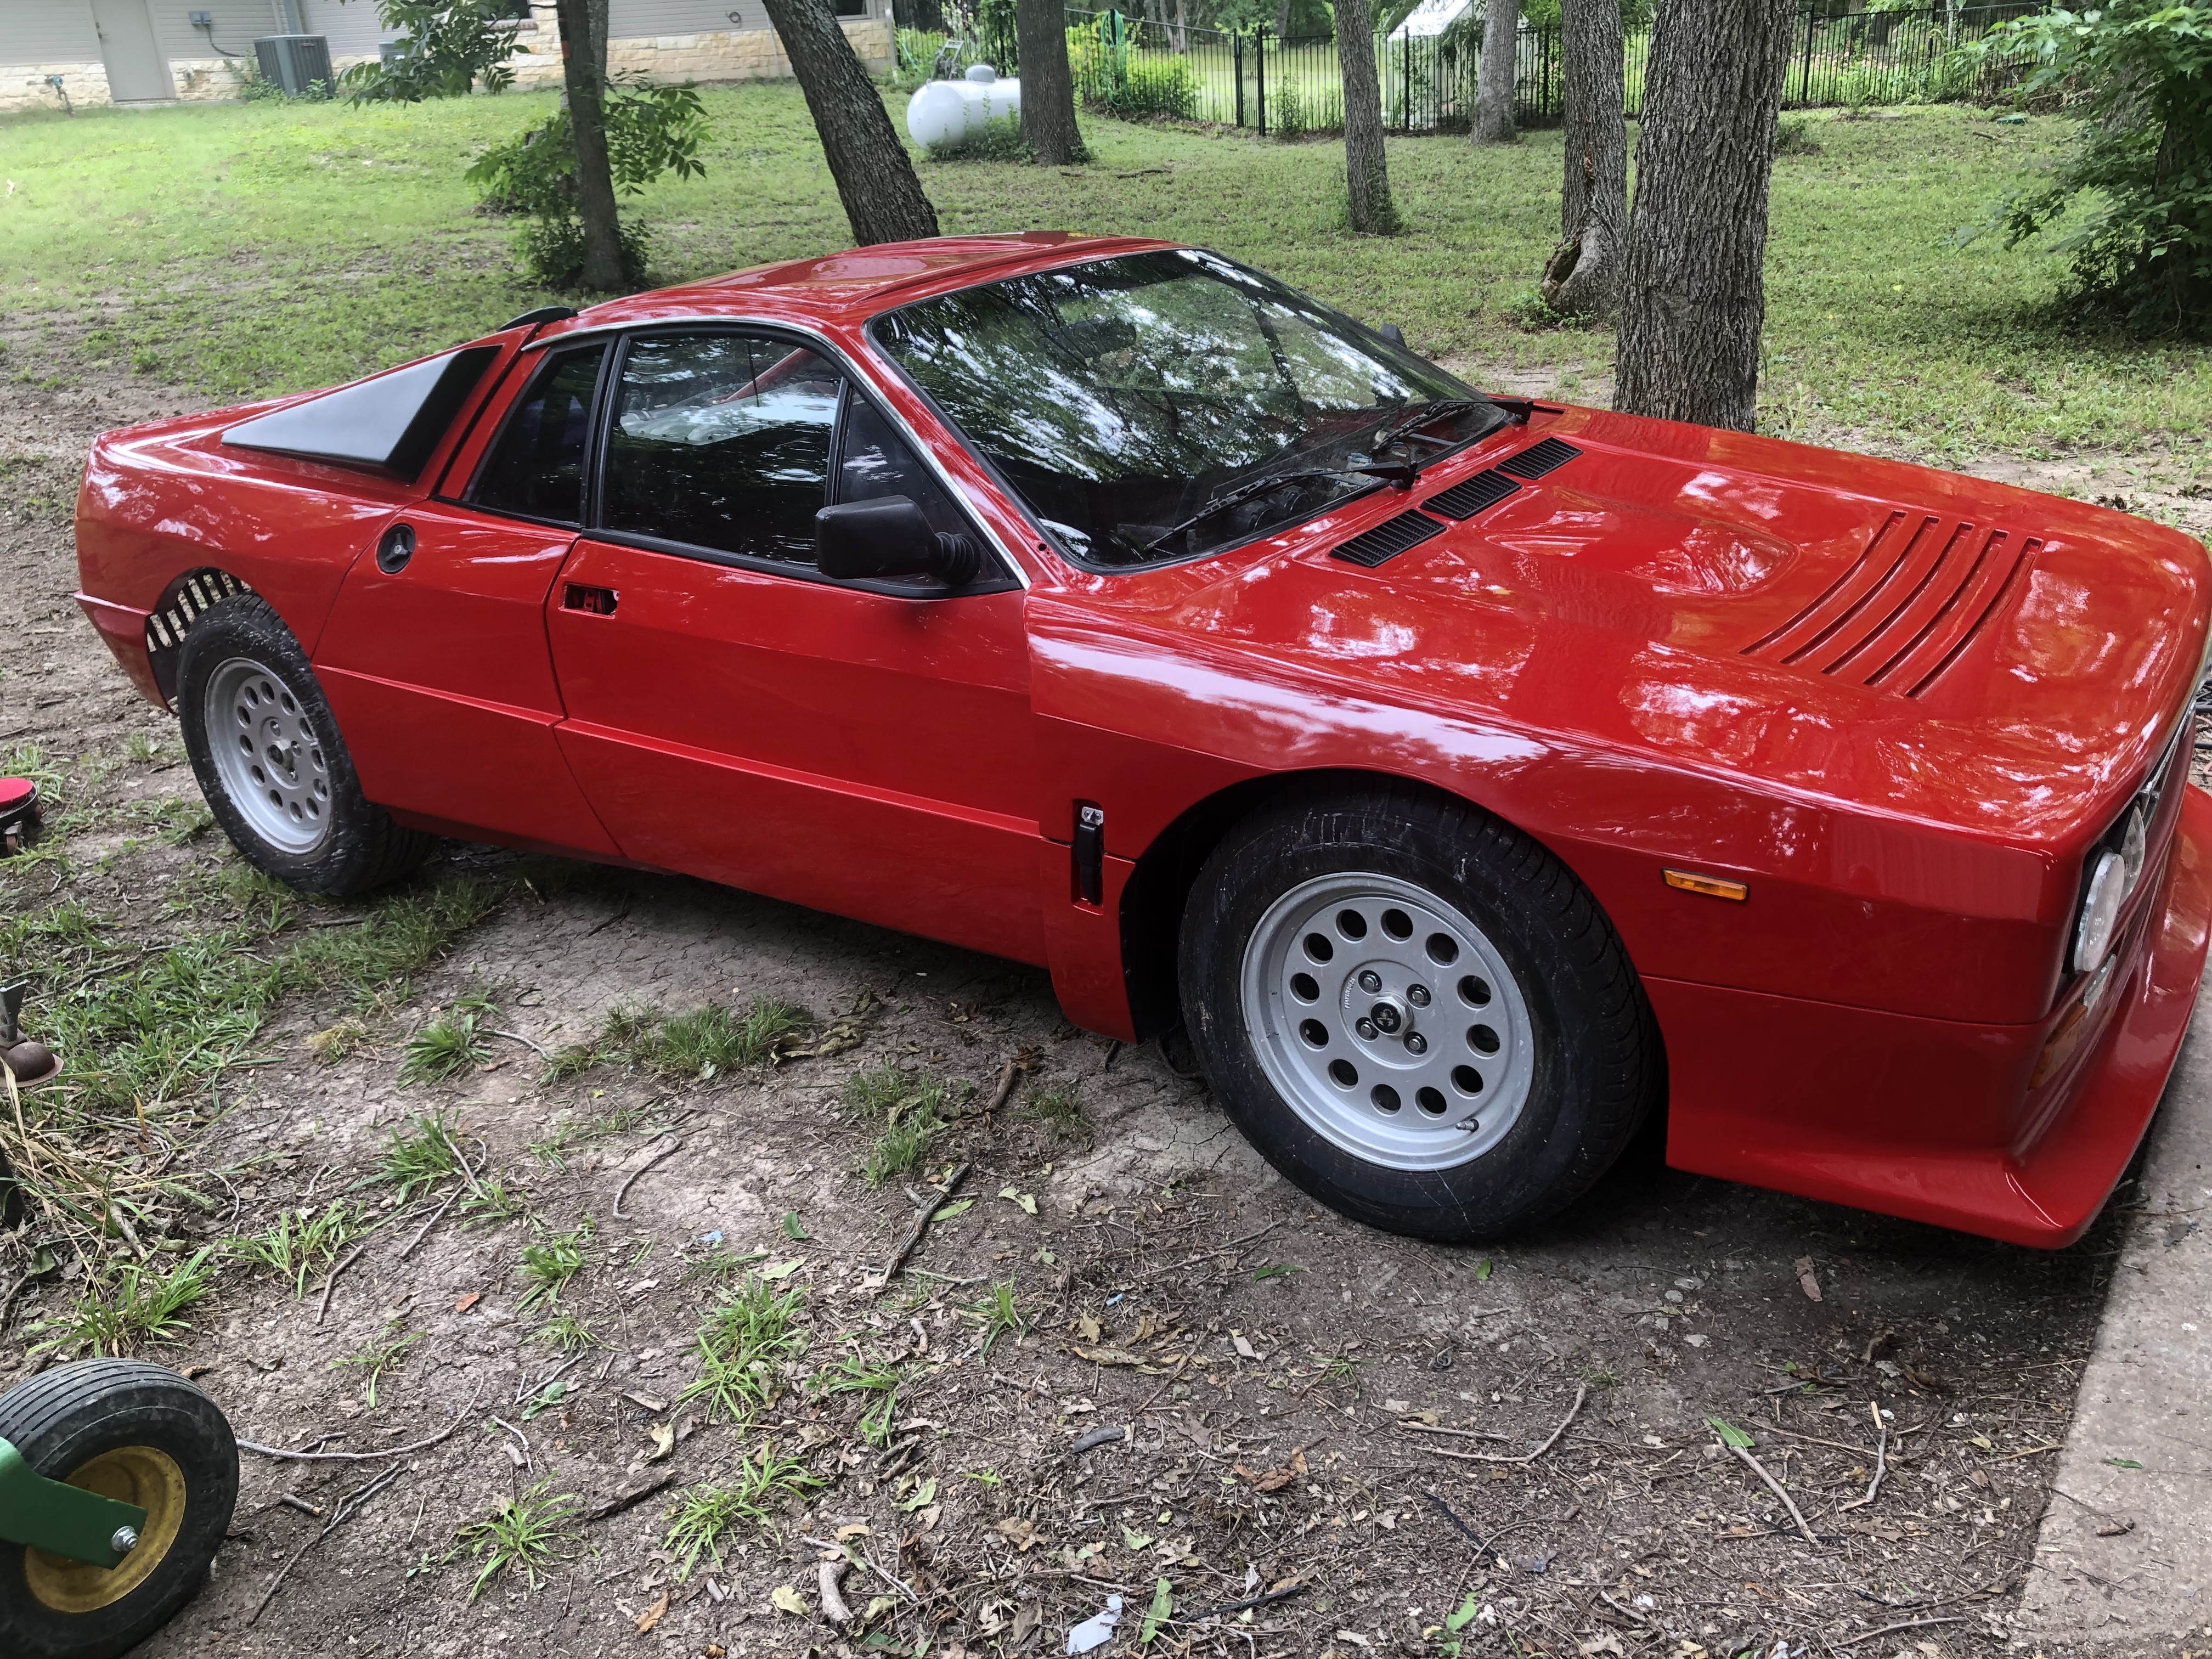
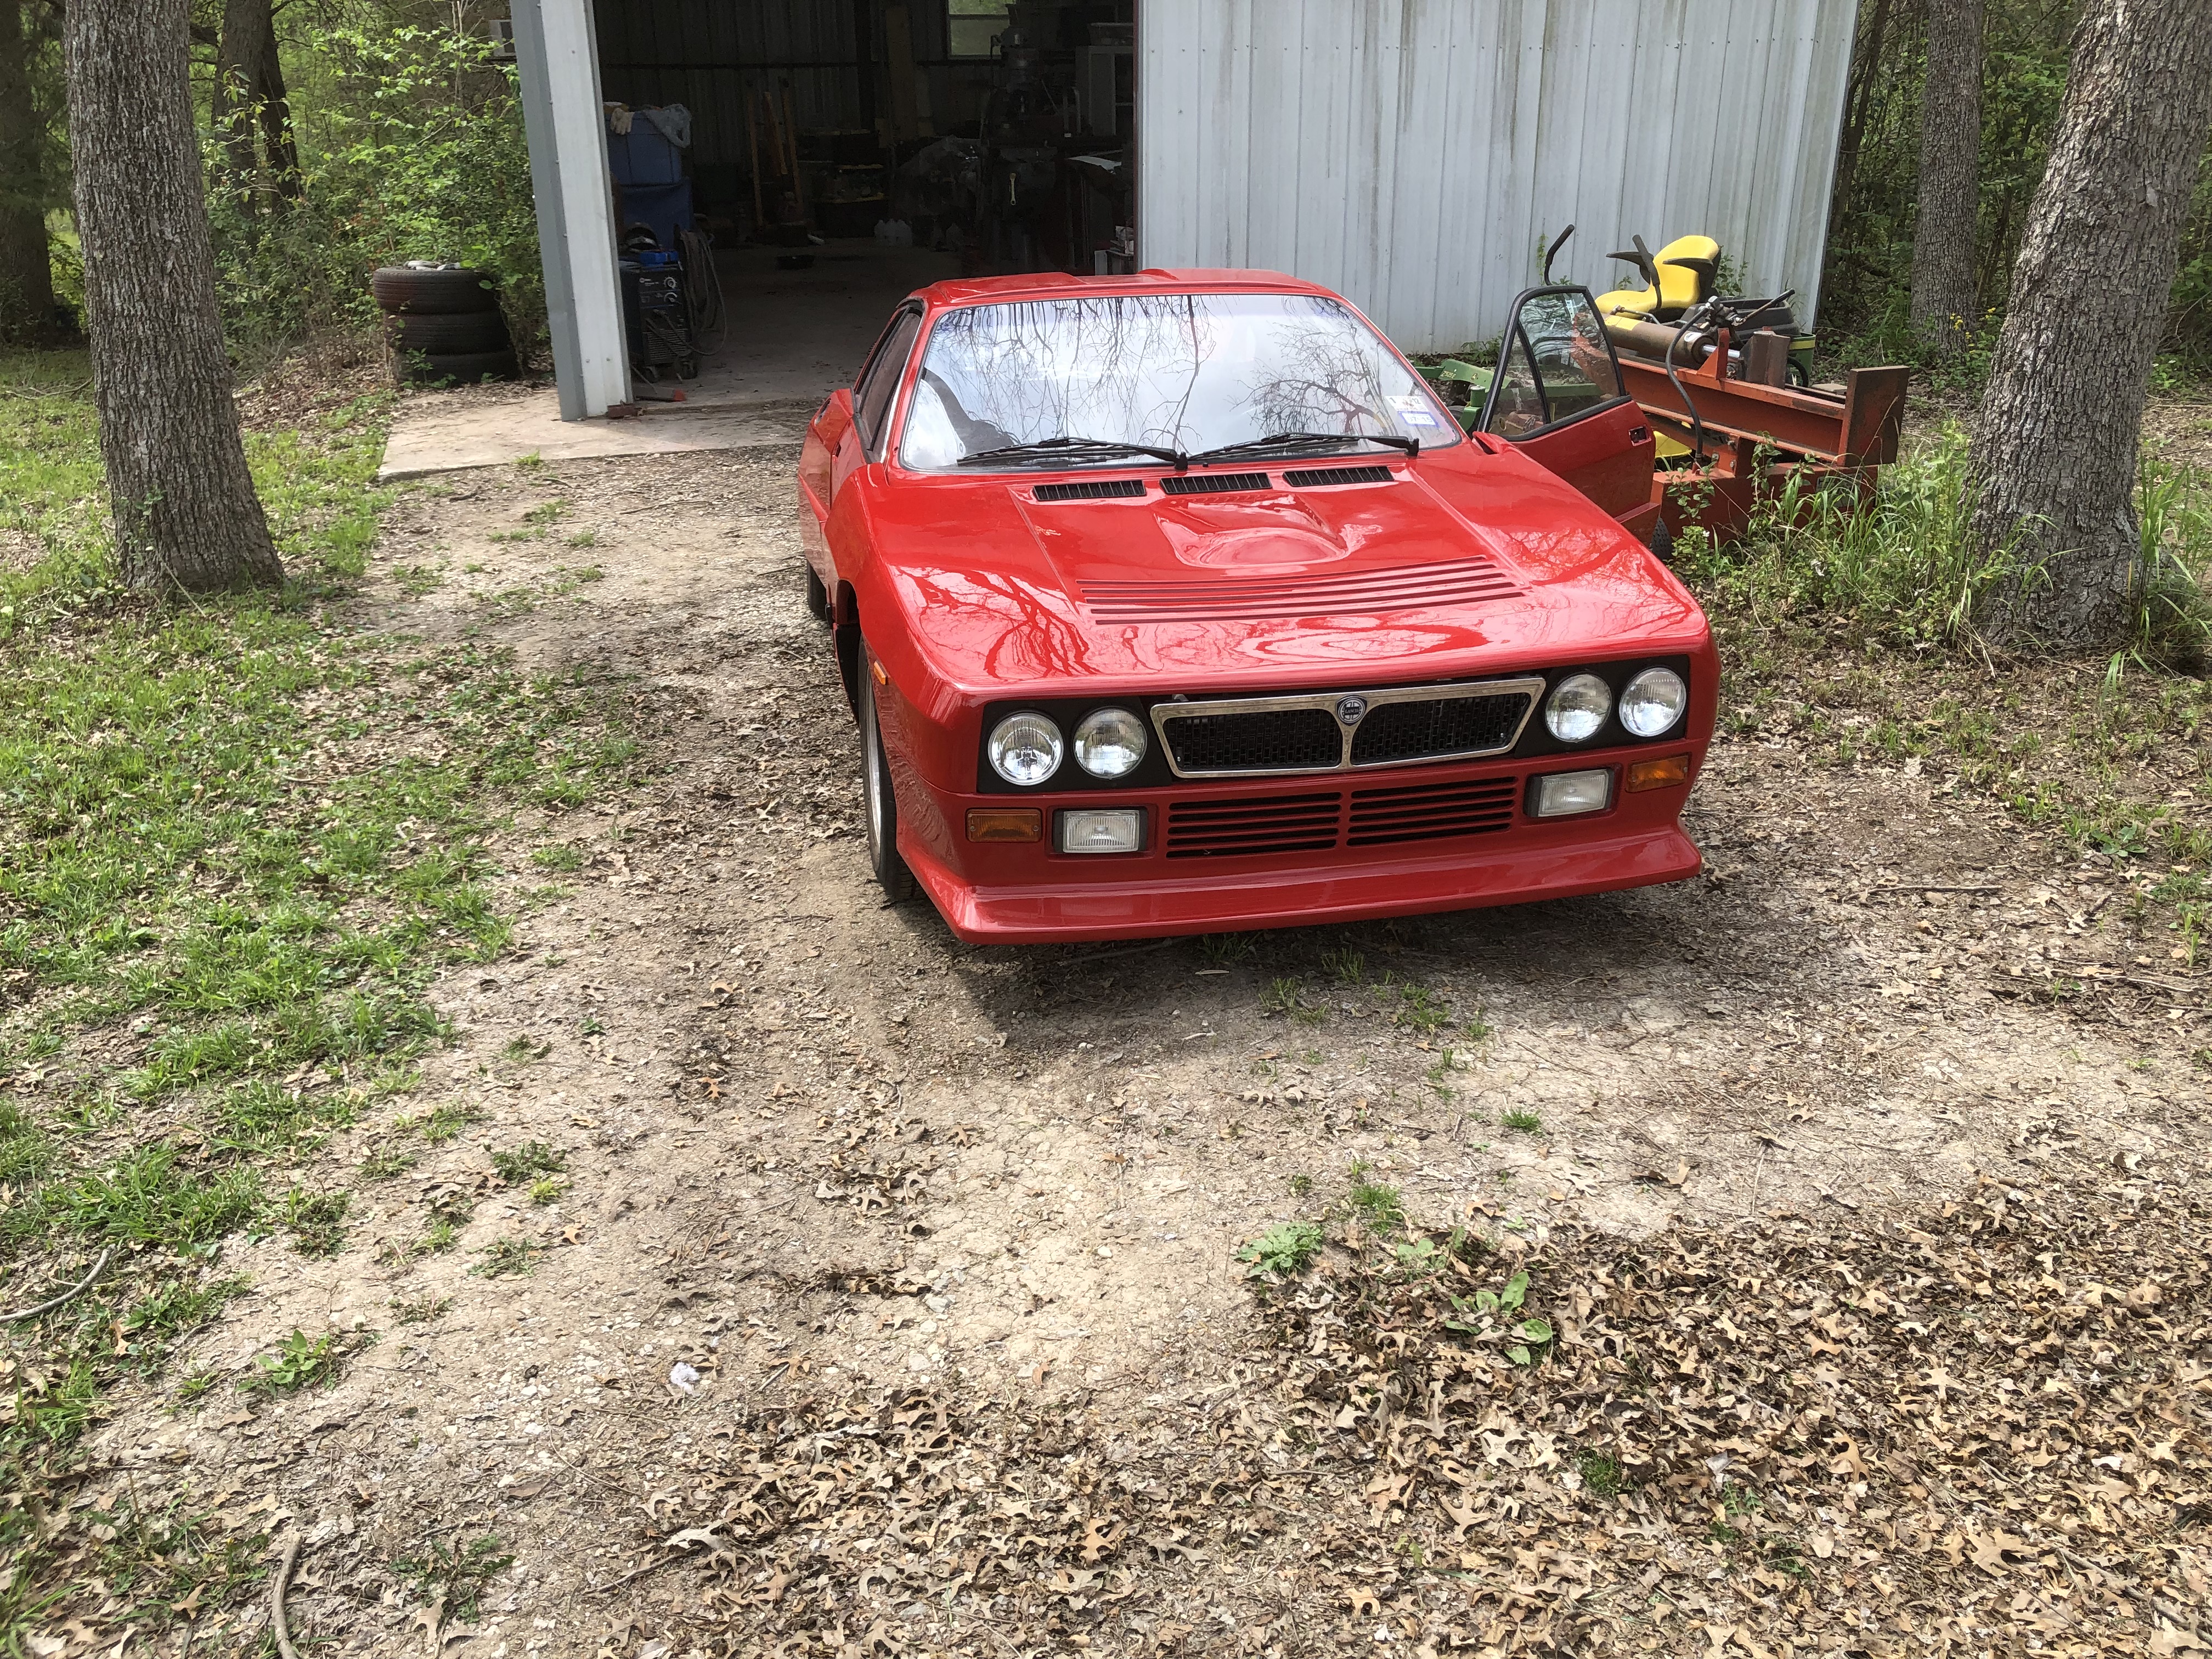
StandardOver the weekend I took the car to the Italian Car Fest for its first show. As the car had zero road test miles, it was trailered to a parking lot a few blocks away and driven the last little bit on and off the showgrounds. No issues during that drive so that’s encouraging. The brakes definitely need some more bleeding, and it is very loud in the passenger compartment, are pretty much the first two driving impressions.
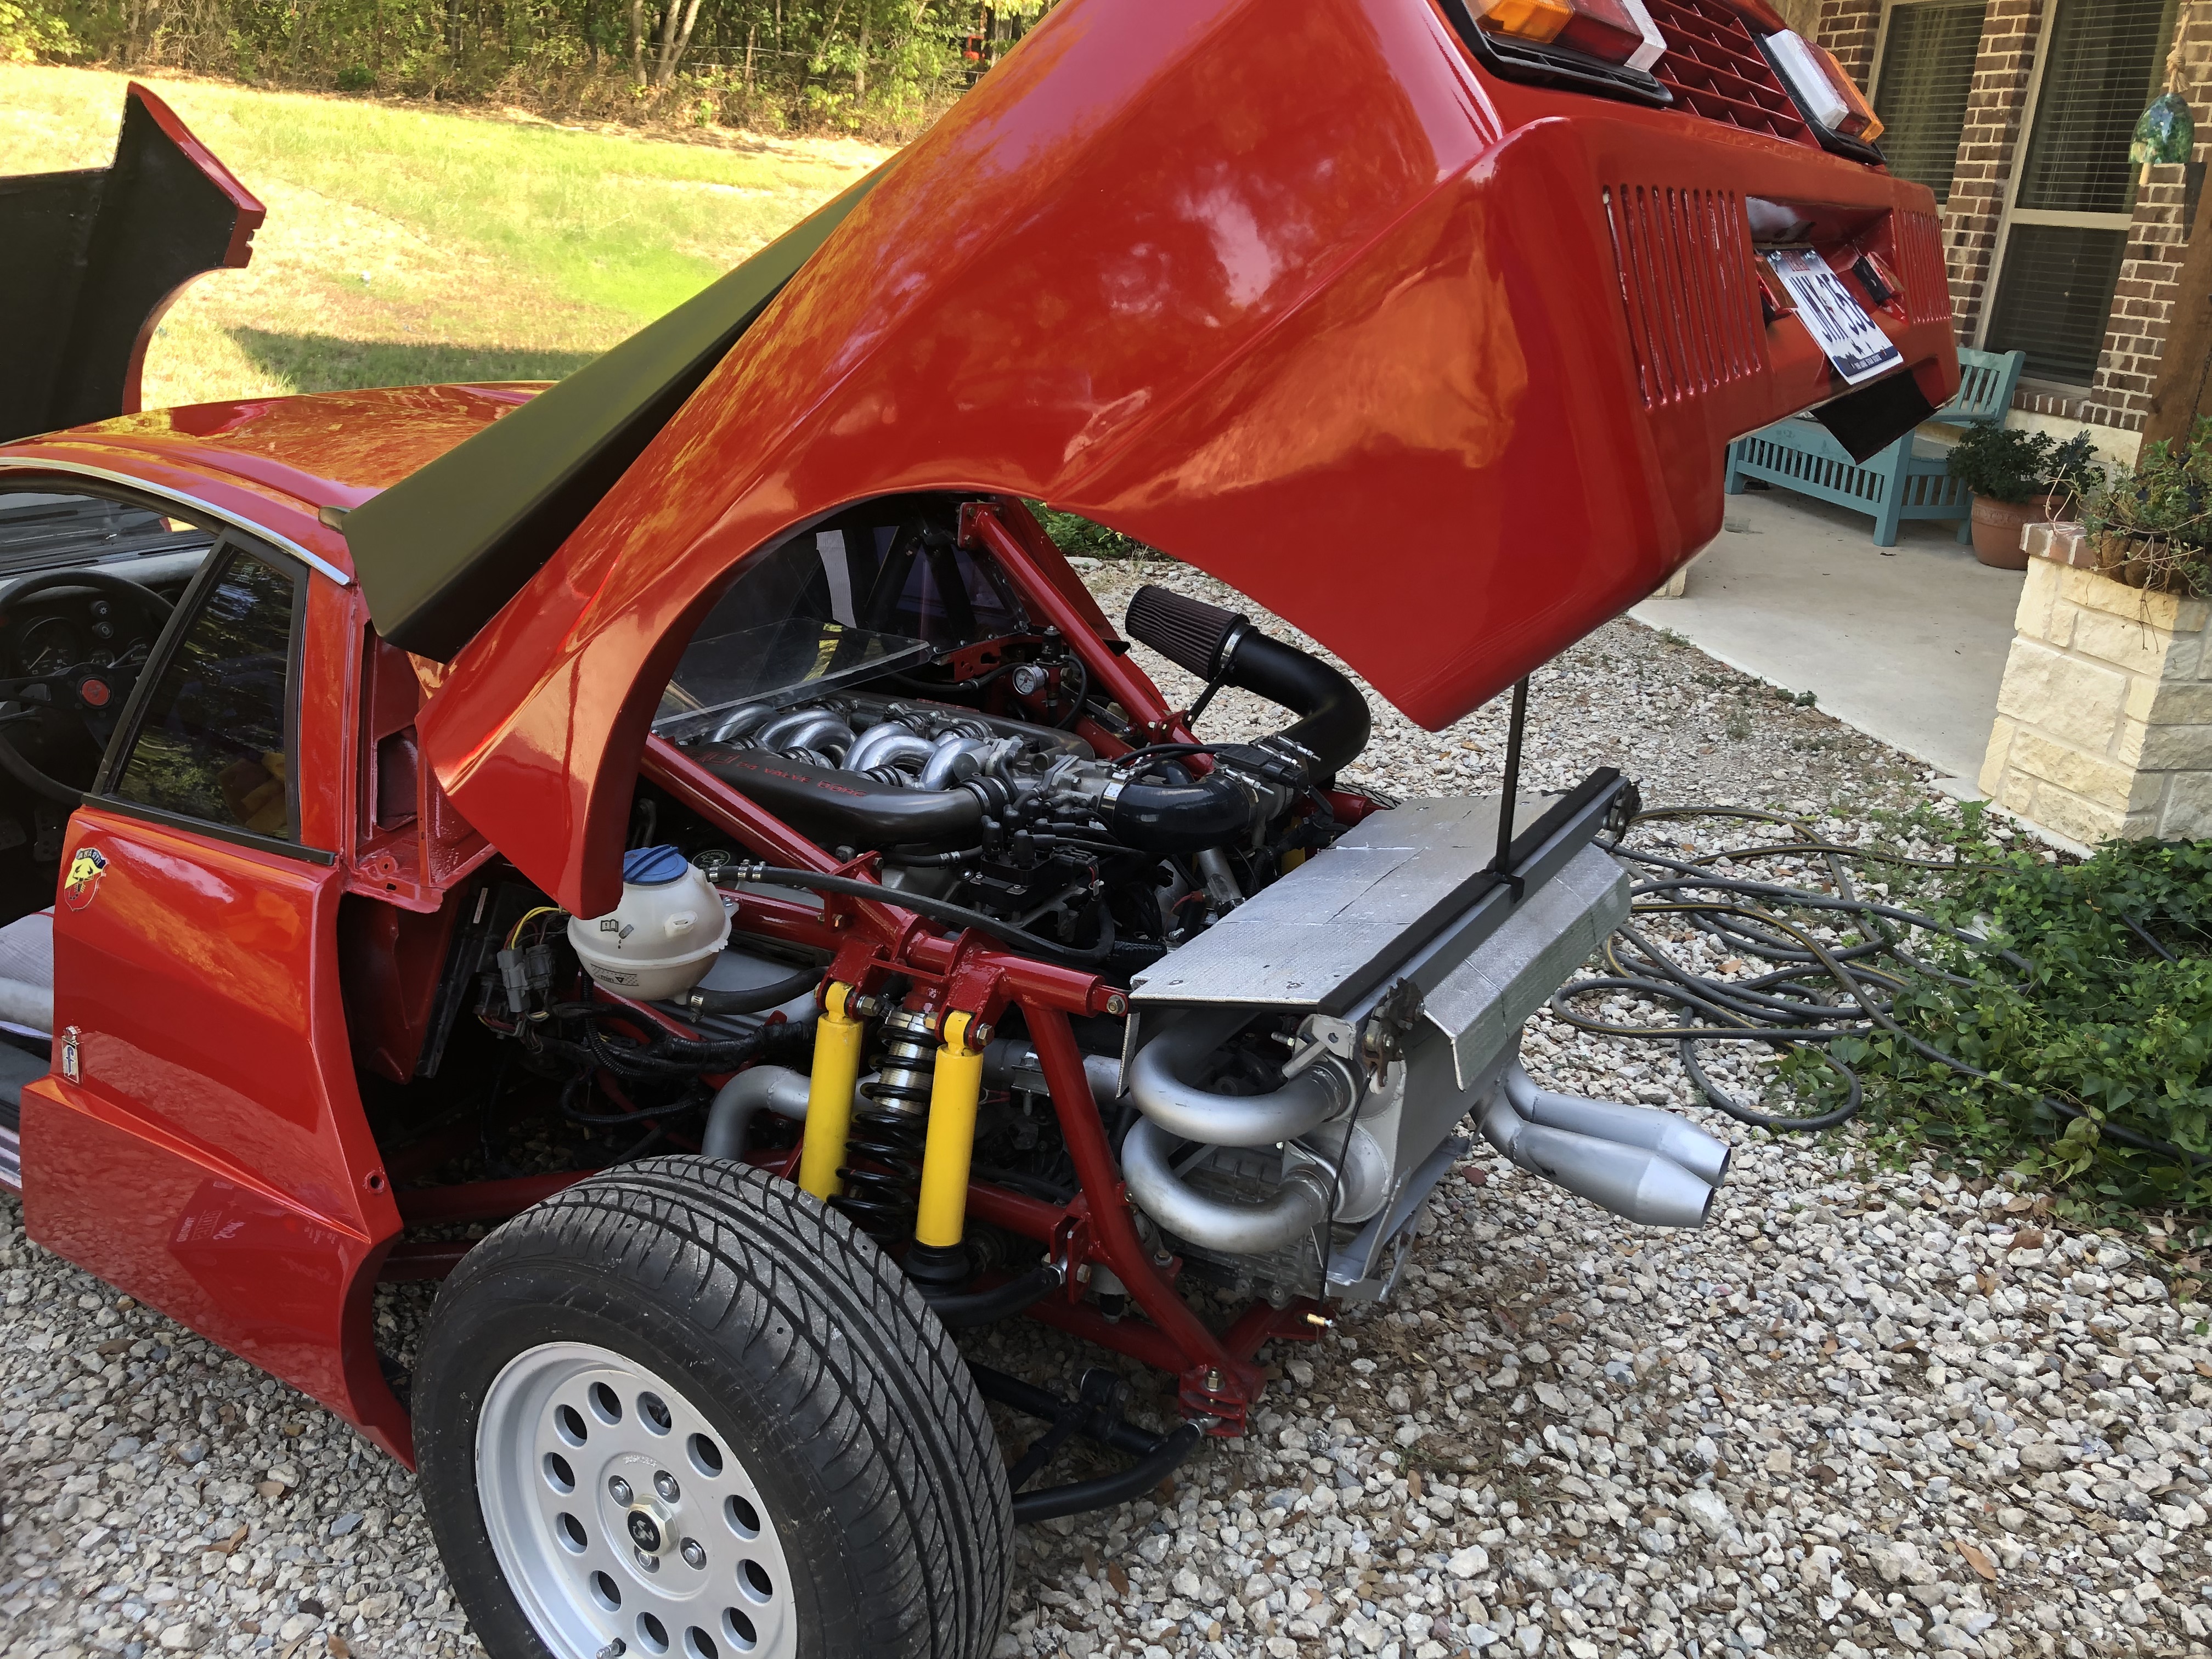
I spent a lot of time detailing the car before the show. Here’s what it looked like after that.
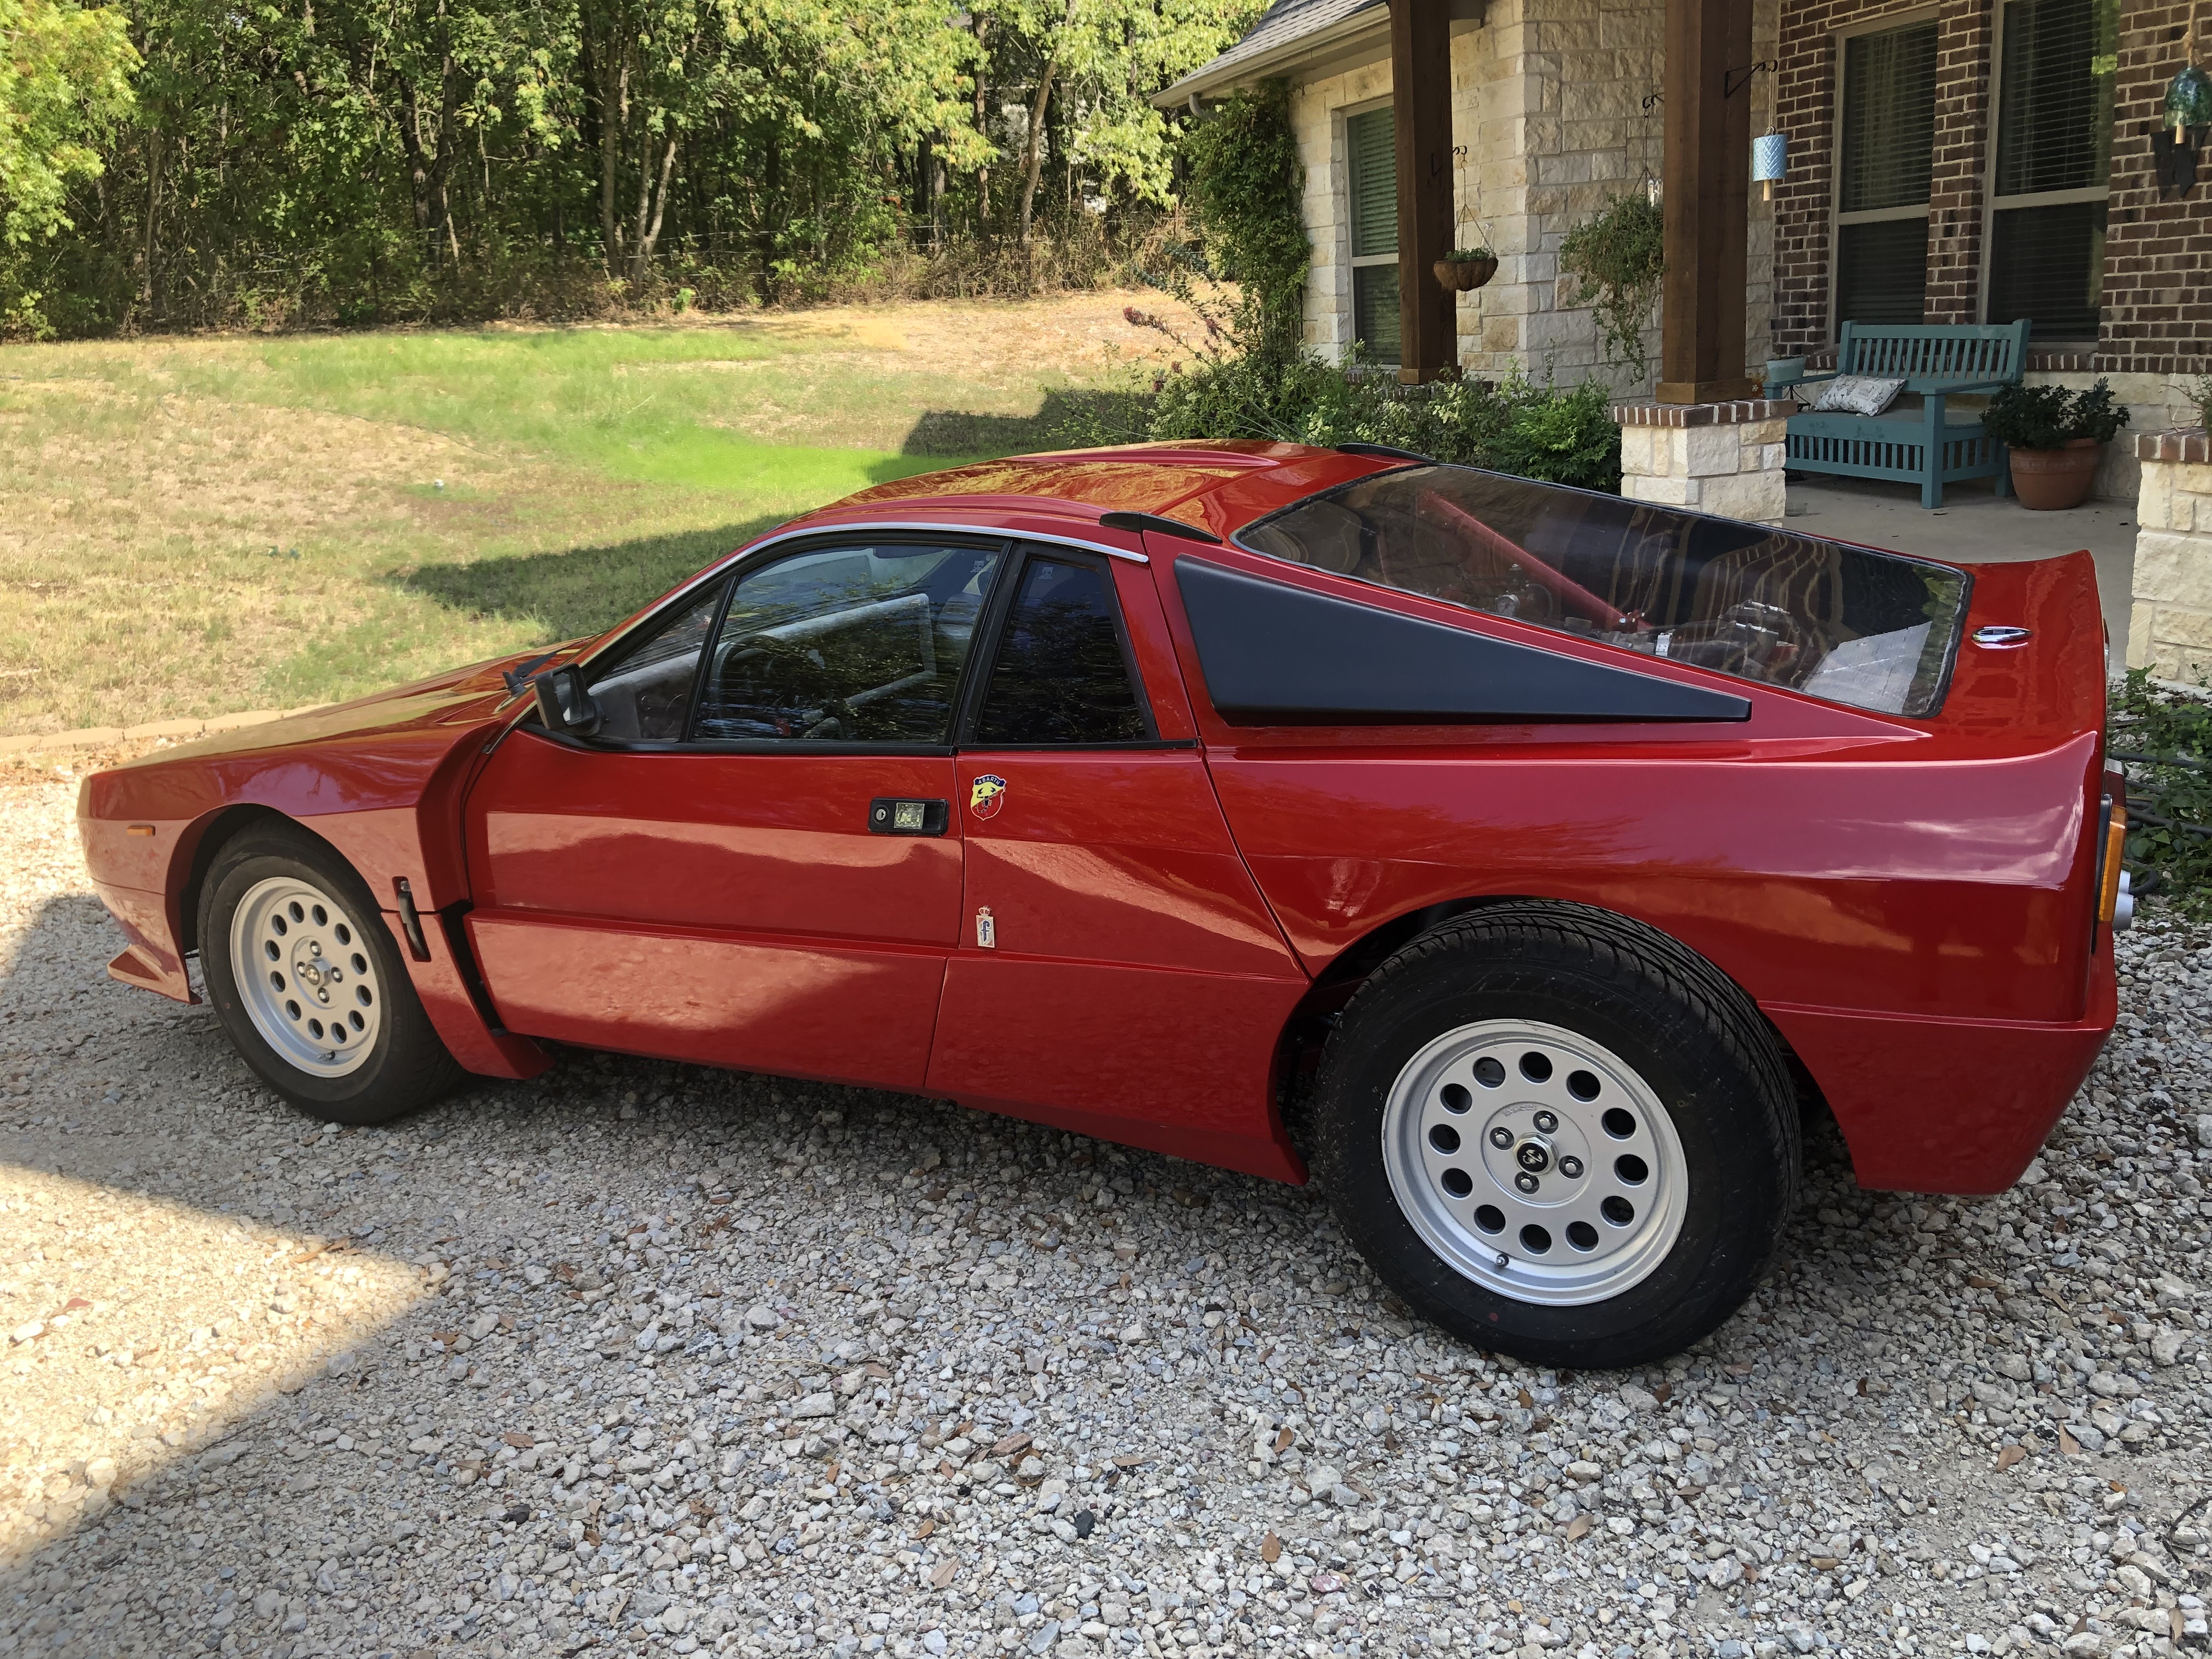
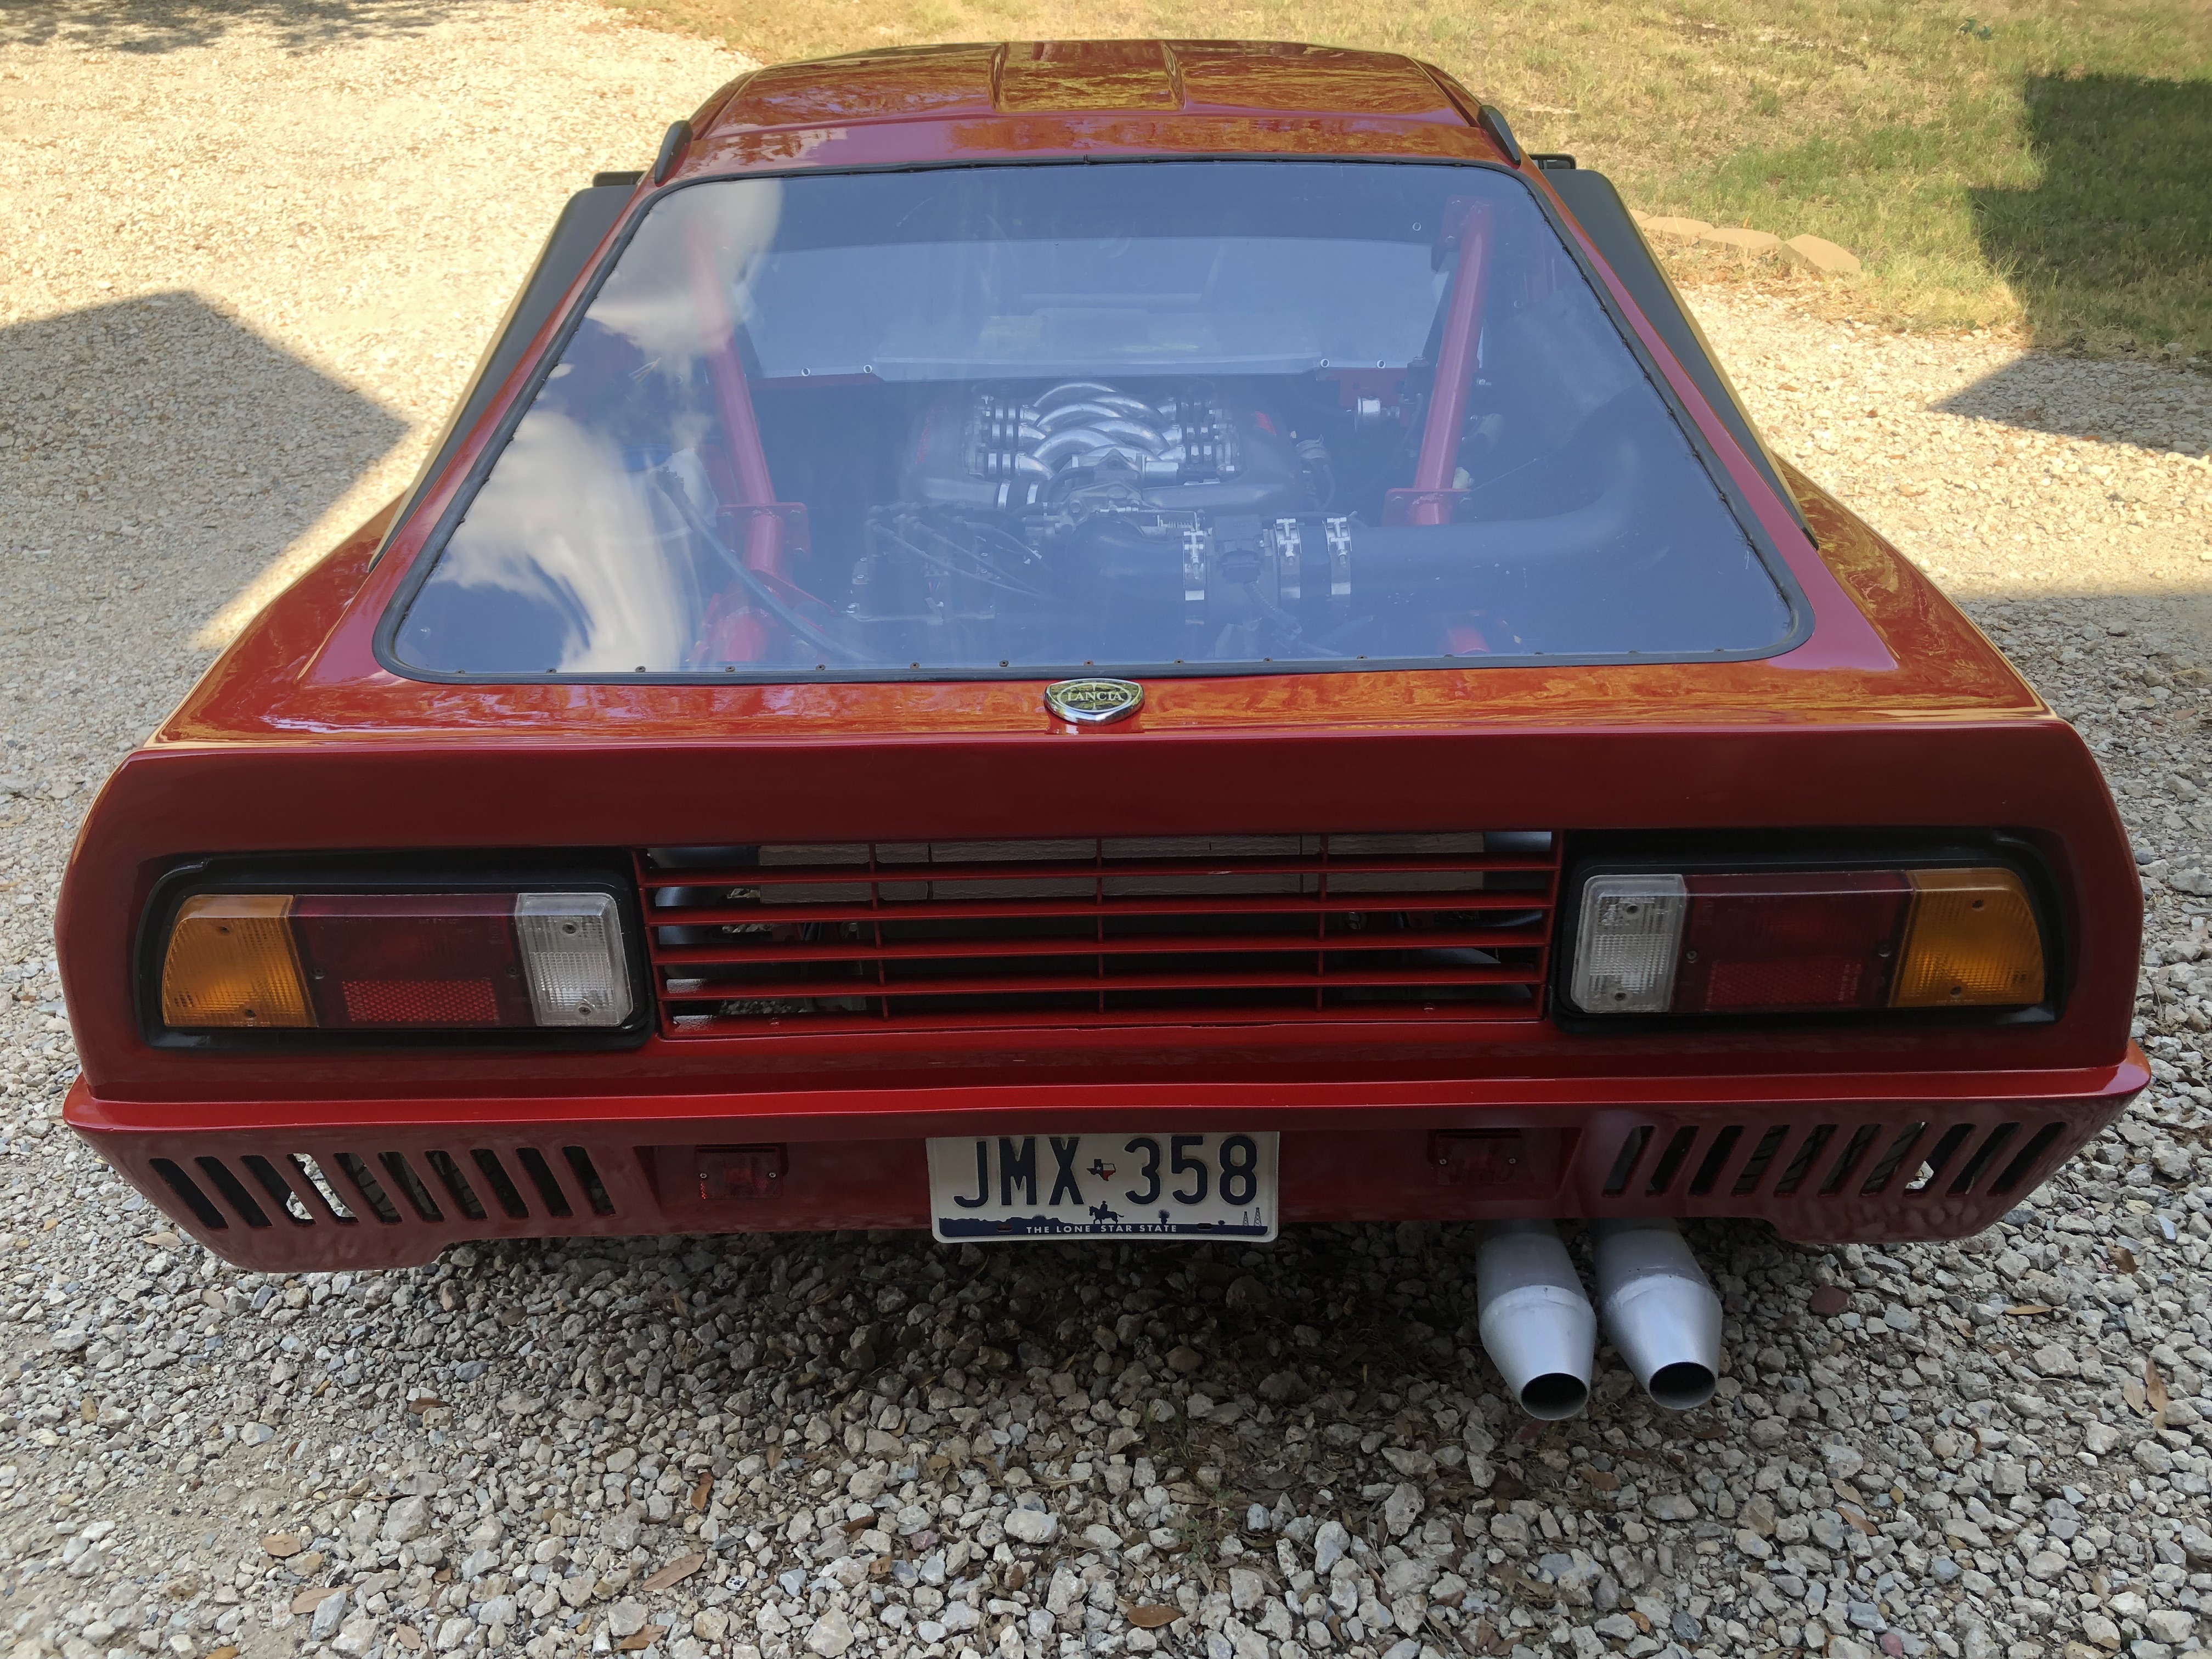
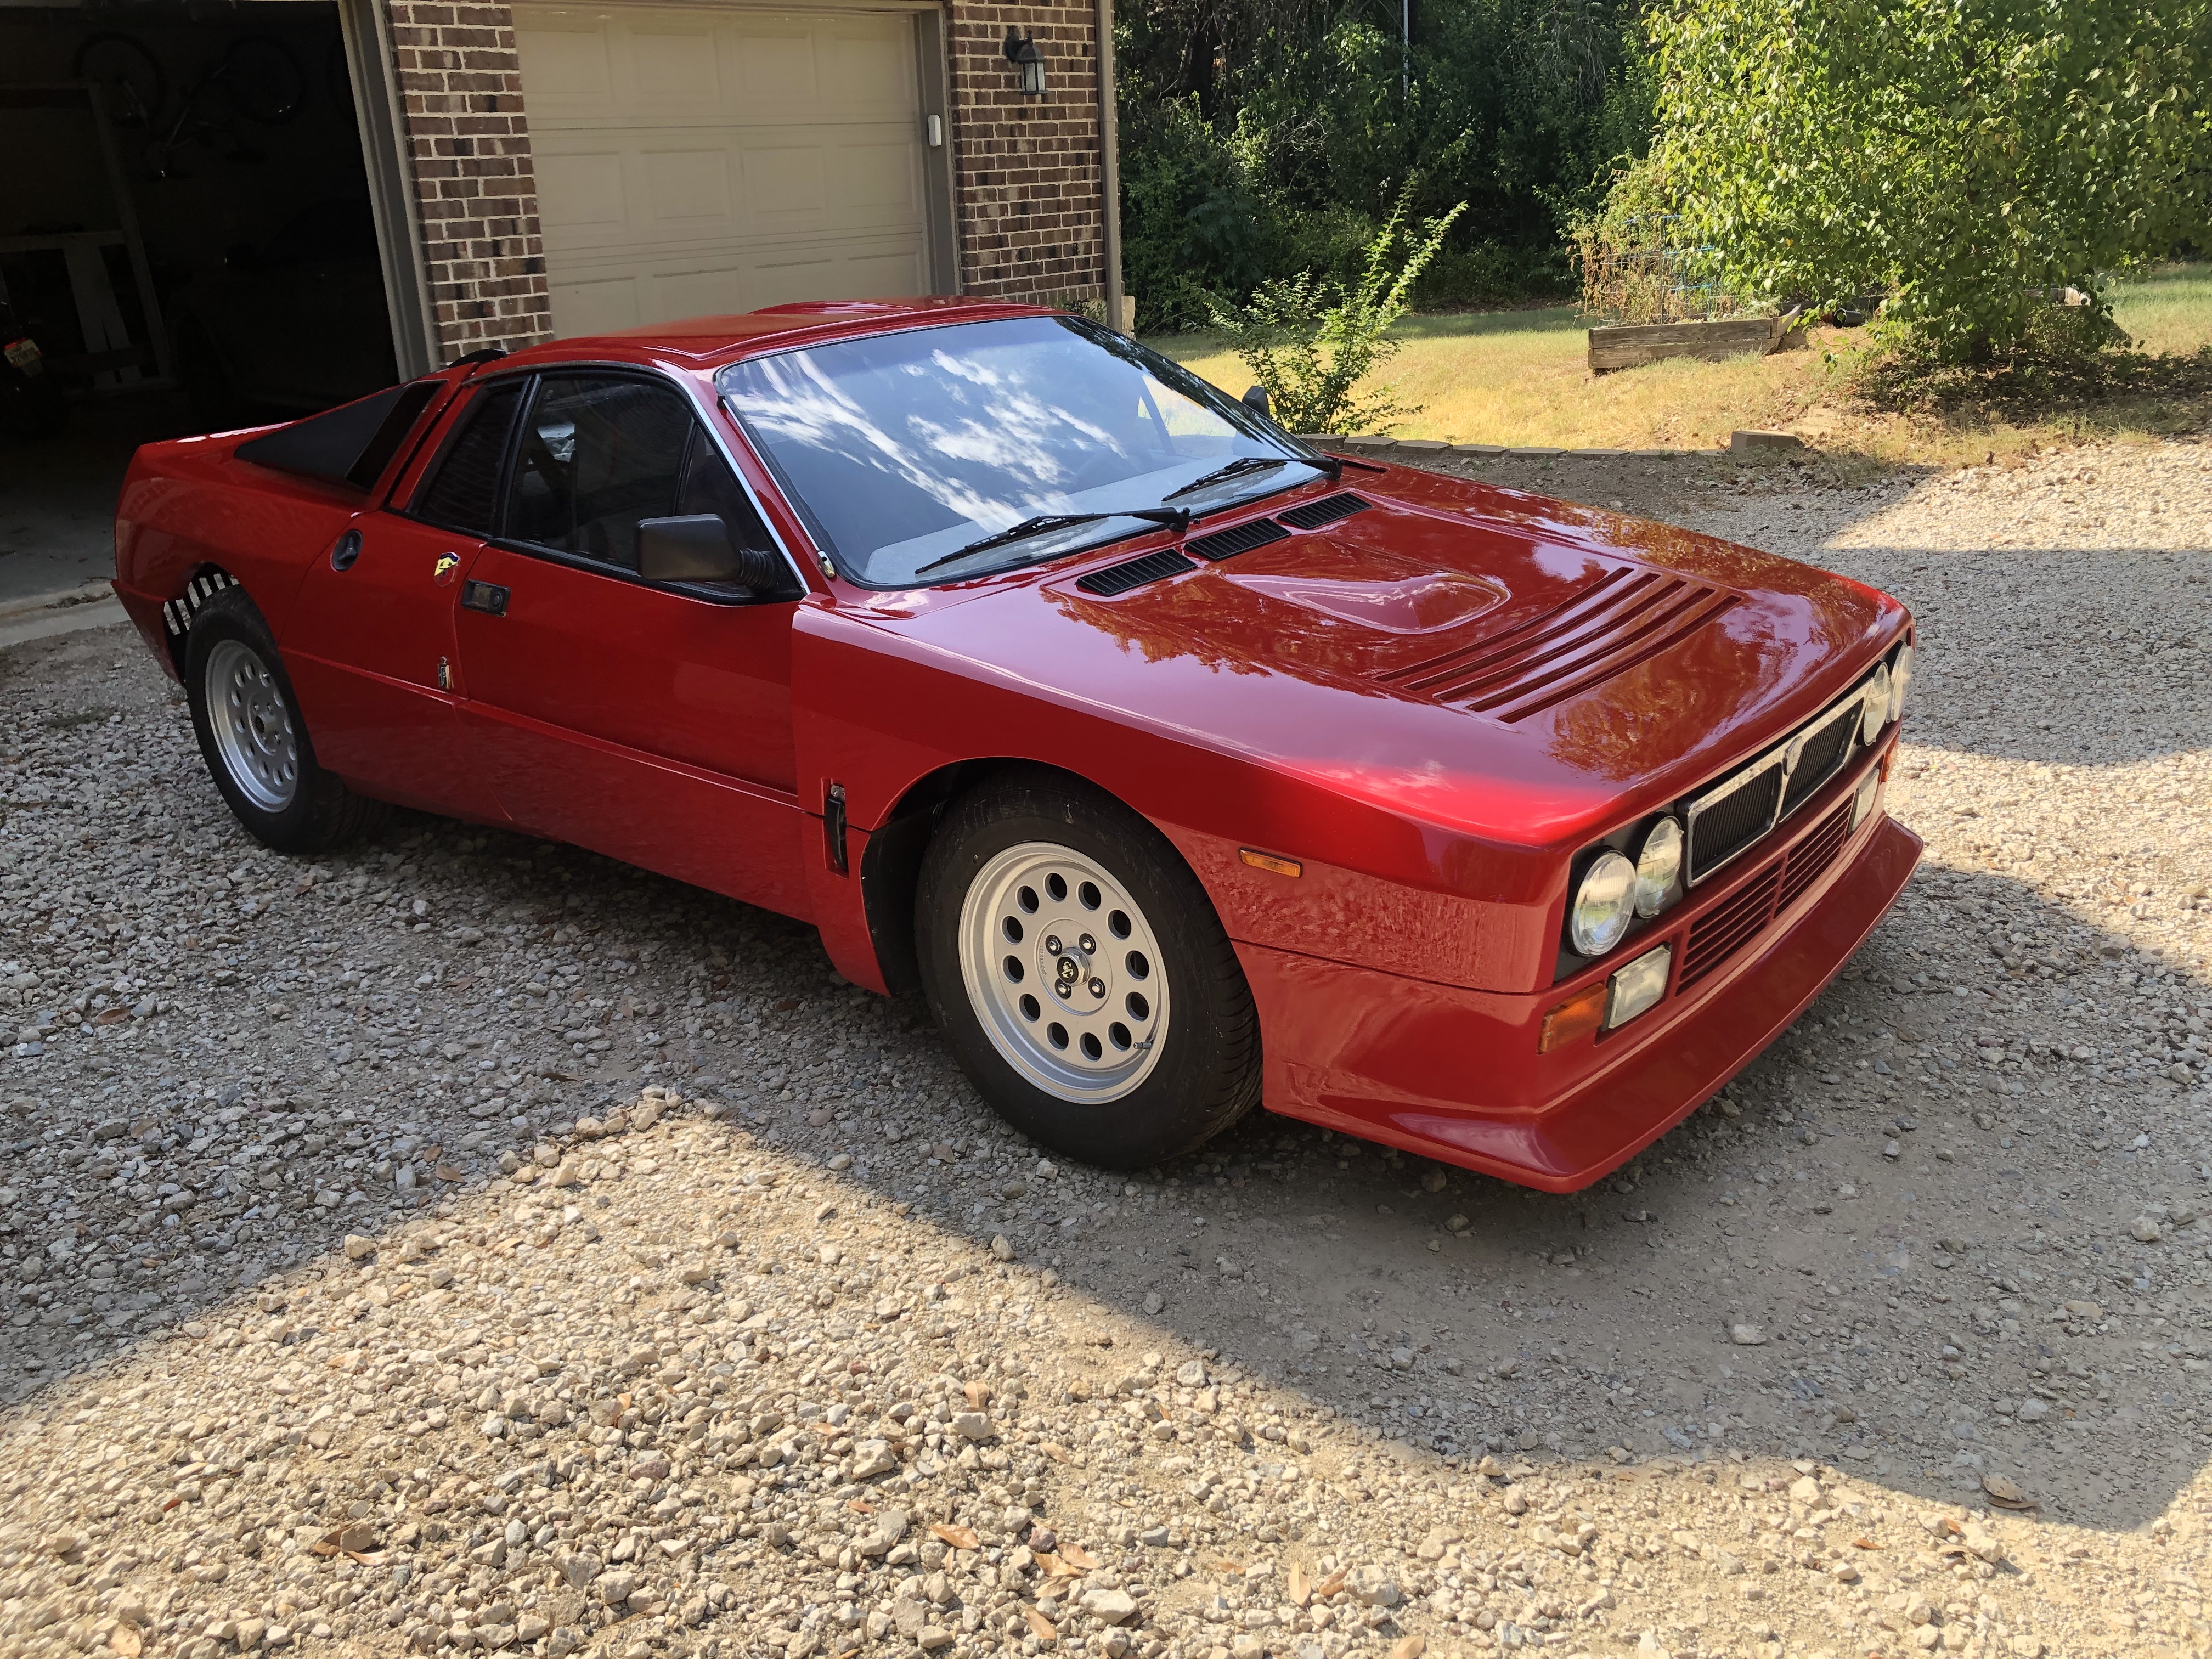

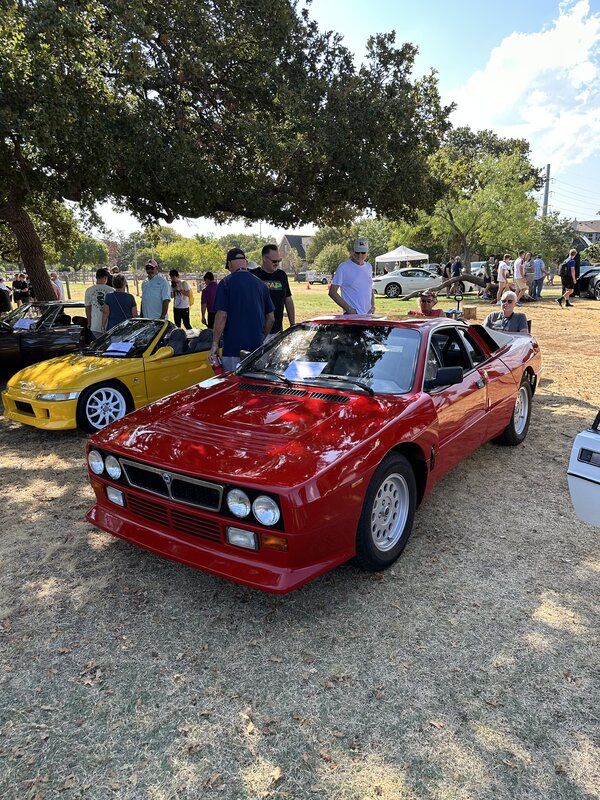
And one taken at the car show.
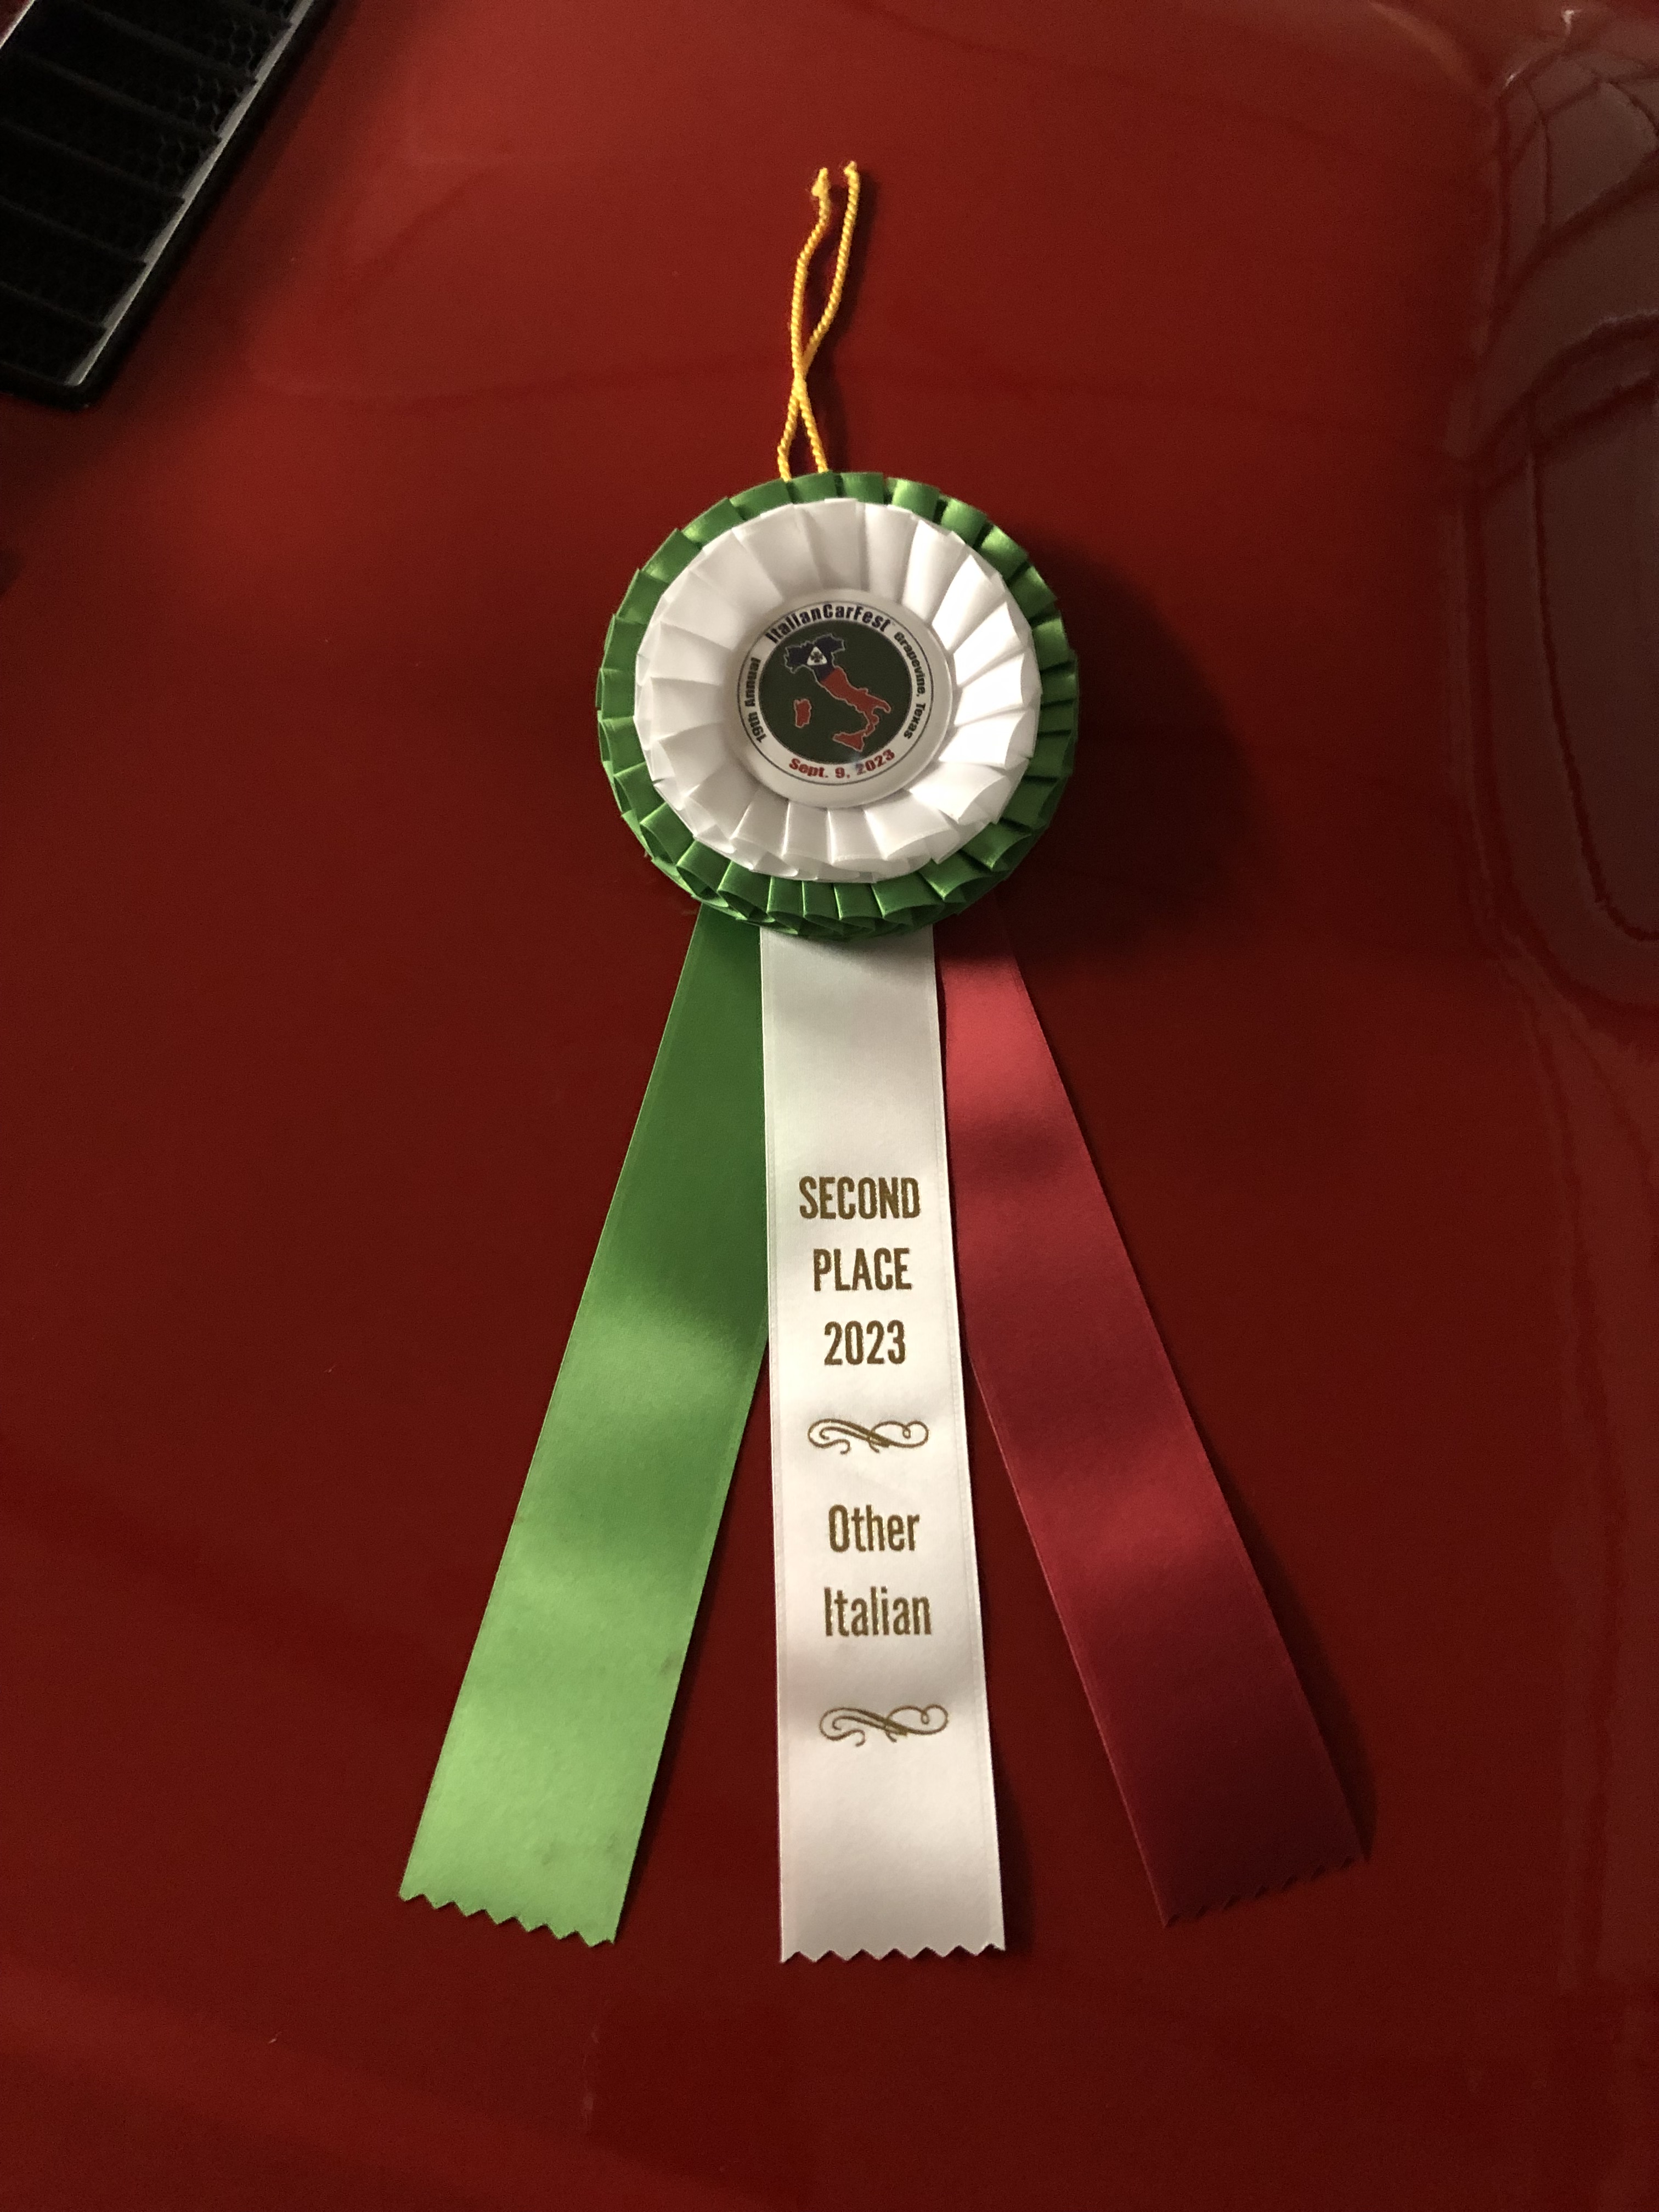
And finally, the result of the show – 2nd place in the “Other Italian” category. Not enough Lancias to have their own category, unfortunately.
Interior trim part 3
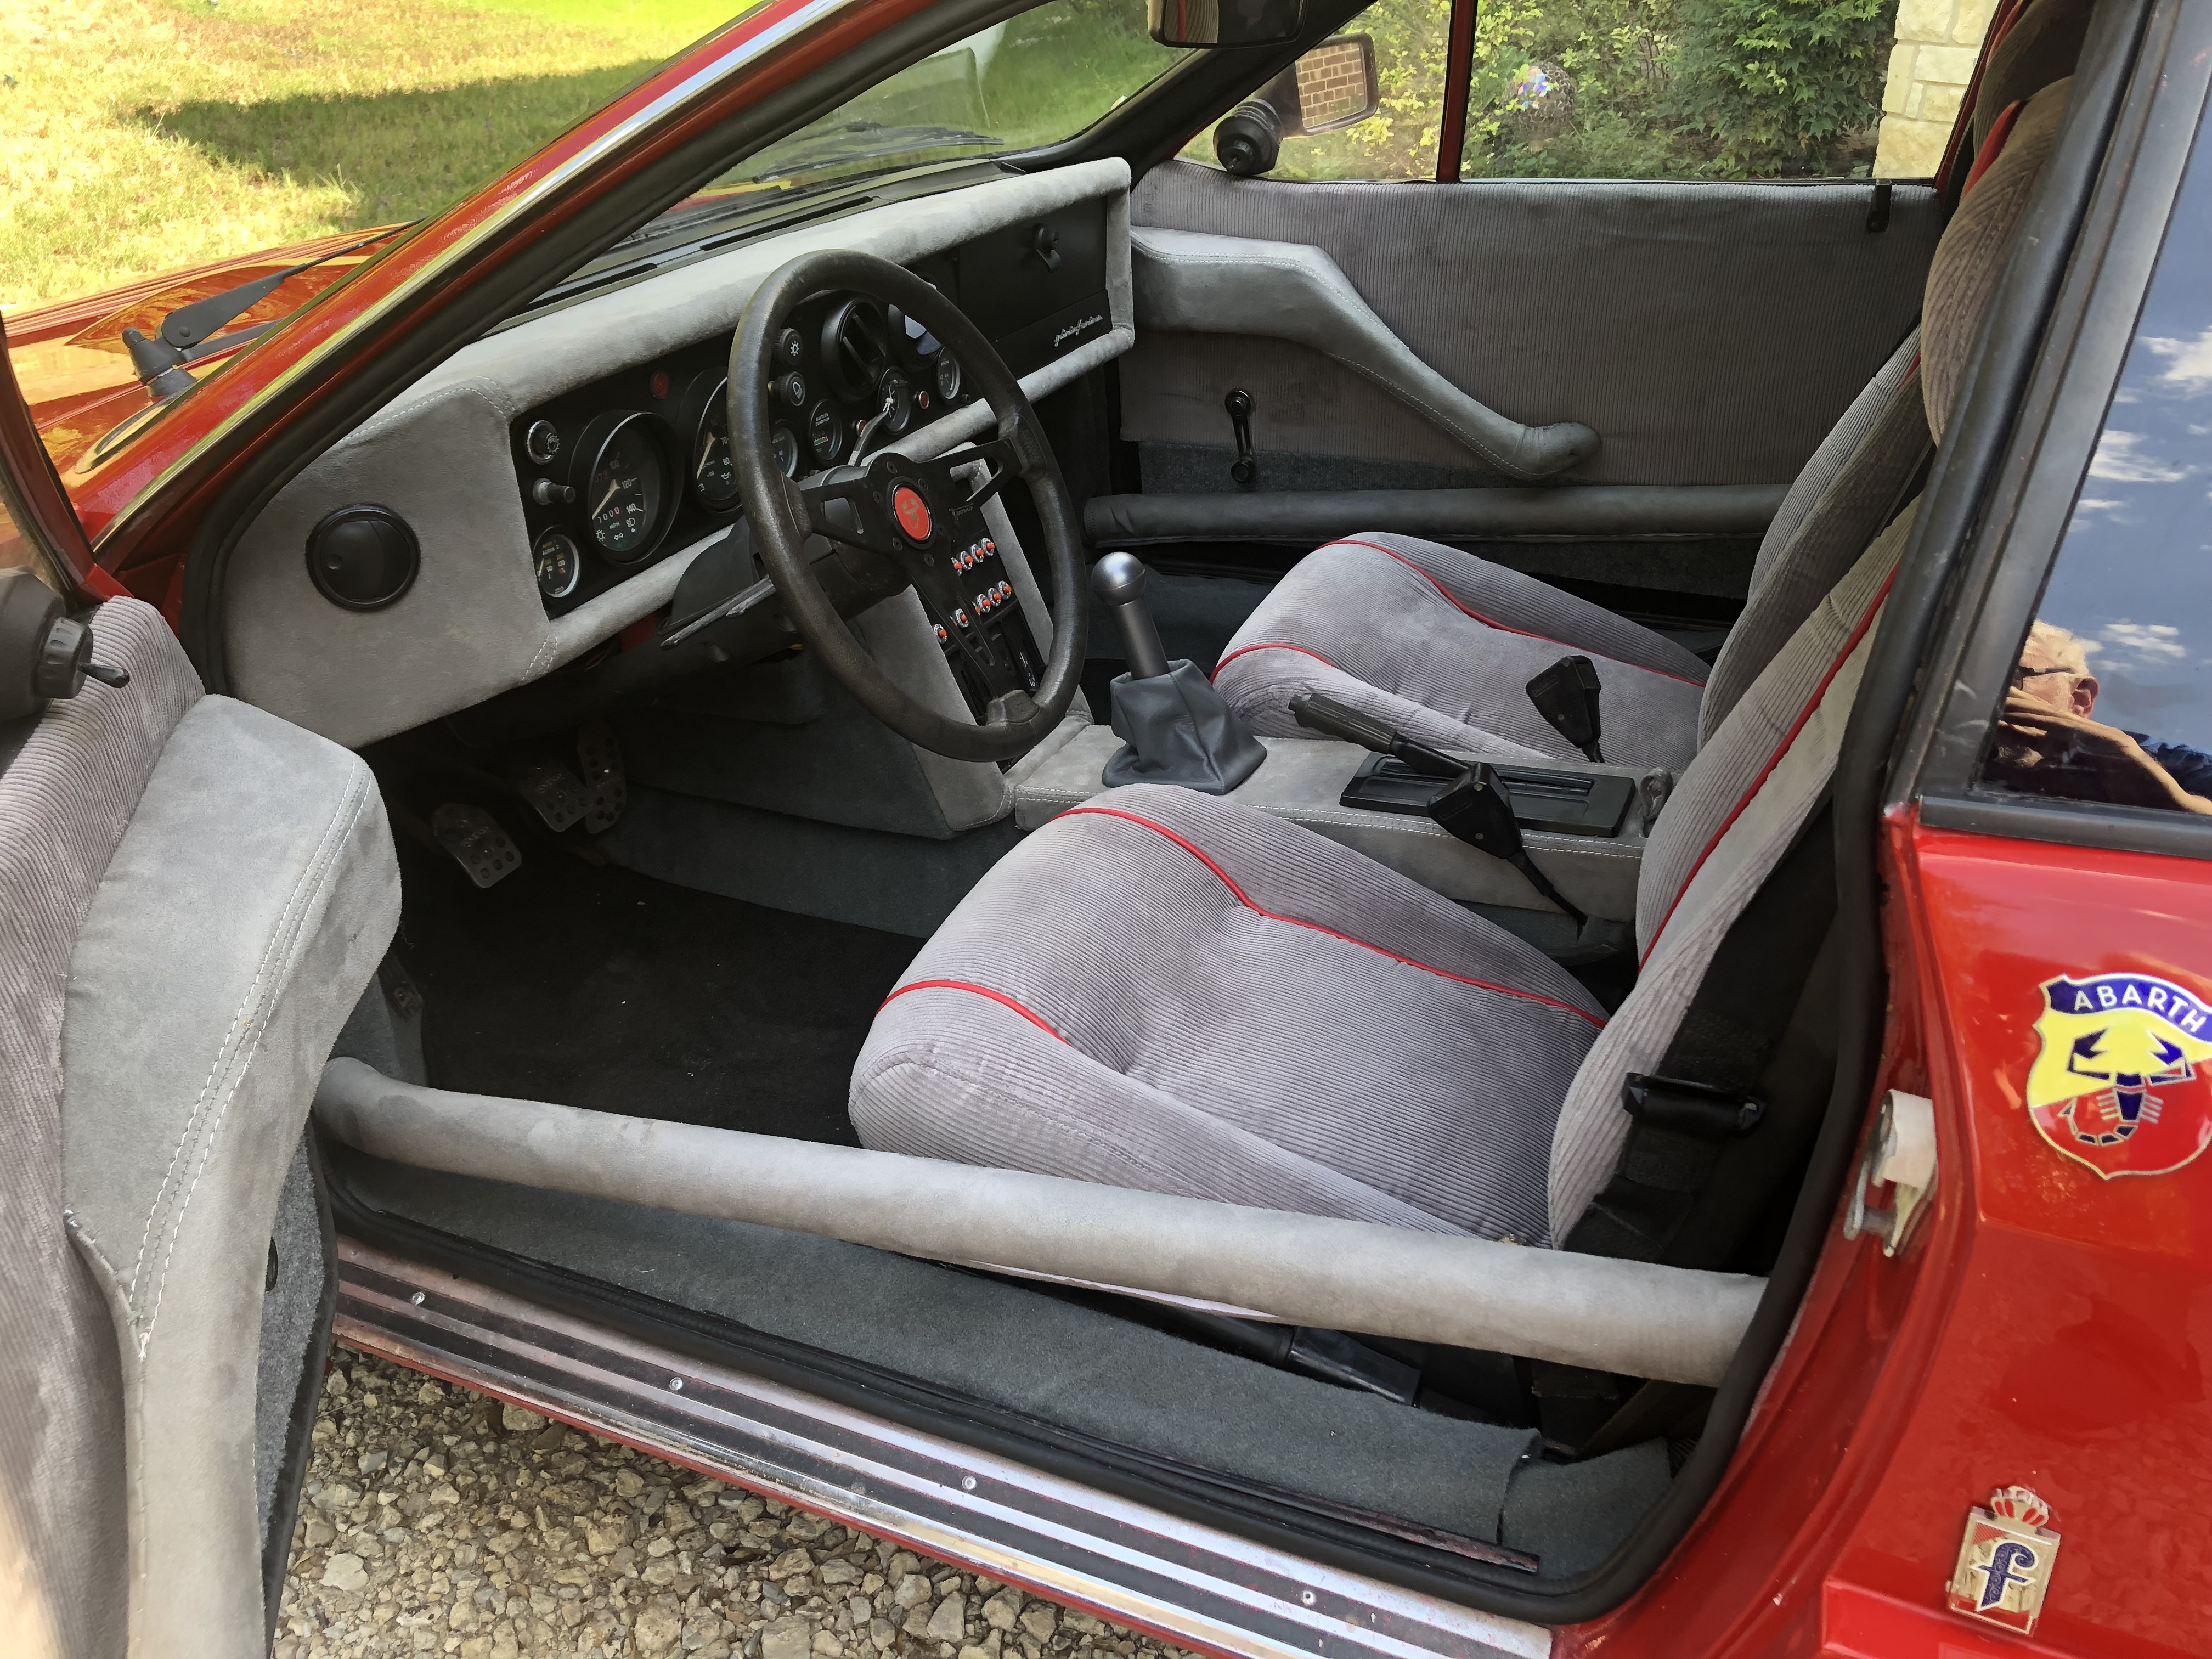
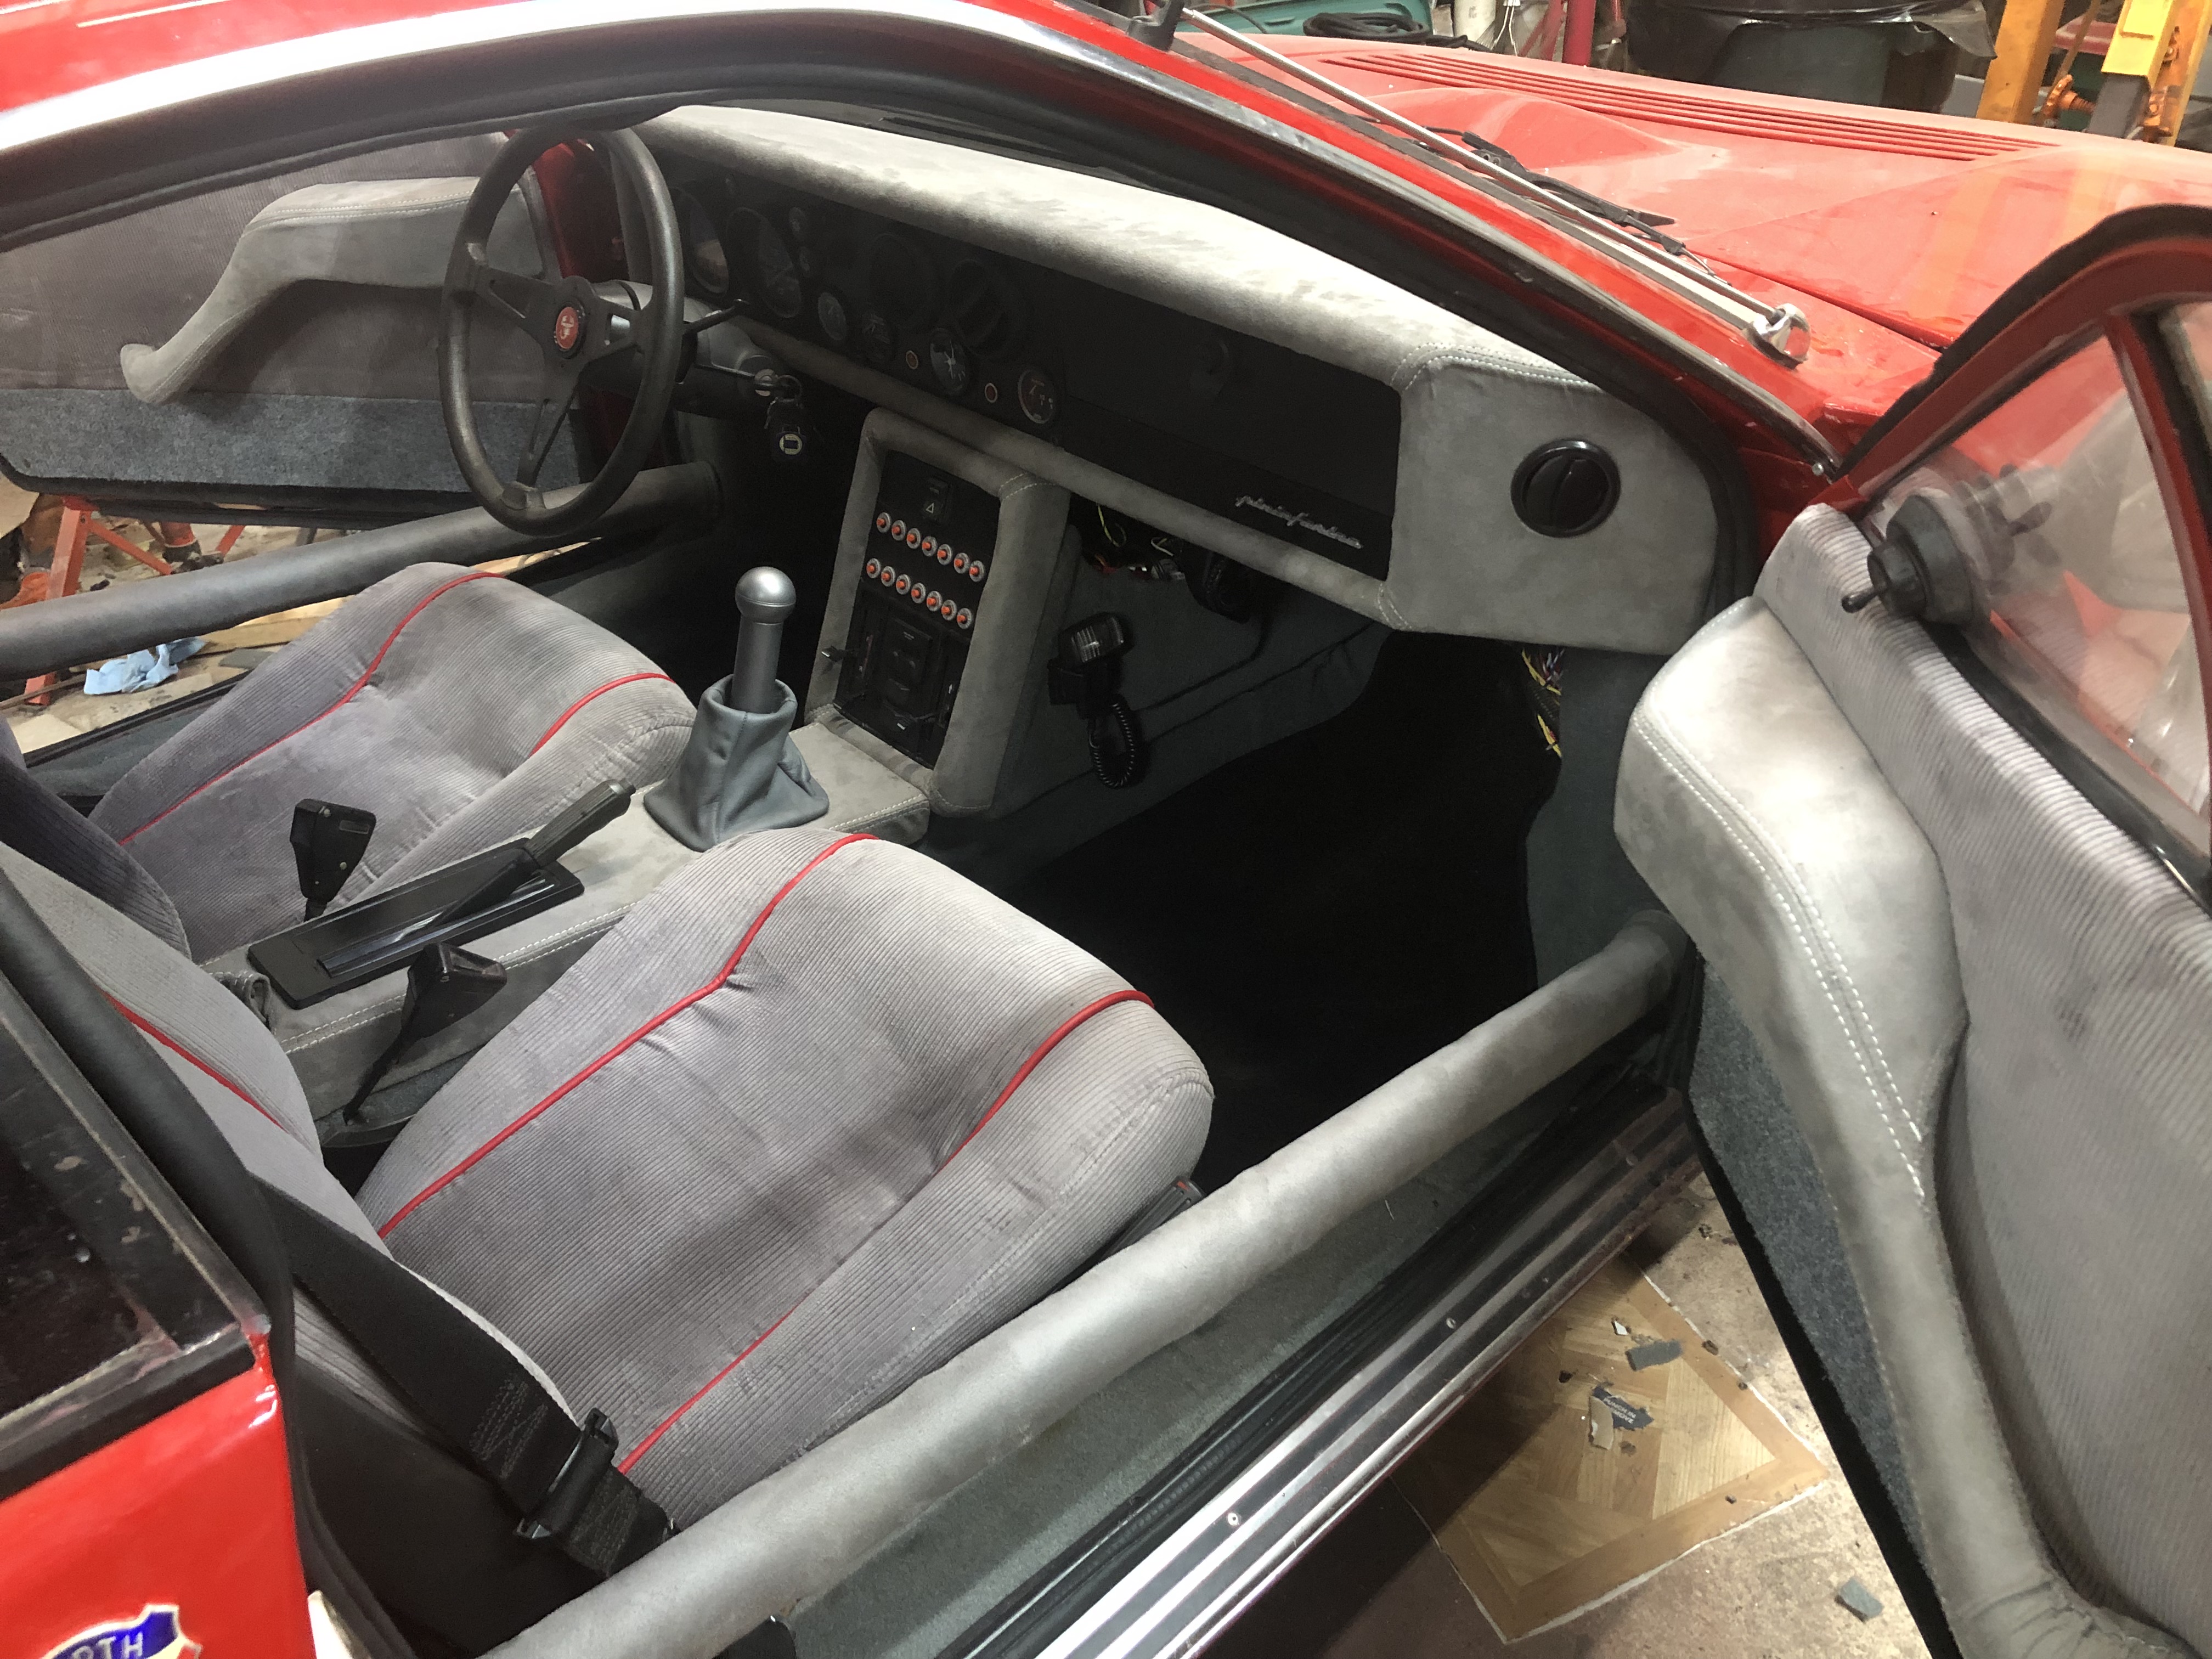
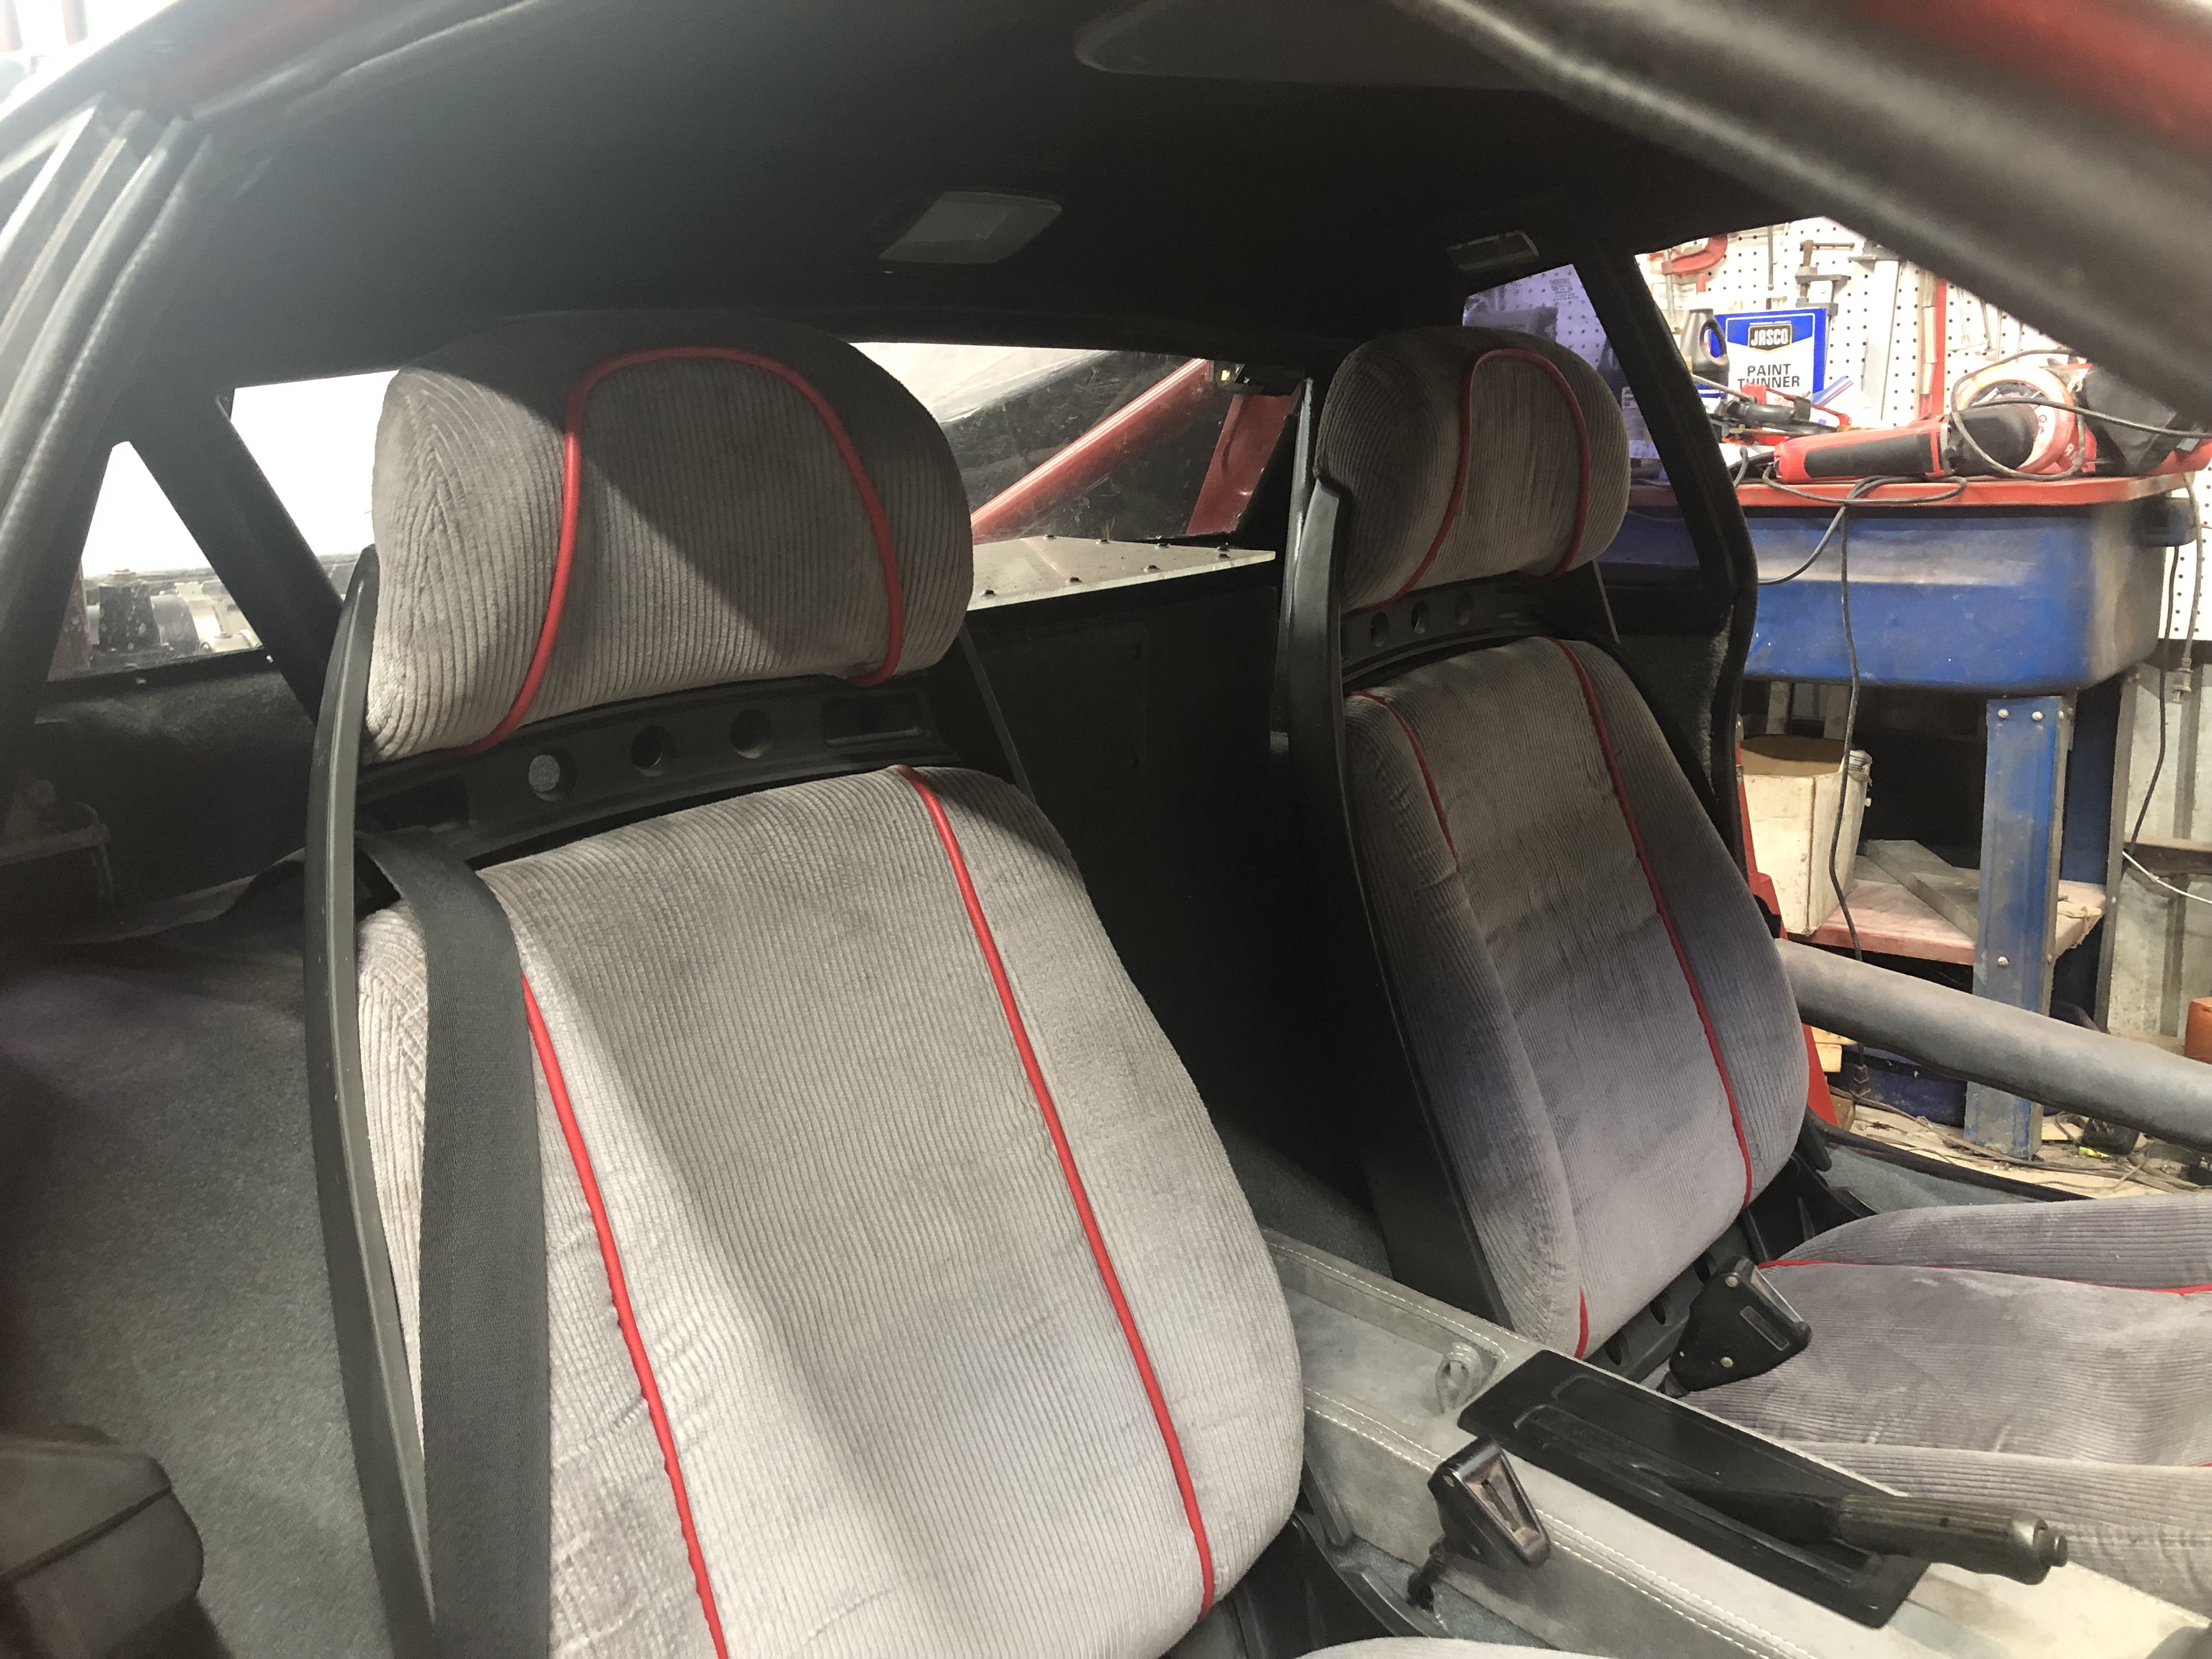
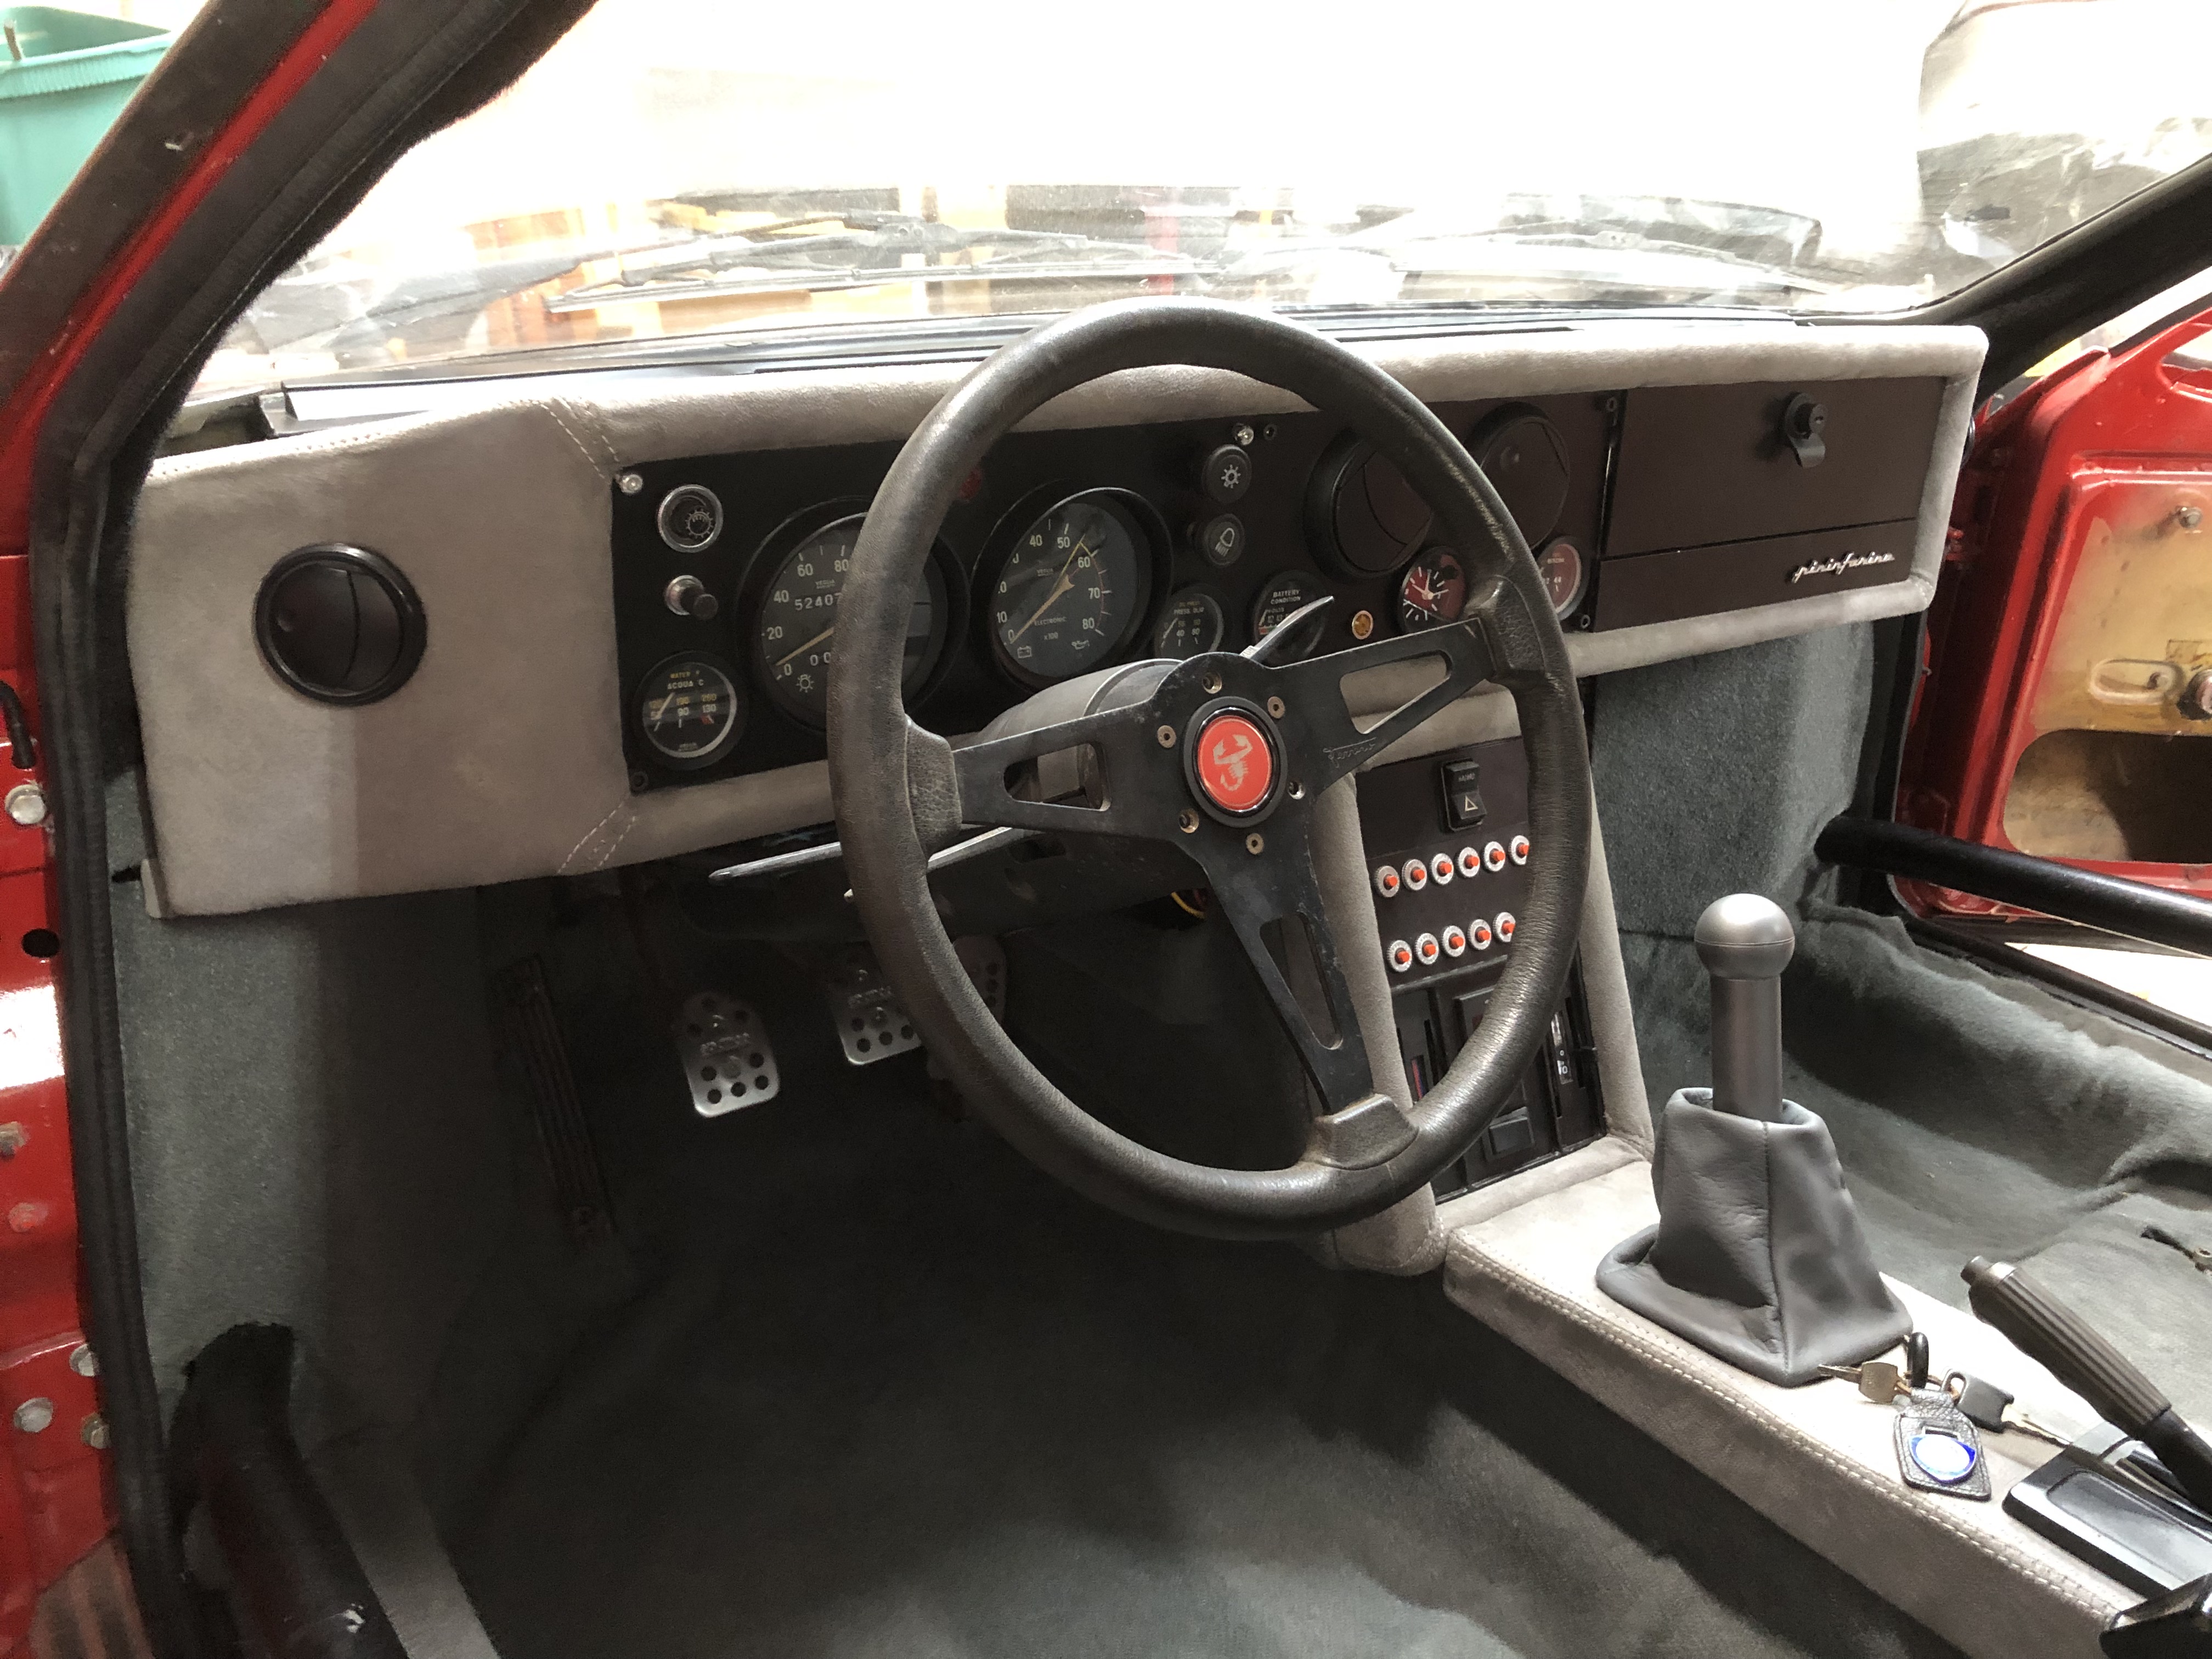
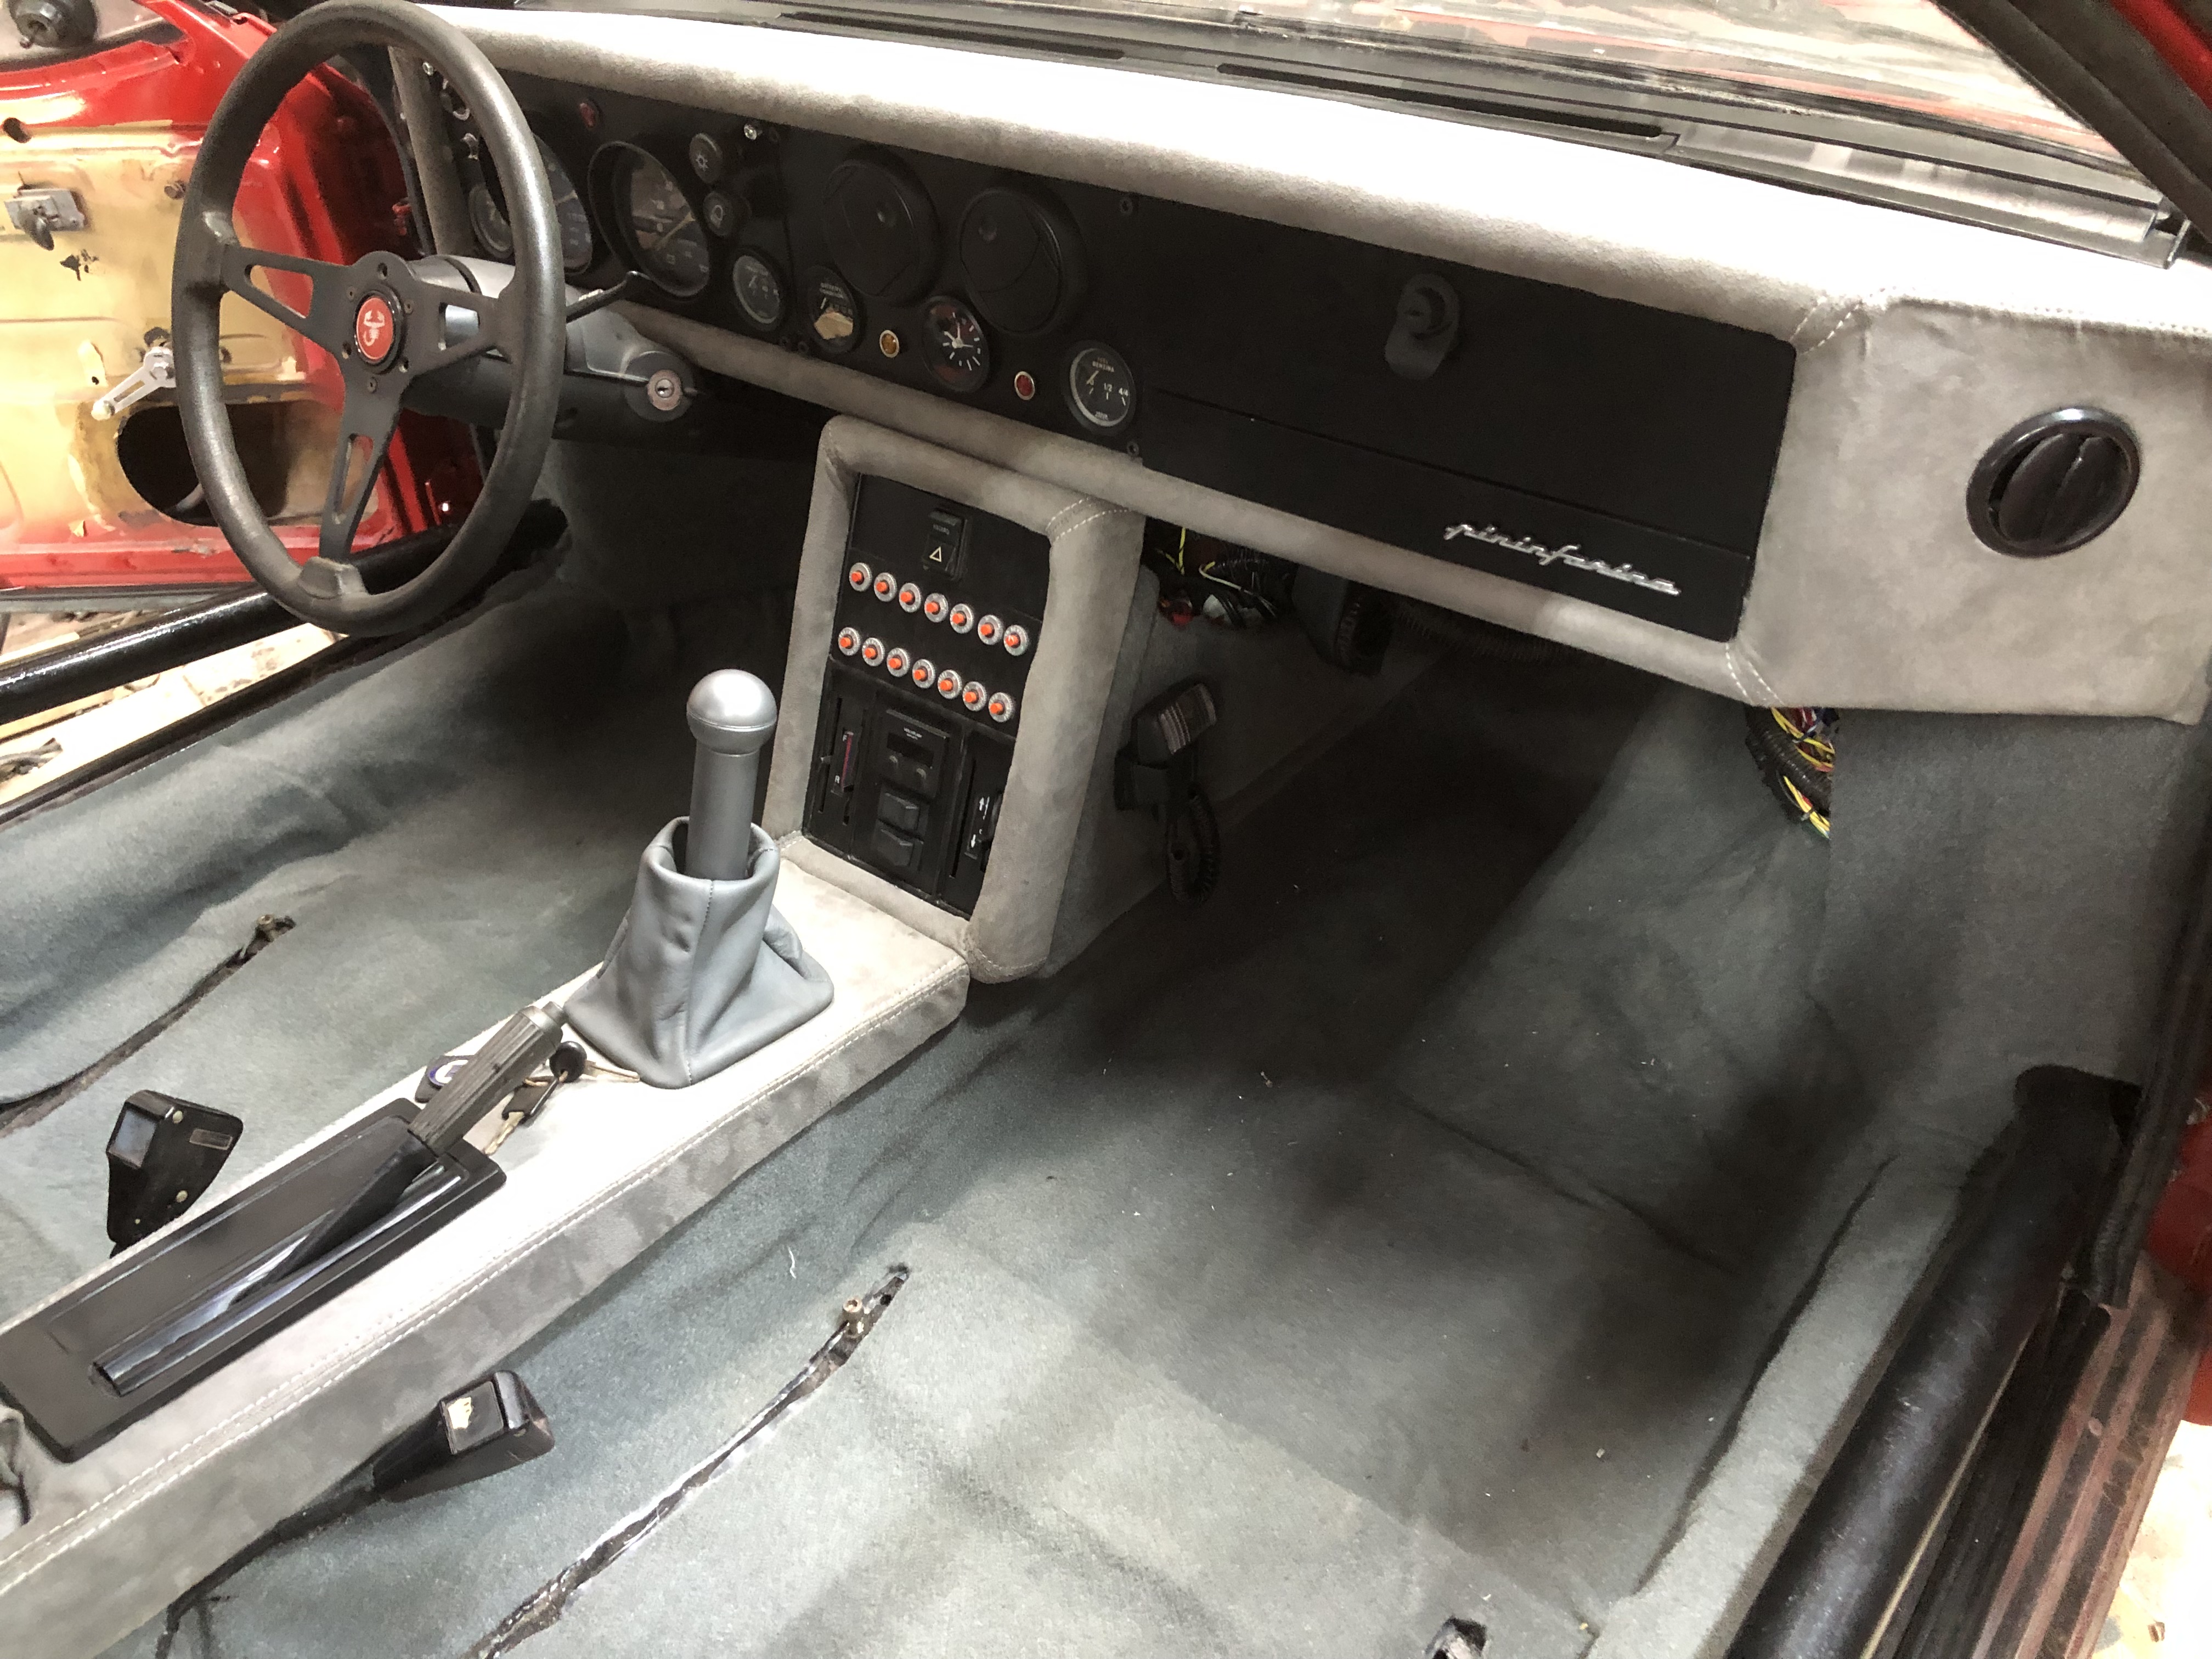
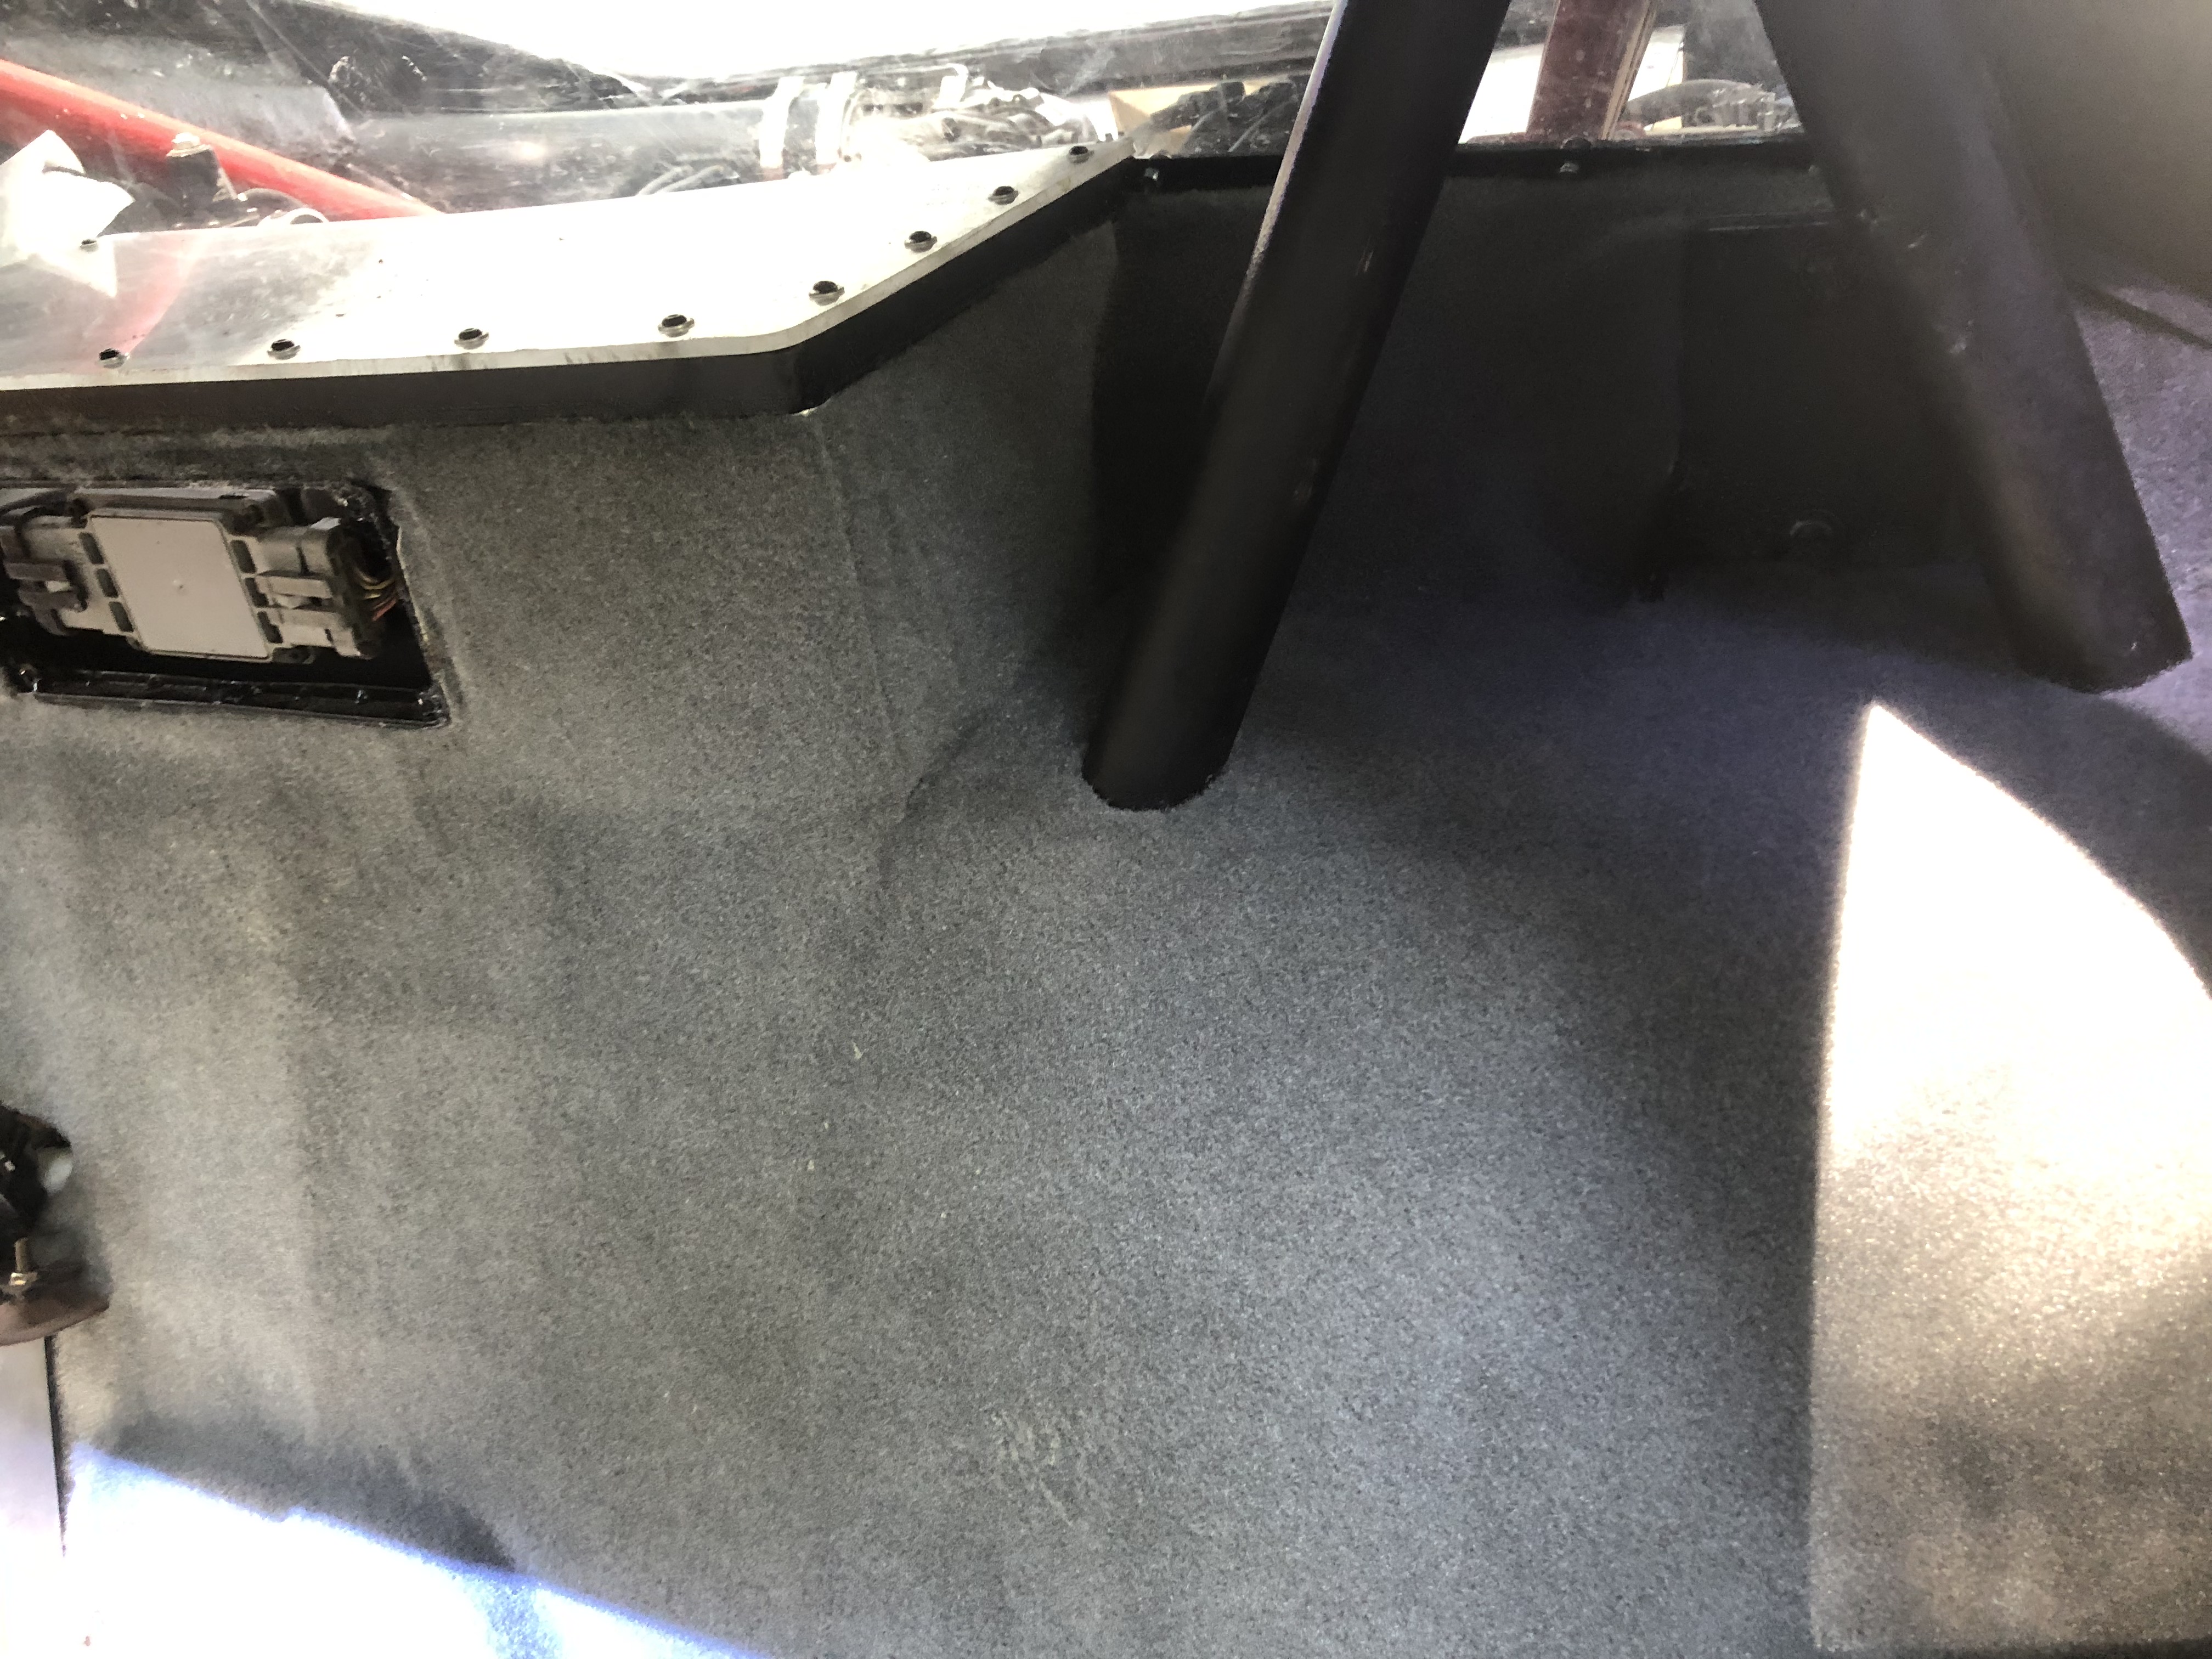
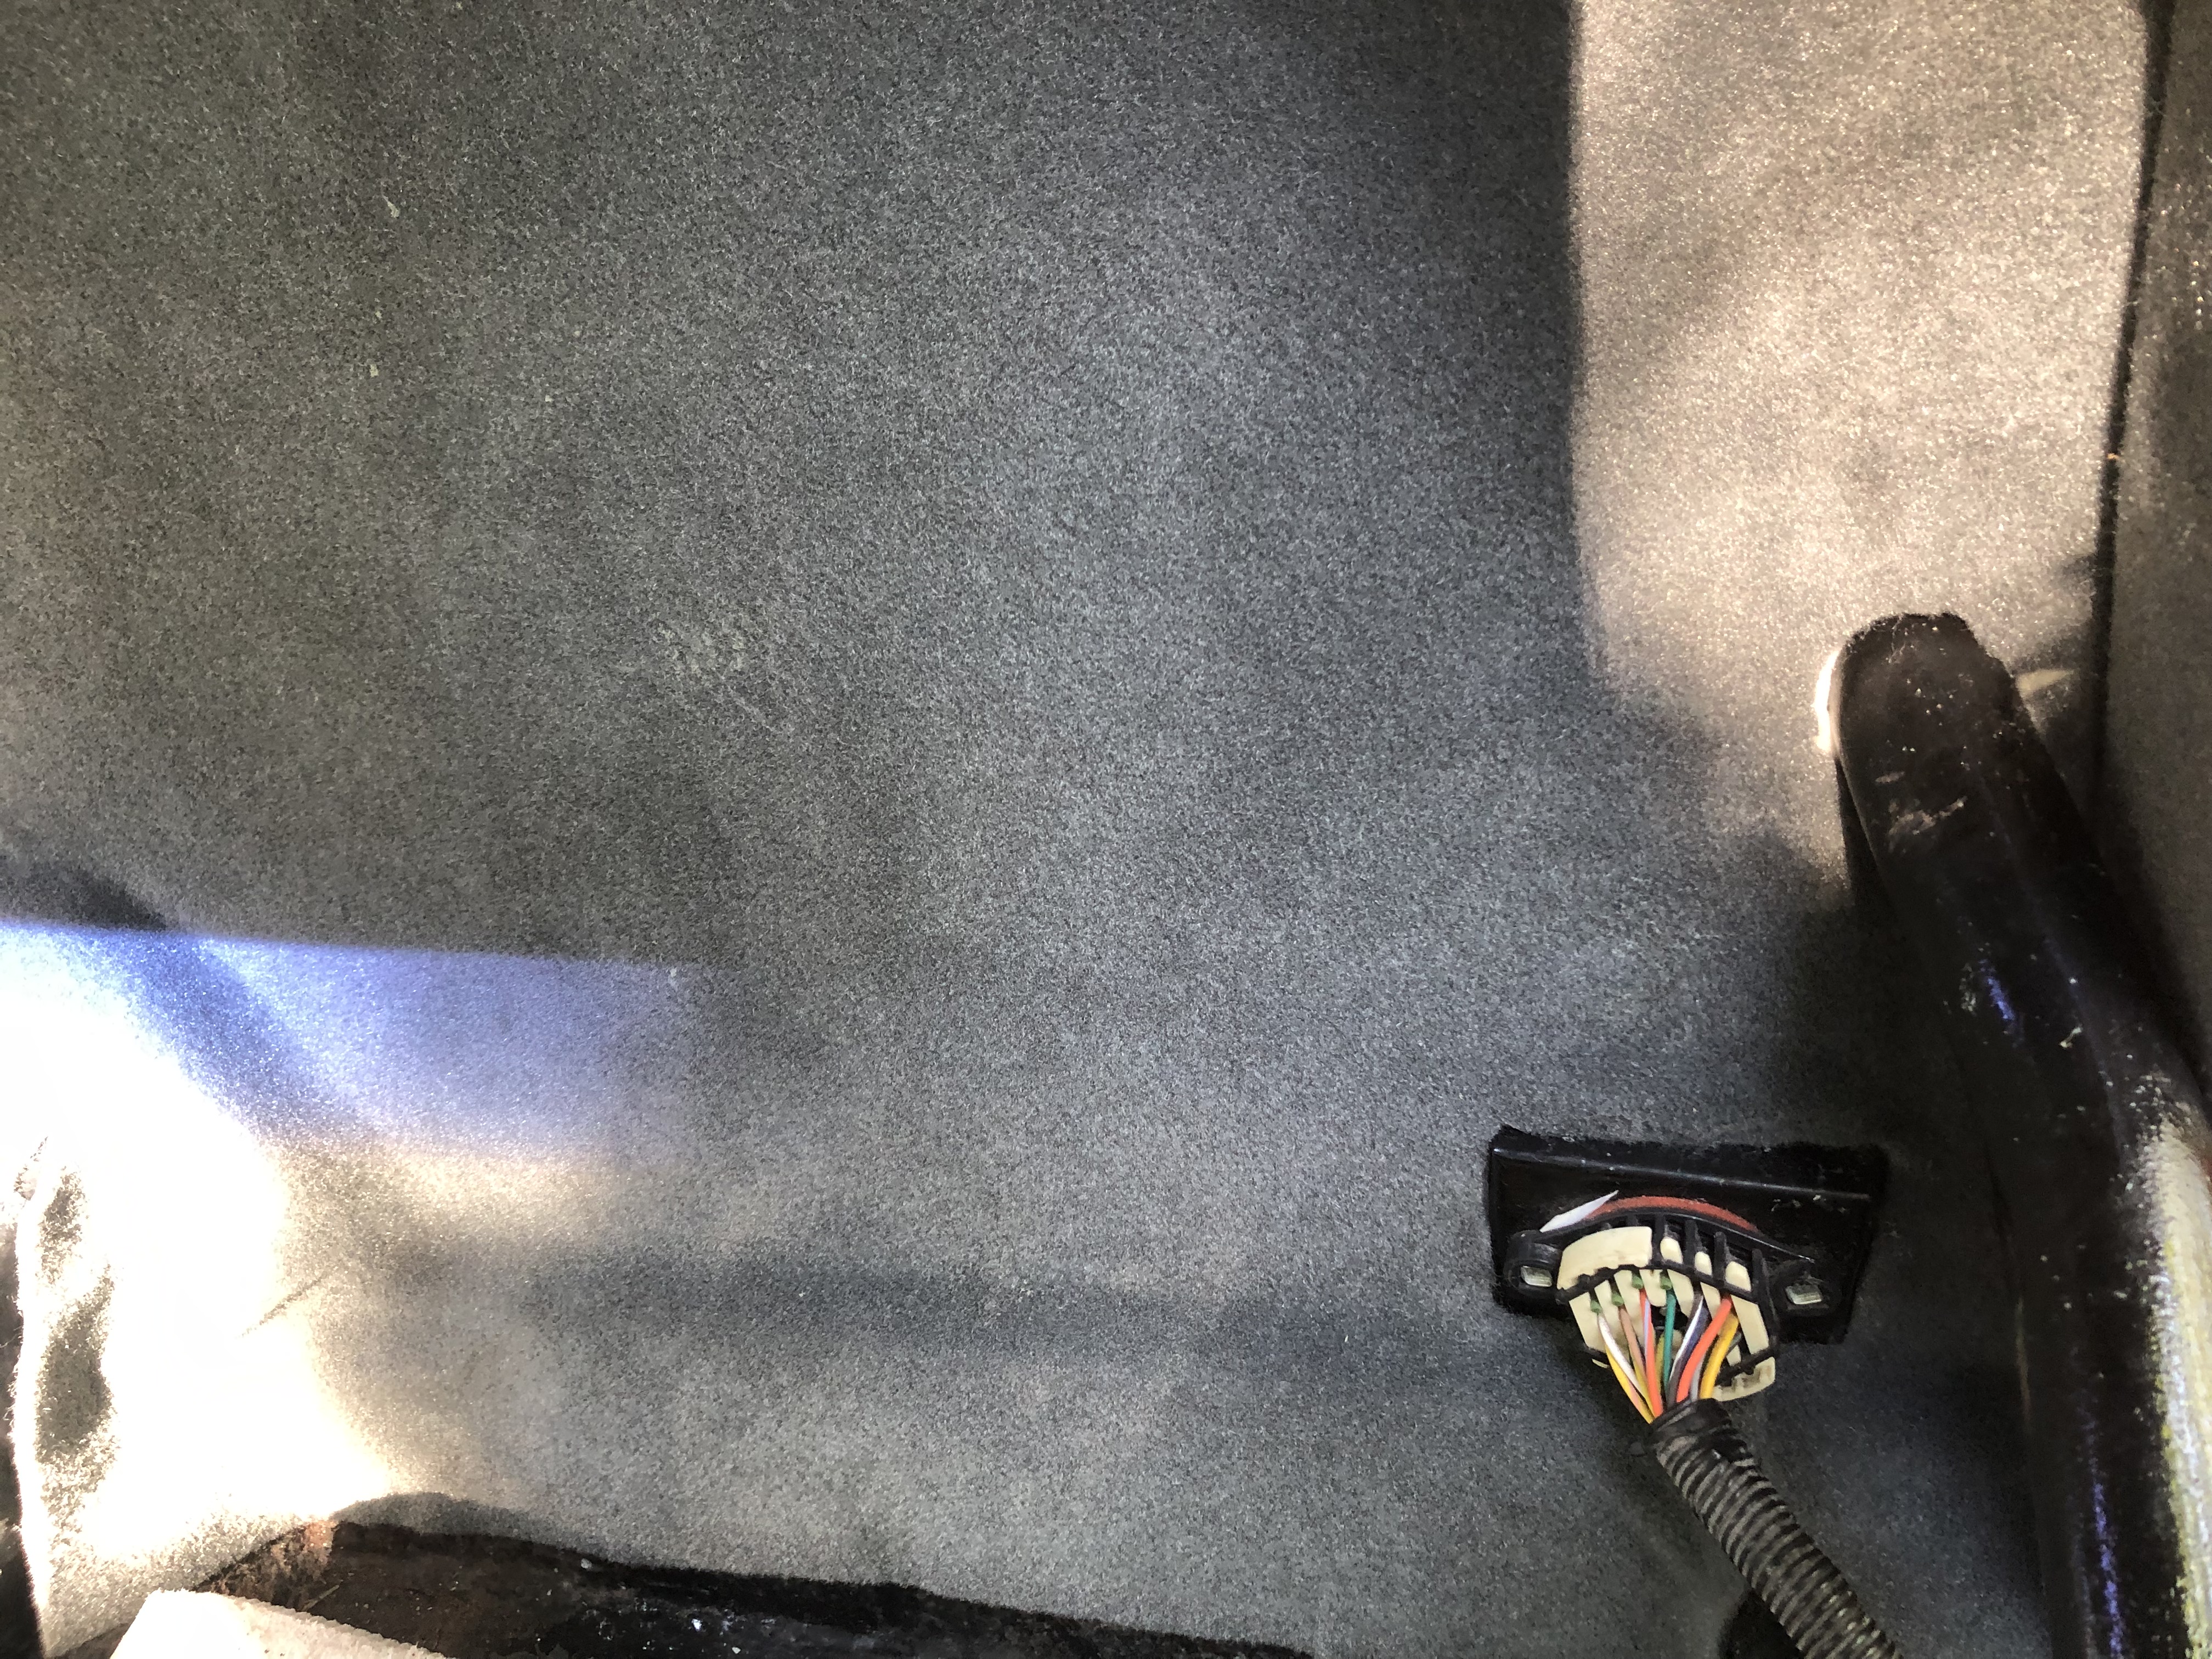
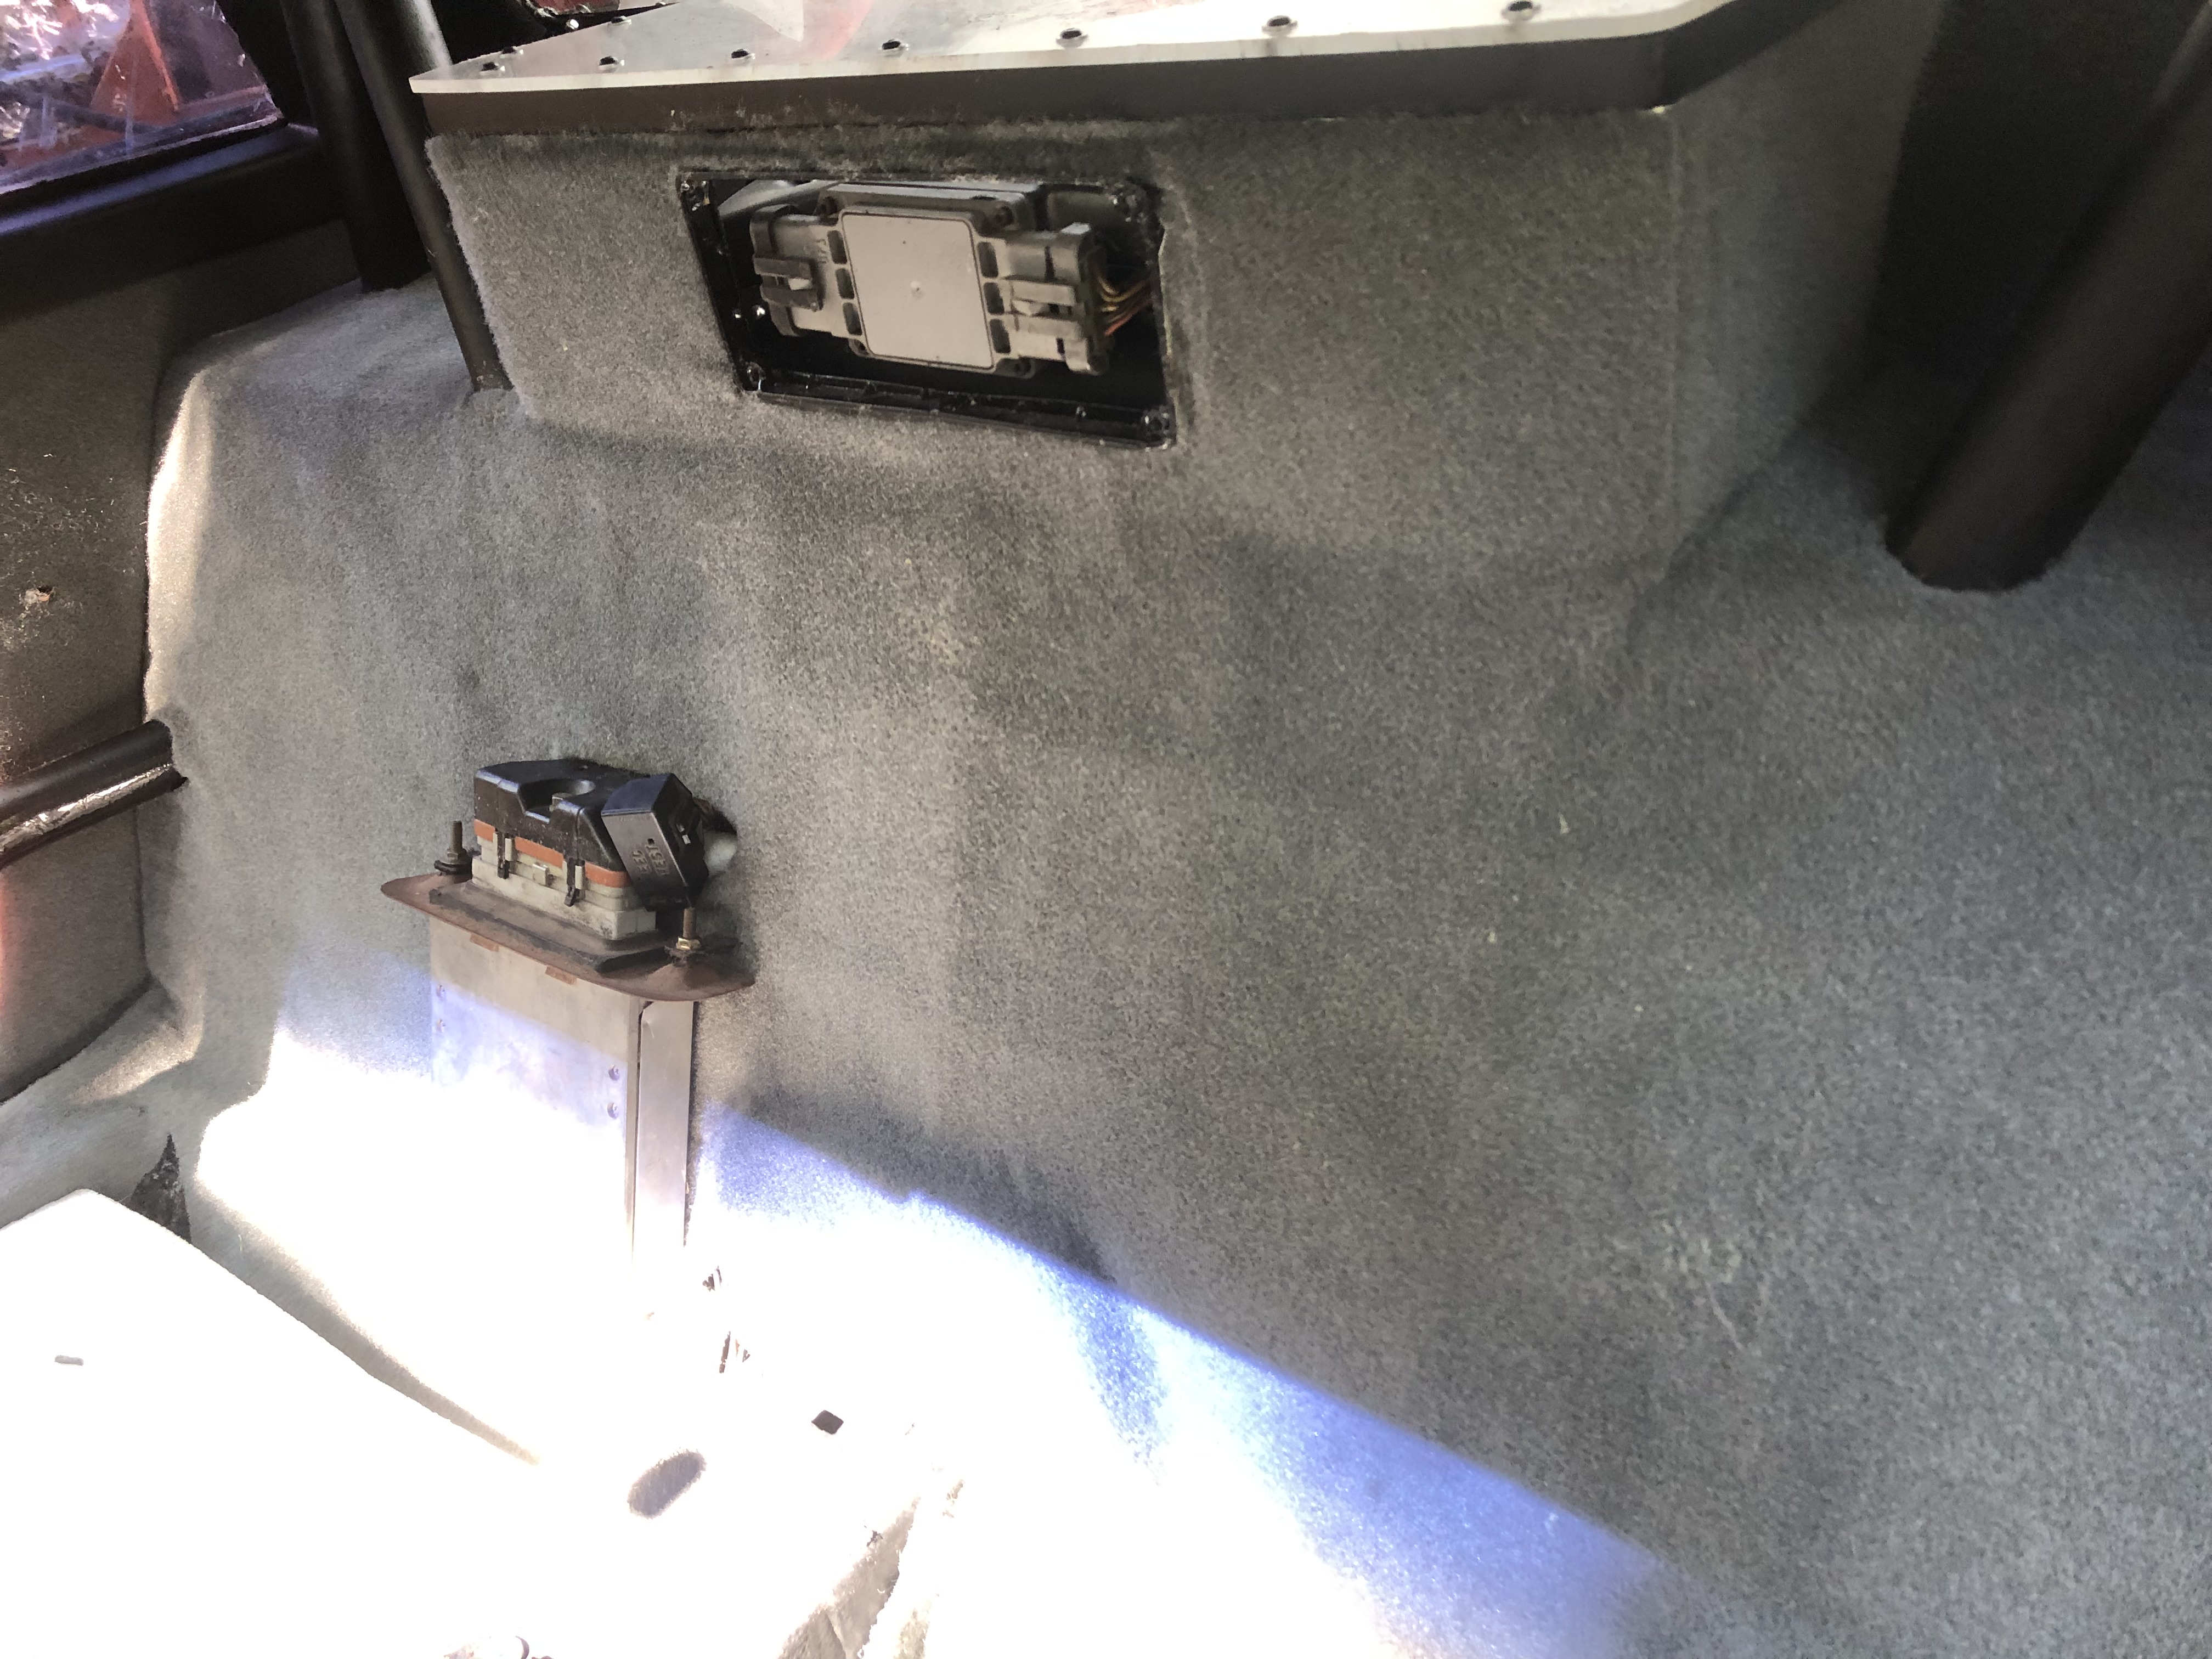
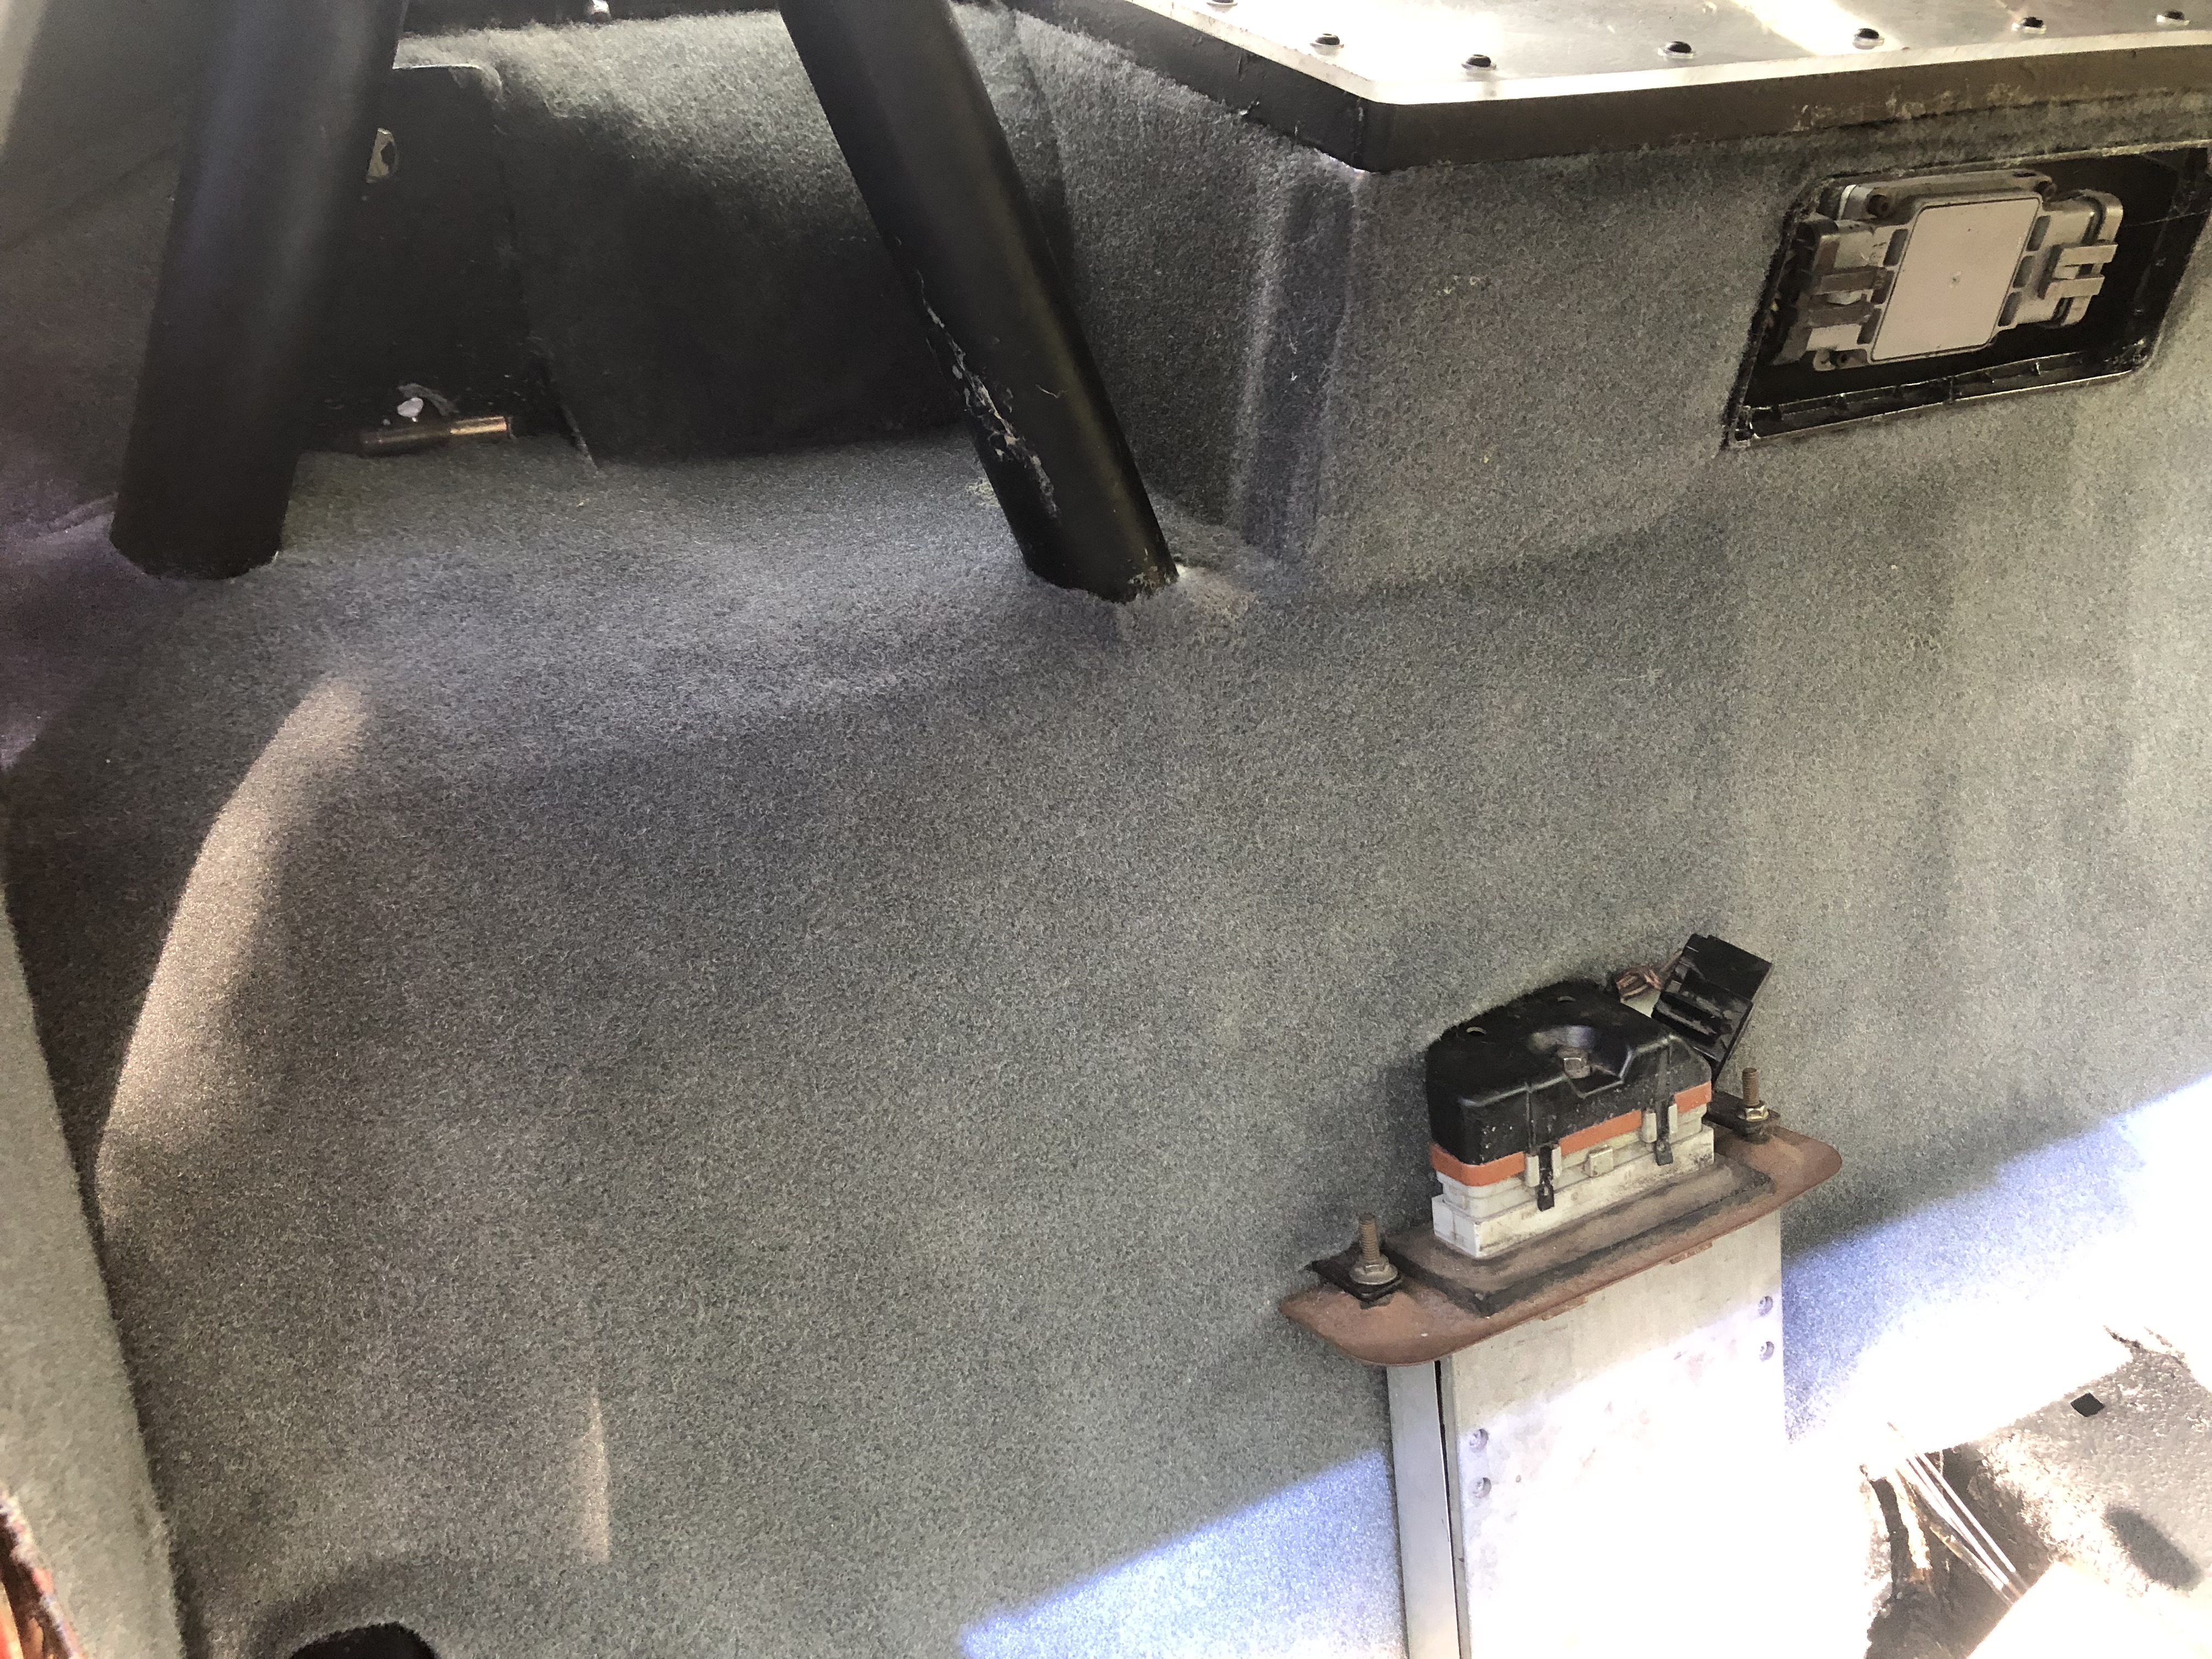
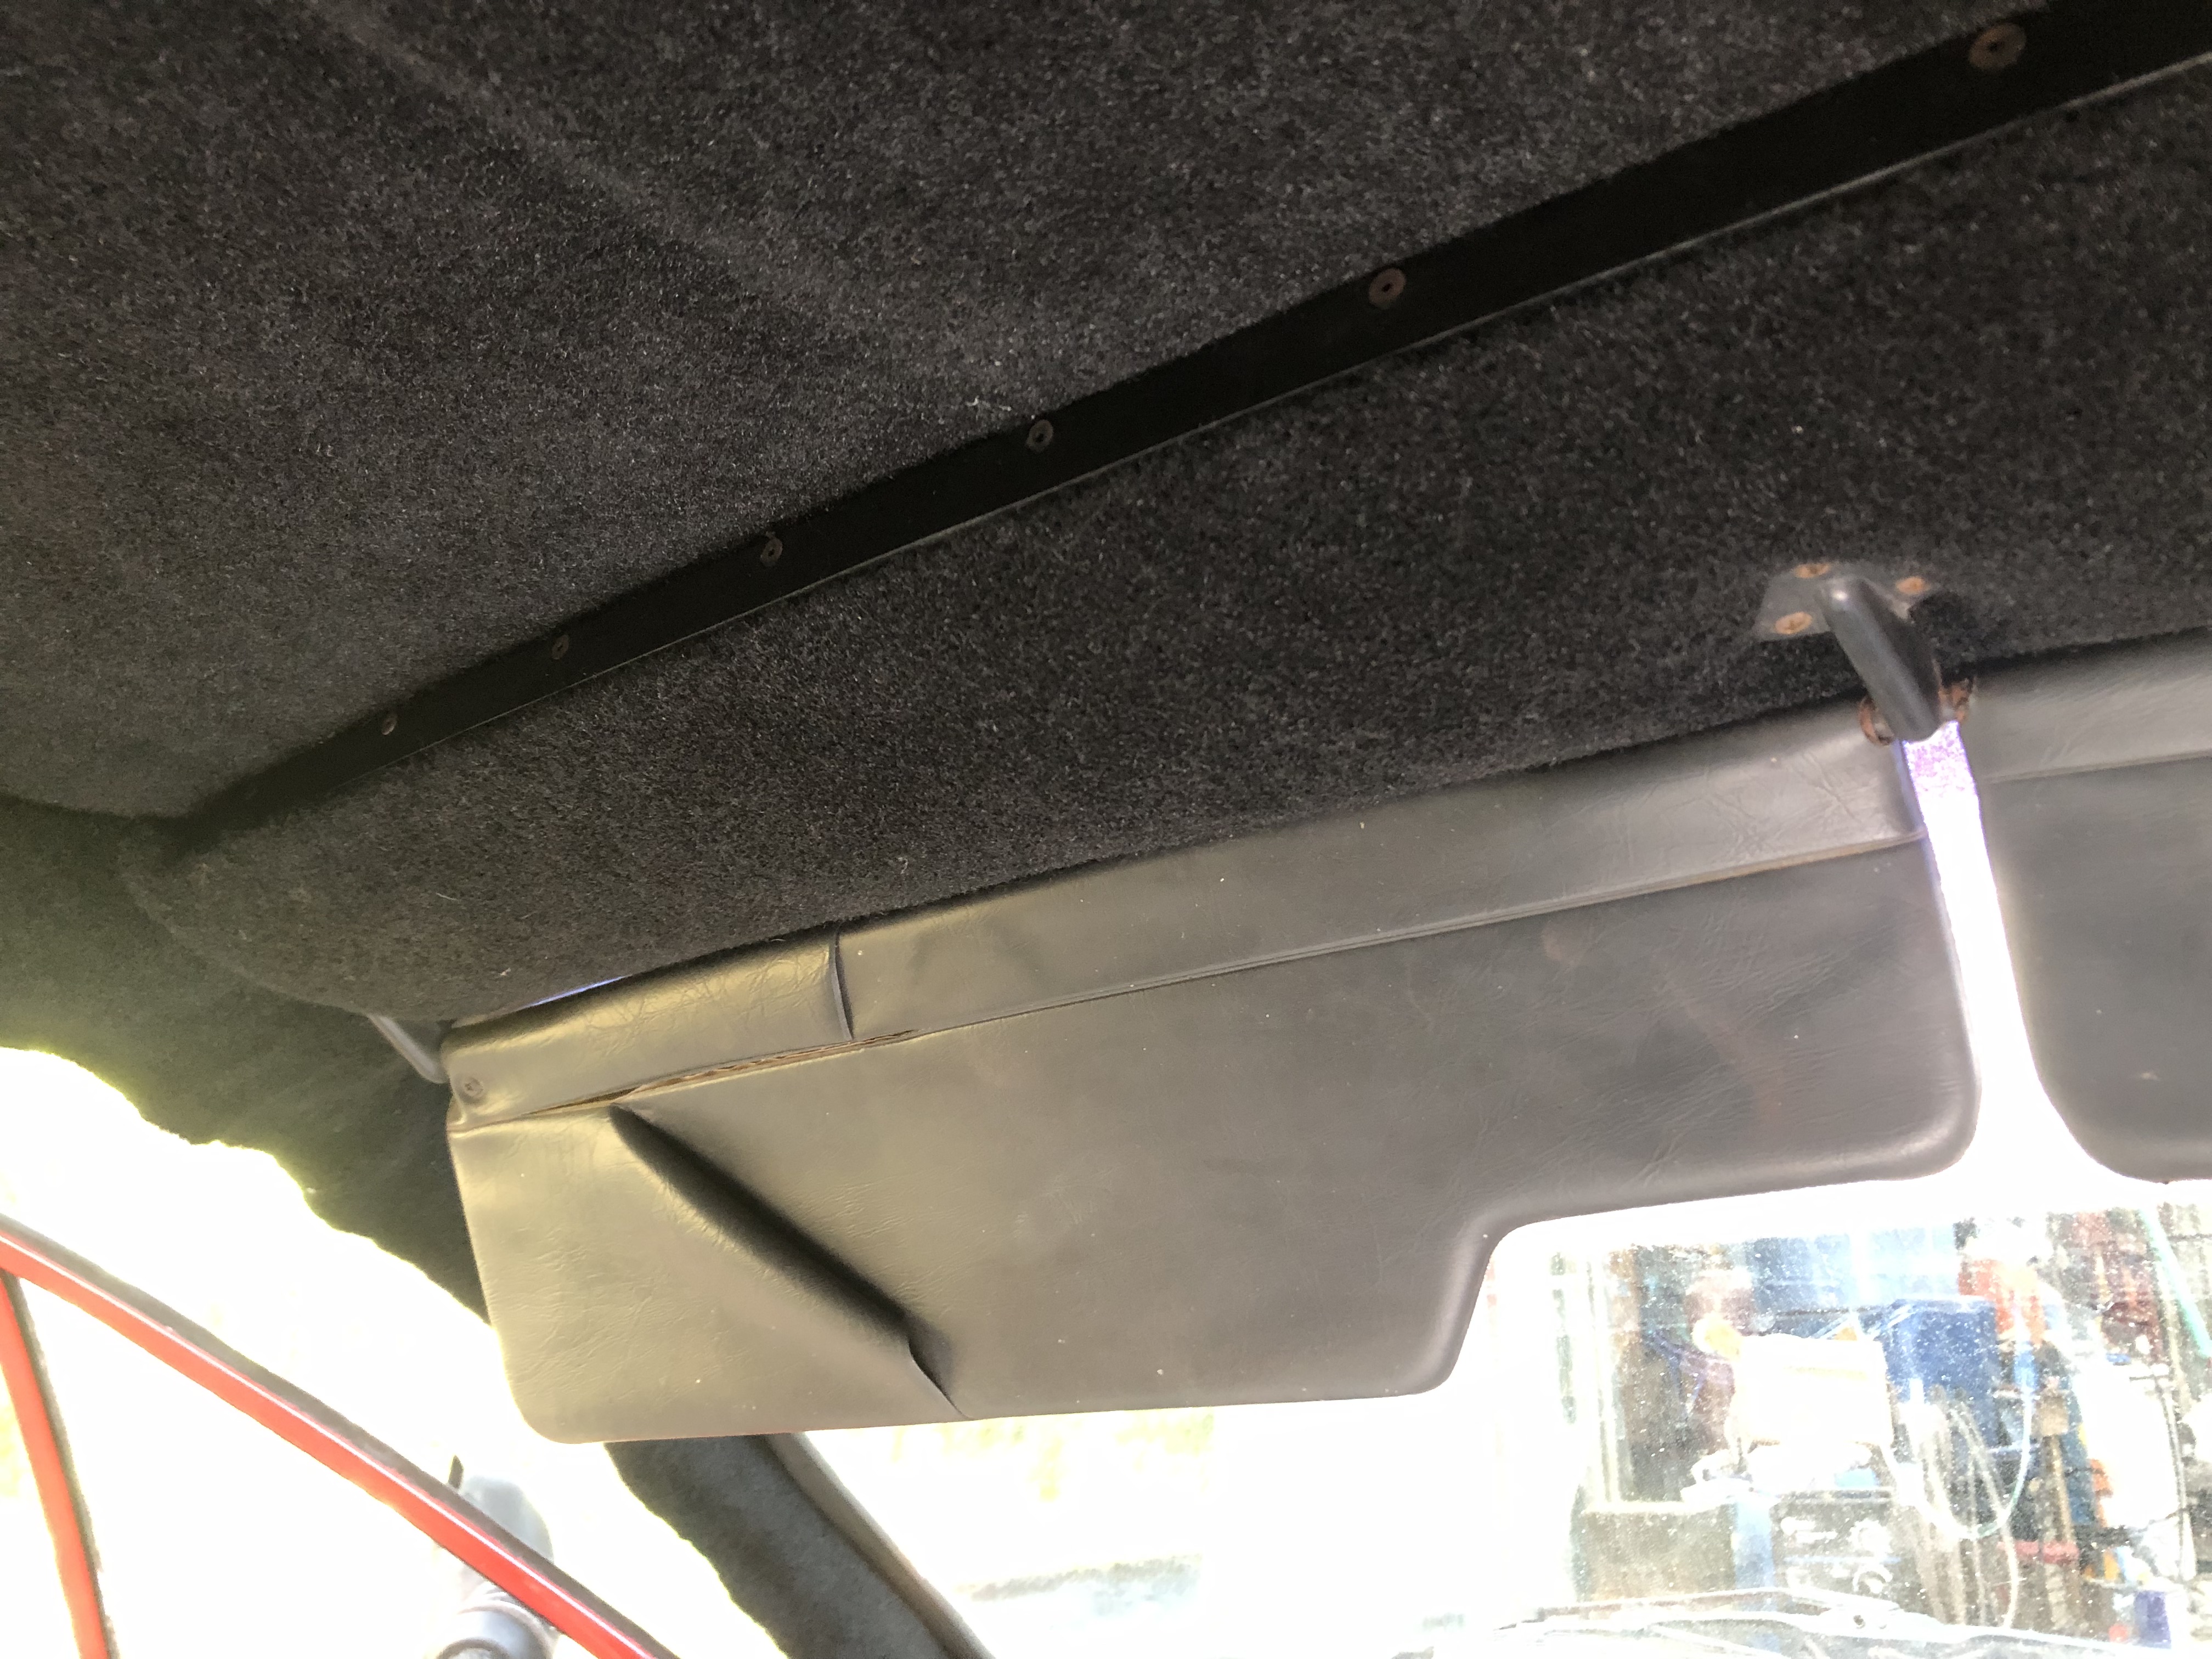
StandardThe interior is complete. Well, complete for now. I should point out that the under-seat and footwell carpeting is temporary, I just used flexform carpet material to create a quick covering. I will replace it with real carpeting sometime in the near future. So I’m not worried about the baggy or gathered appearance of it. Most of it is covered by the floormats anyway.
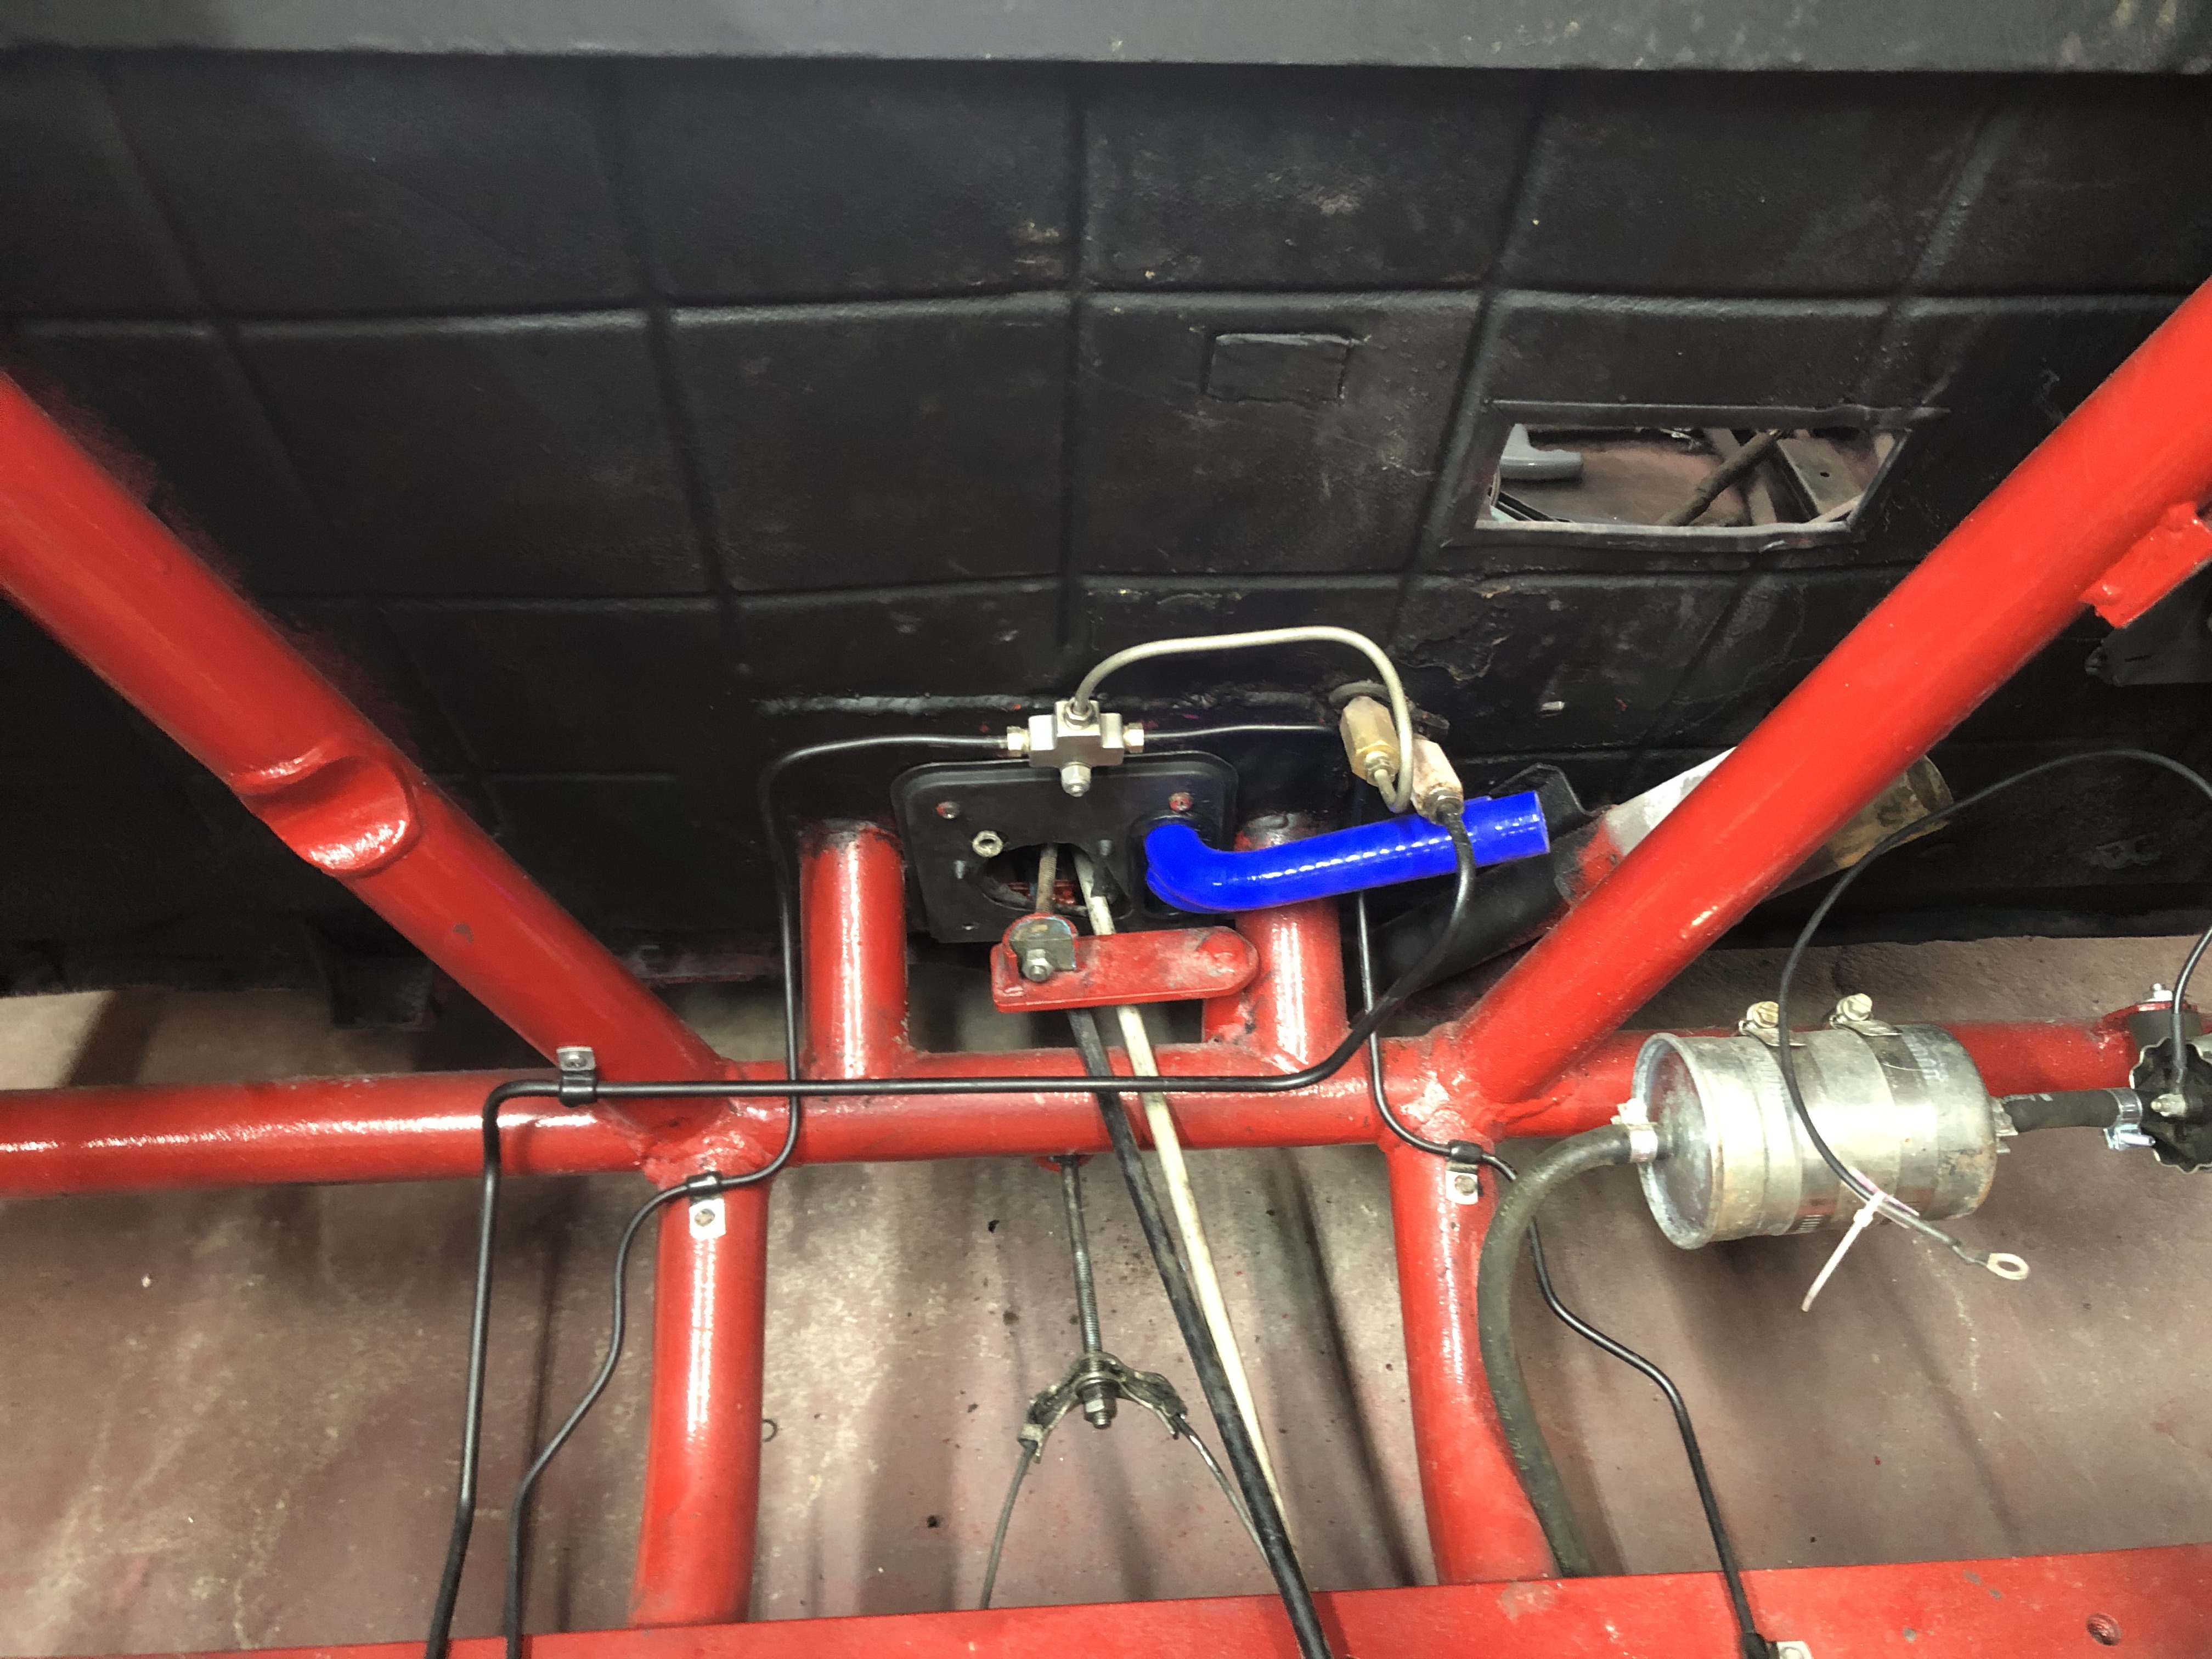
On another subject, in Part 1 I talked about a problem with the clutch, but never followed up. That turned out to be a leaking junction block. That was the good news. The bad news was that it was on the engine side of the firewall in the middle of roll cage tubing, heater hoses, shift cables, and all kinds of other stuff, so it was nearly inaccessible. That junction block is stock on the Scorpion, and I never moved it, which was a mistake. I ended up redoing the entire clutch line from master to slave, with a total of 3 junction blocks. Two are inside the cabin, just after passing through the bulkheads front and rear. The third is in the engine bay and was necessary to be able to remove and replace the line. All junctions are holding fine, and after a vacuum bleed, I had a clutch again, so that’s sorted.
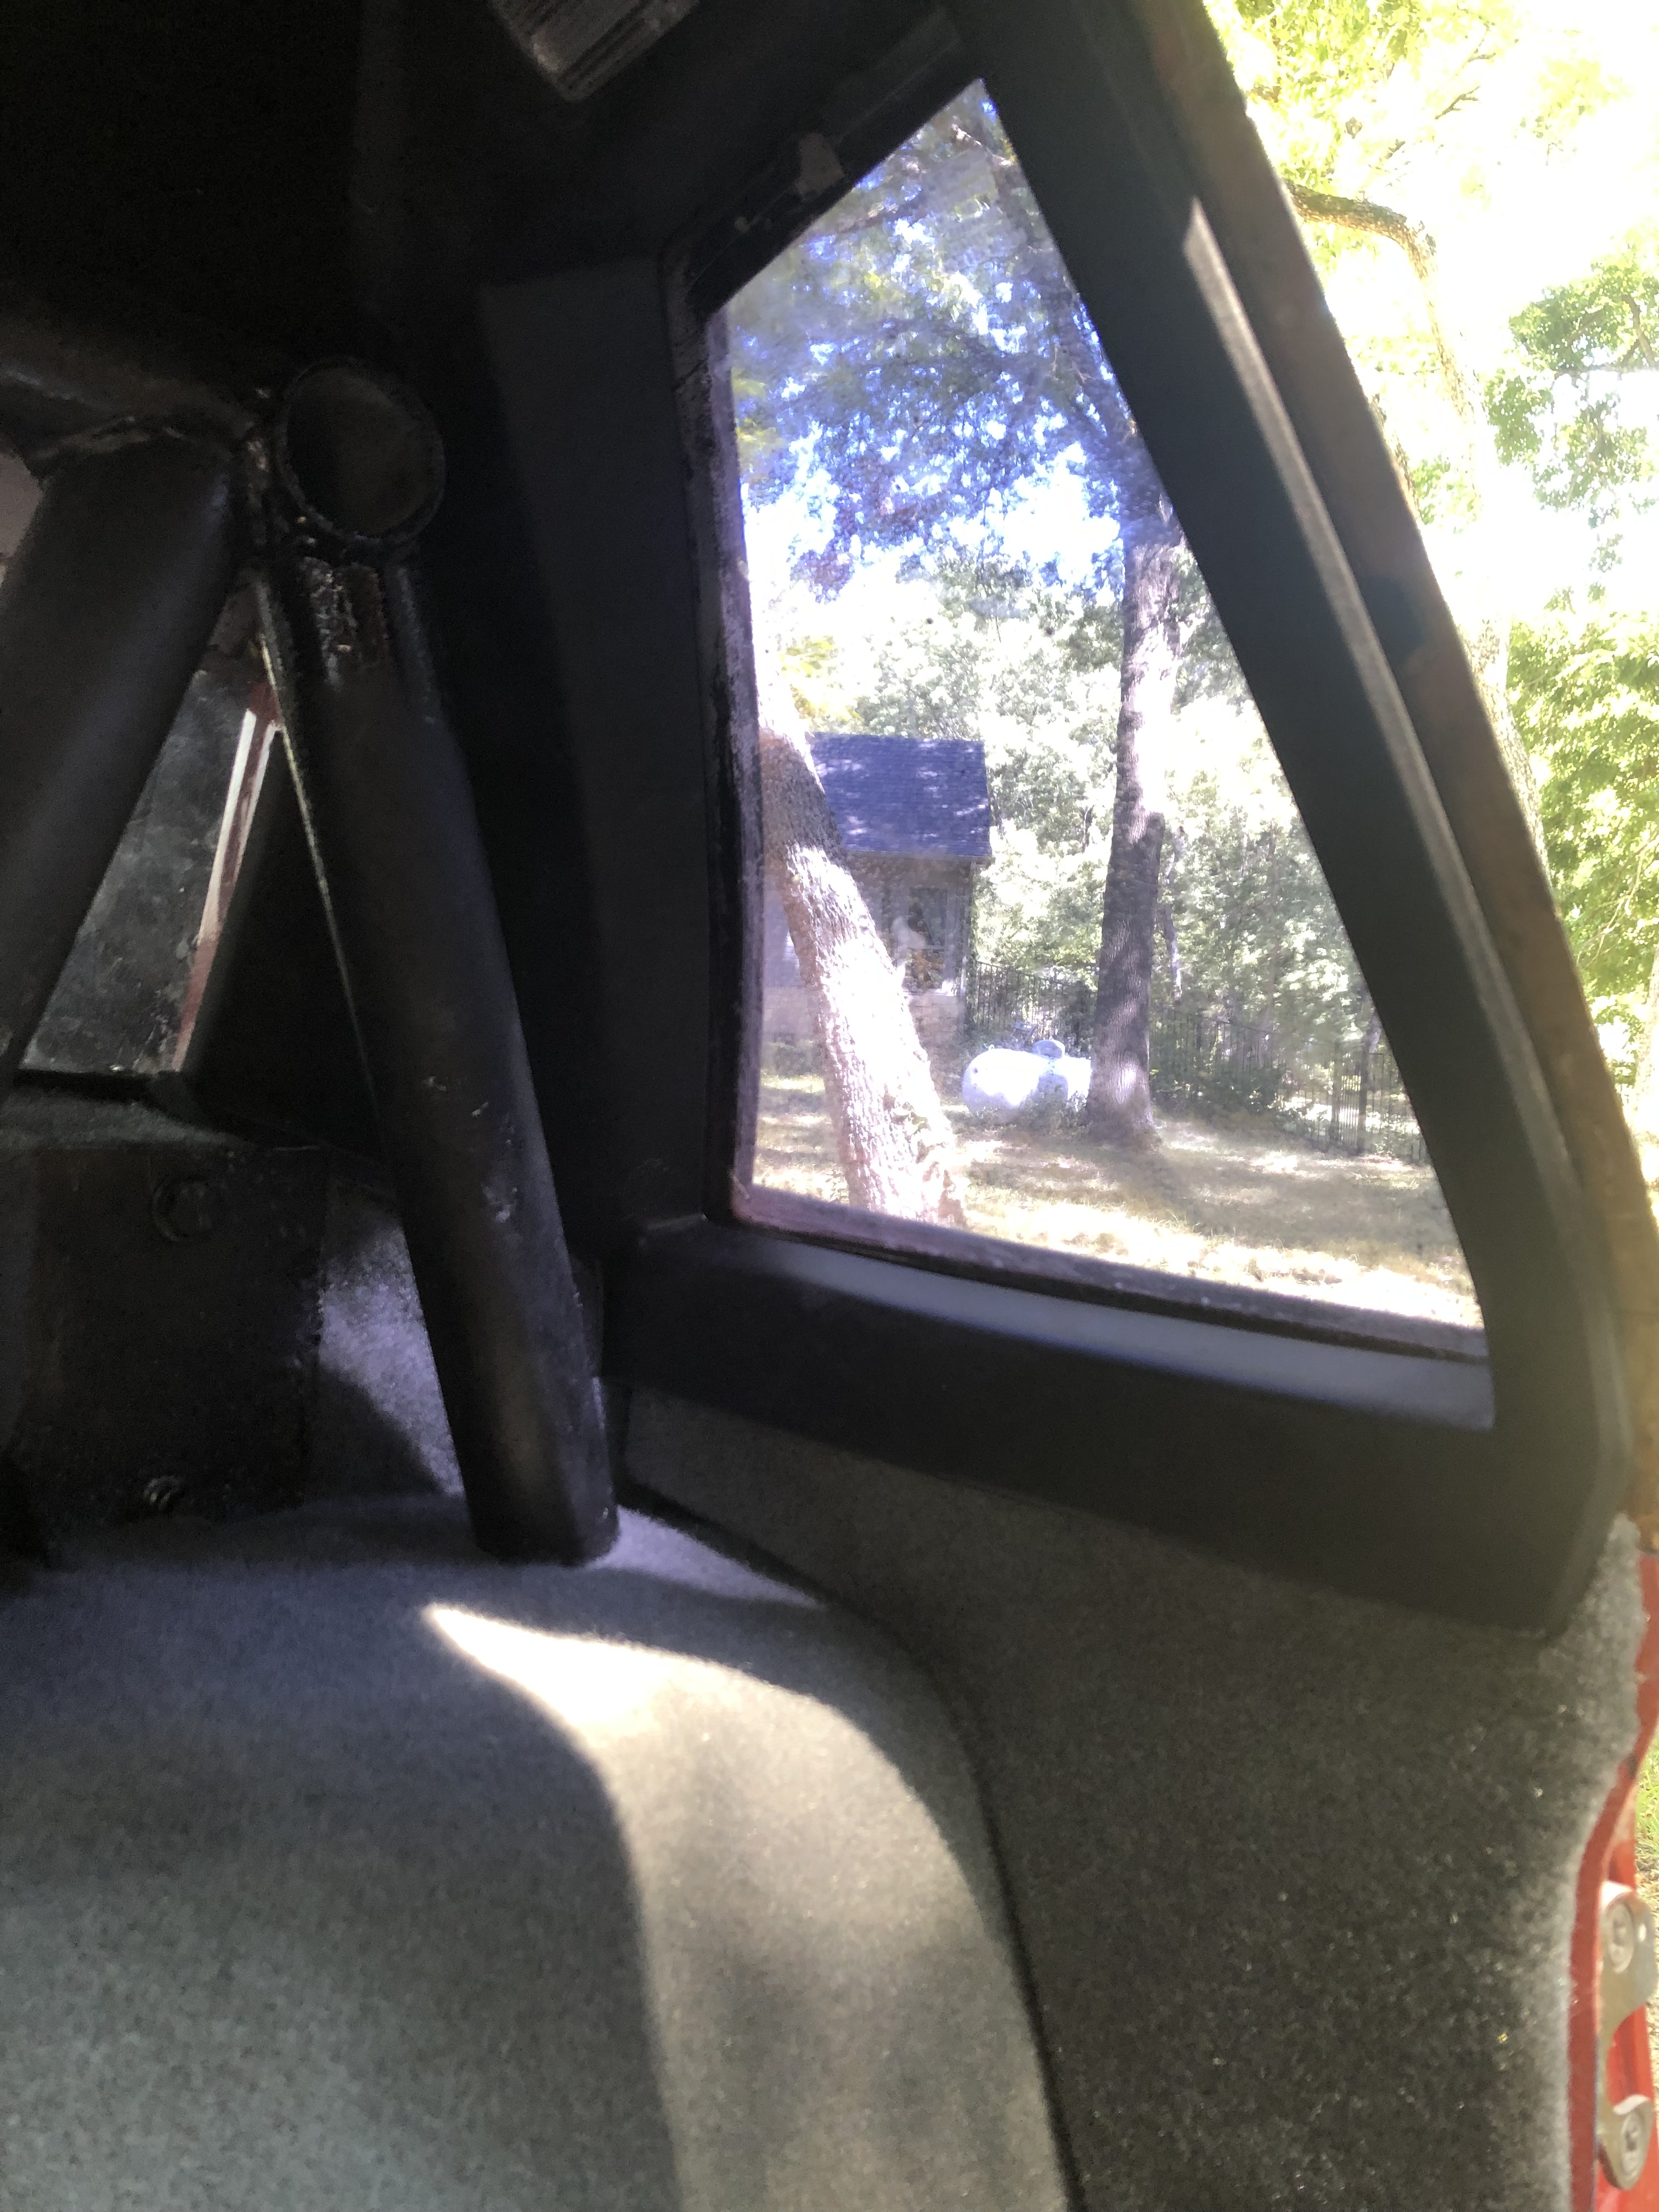
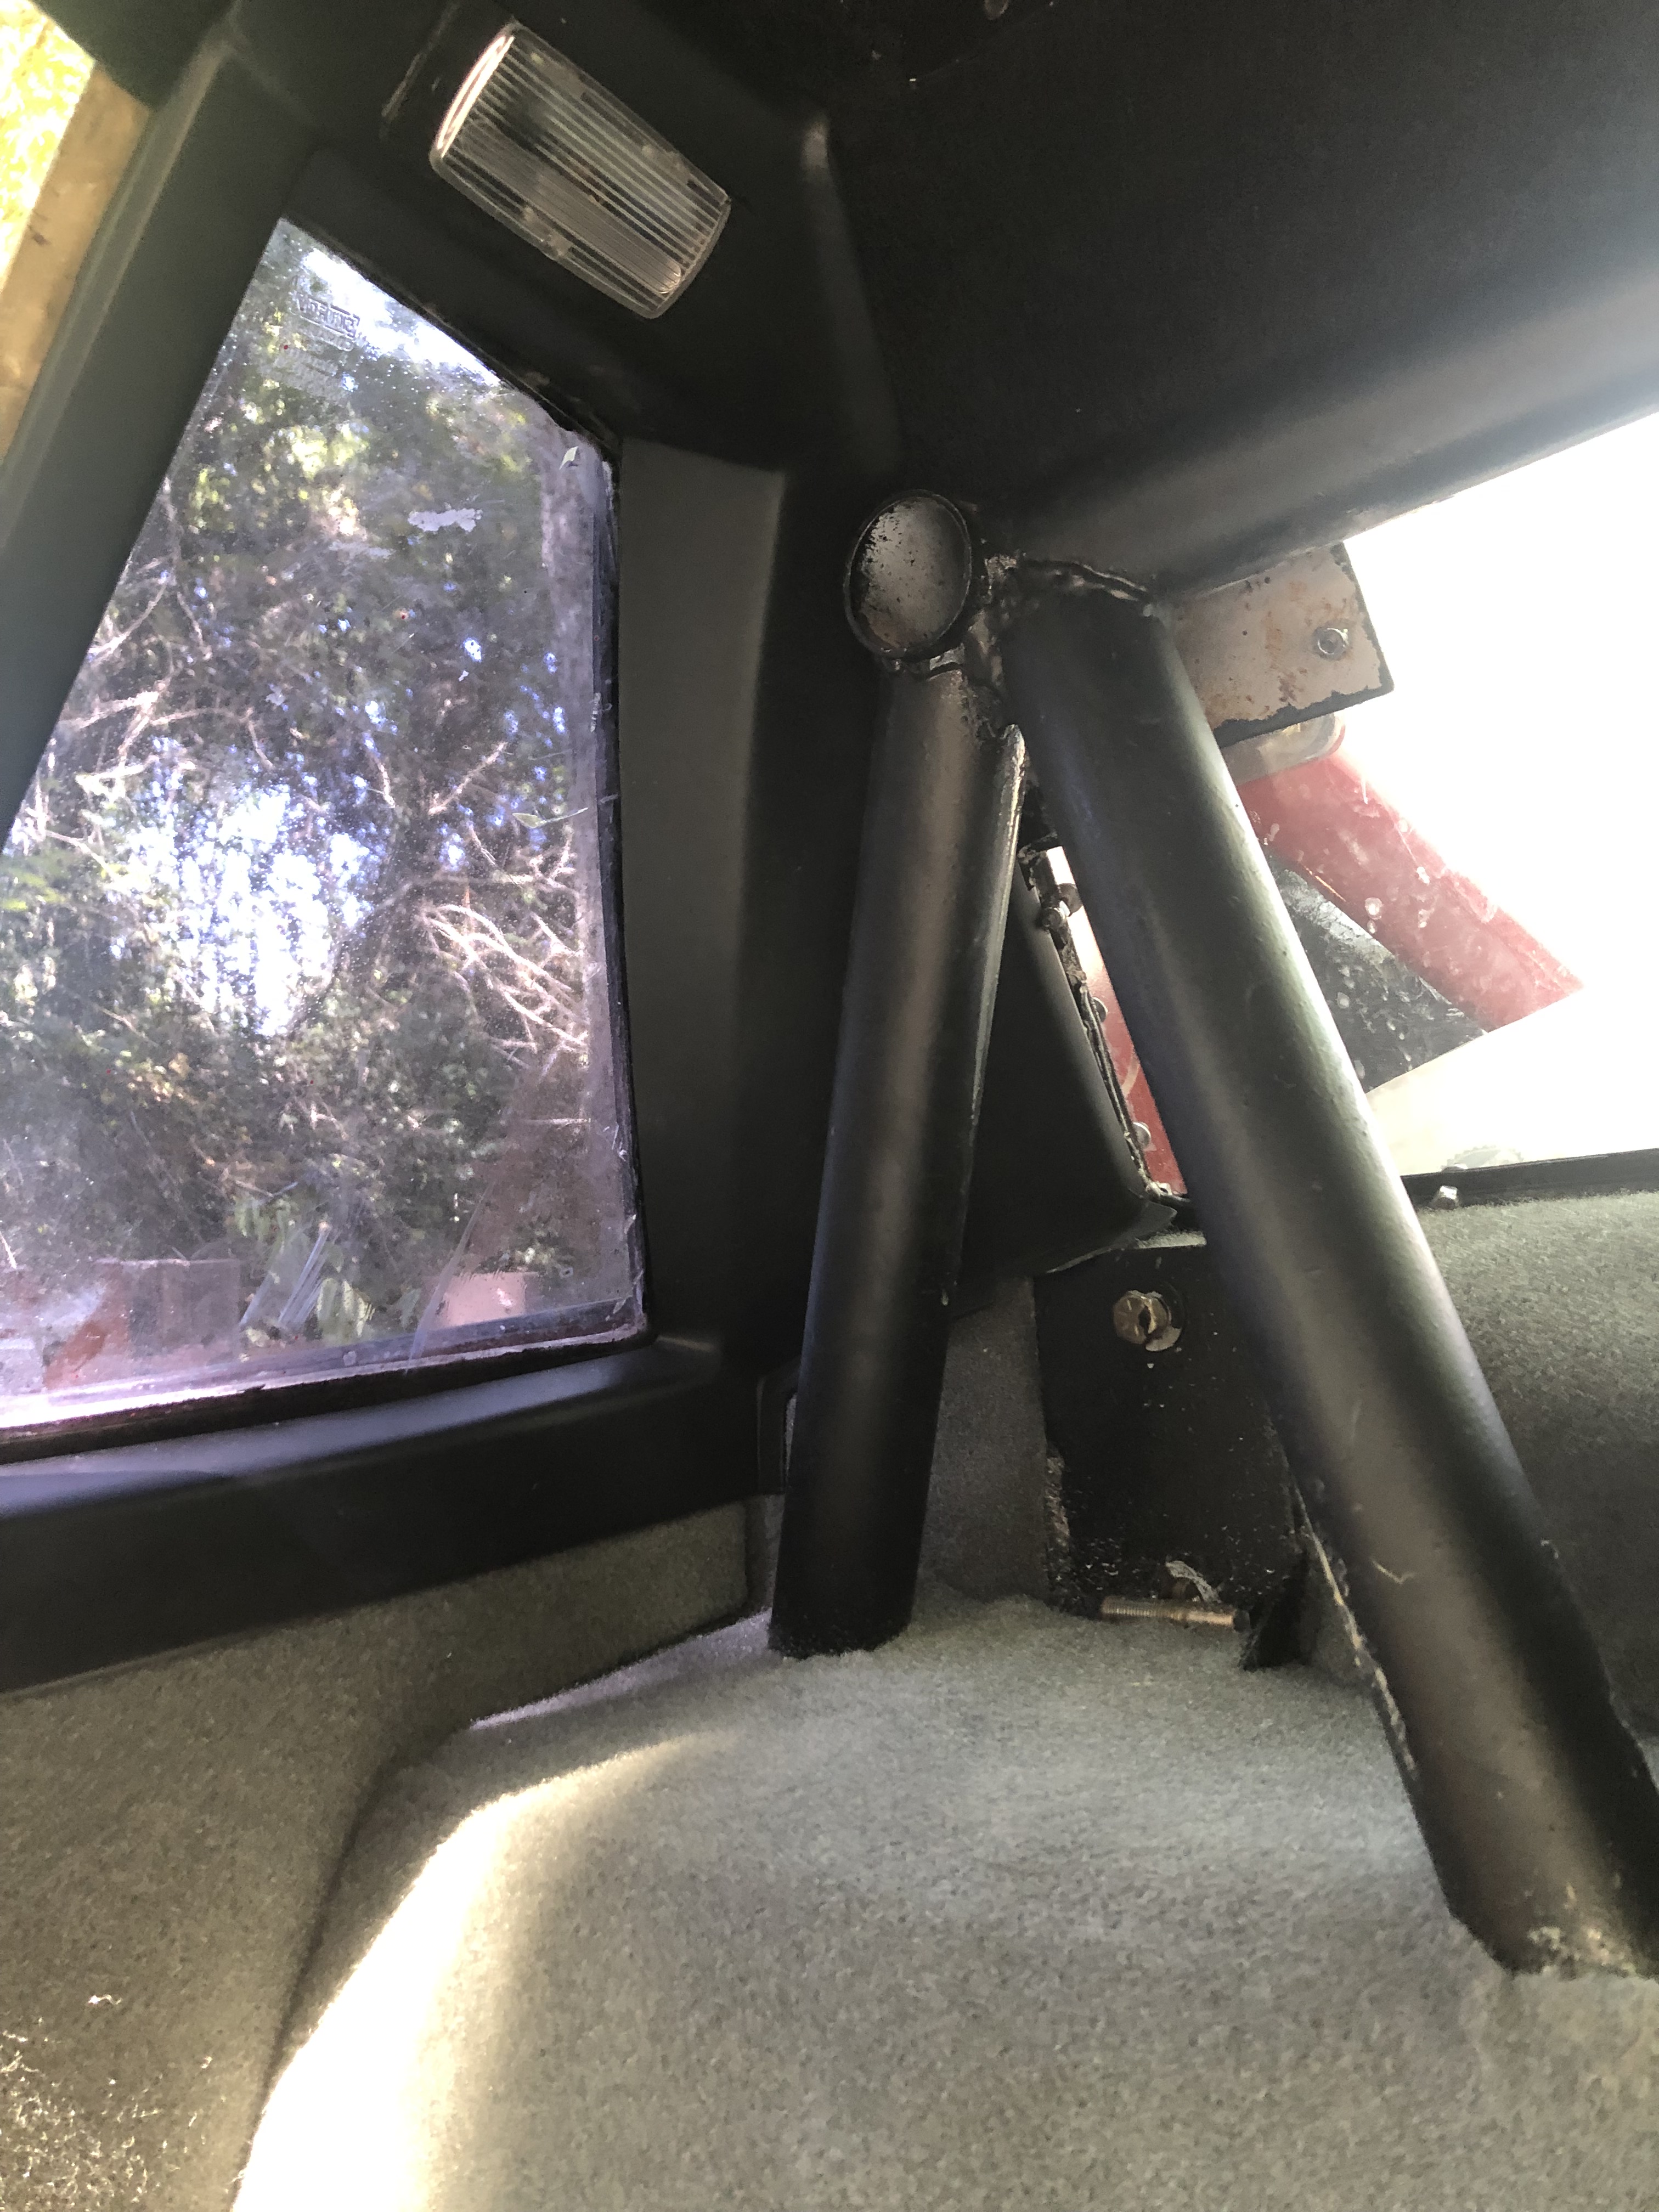
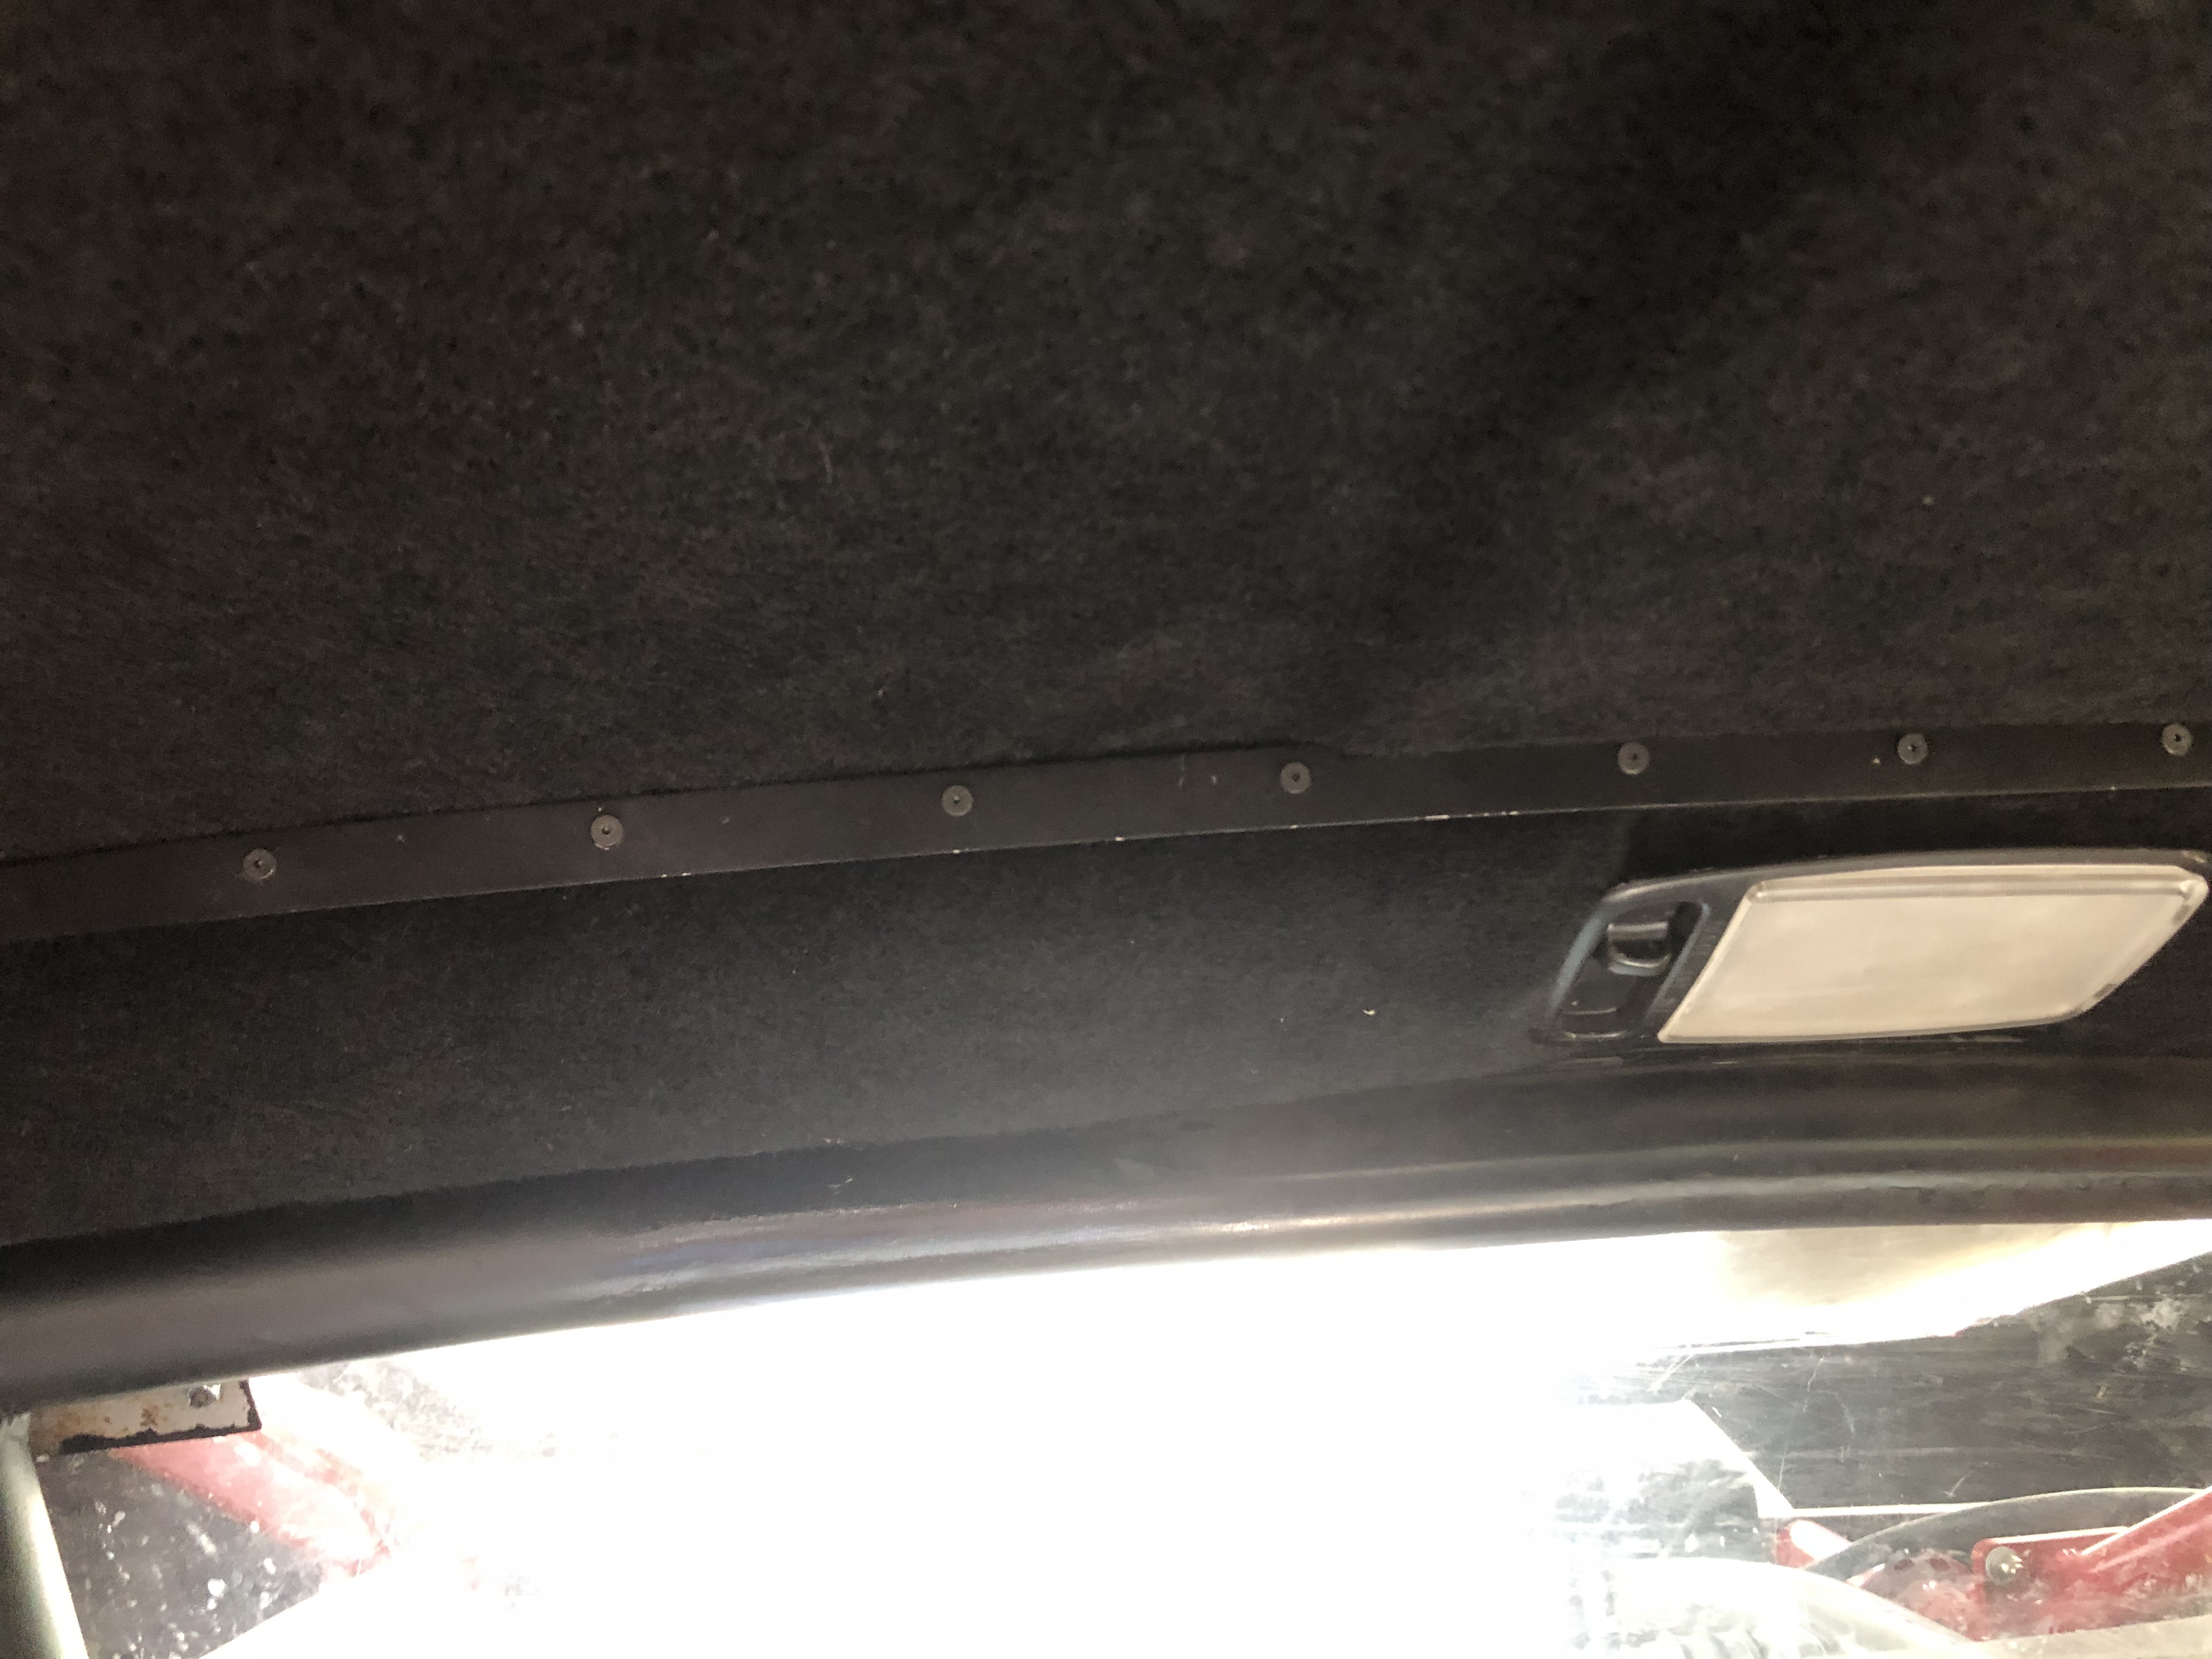
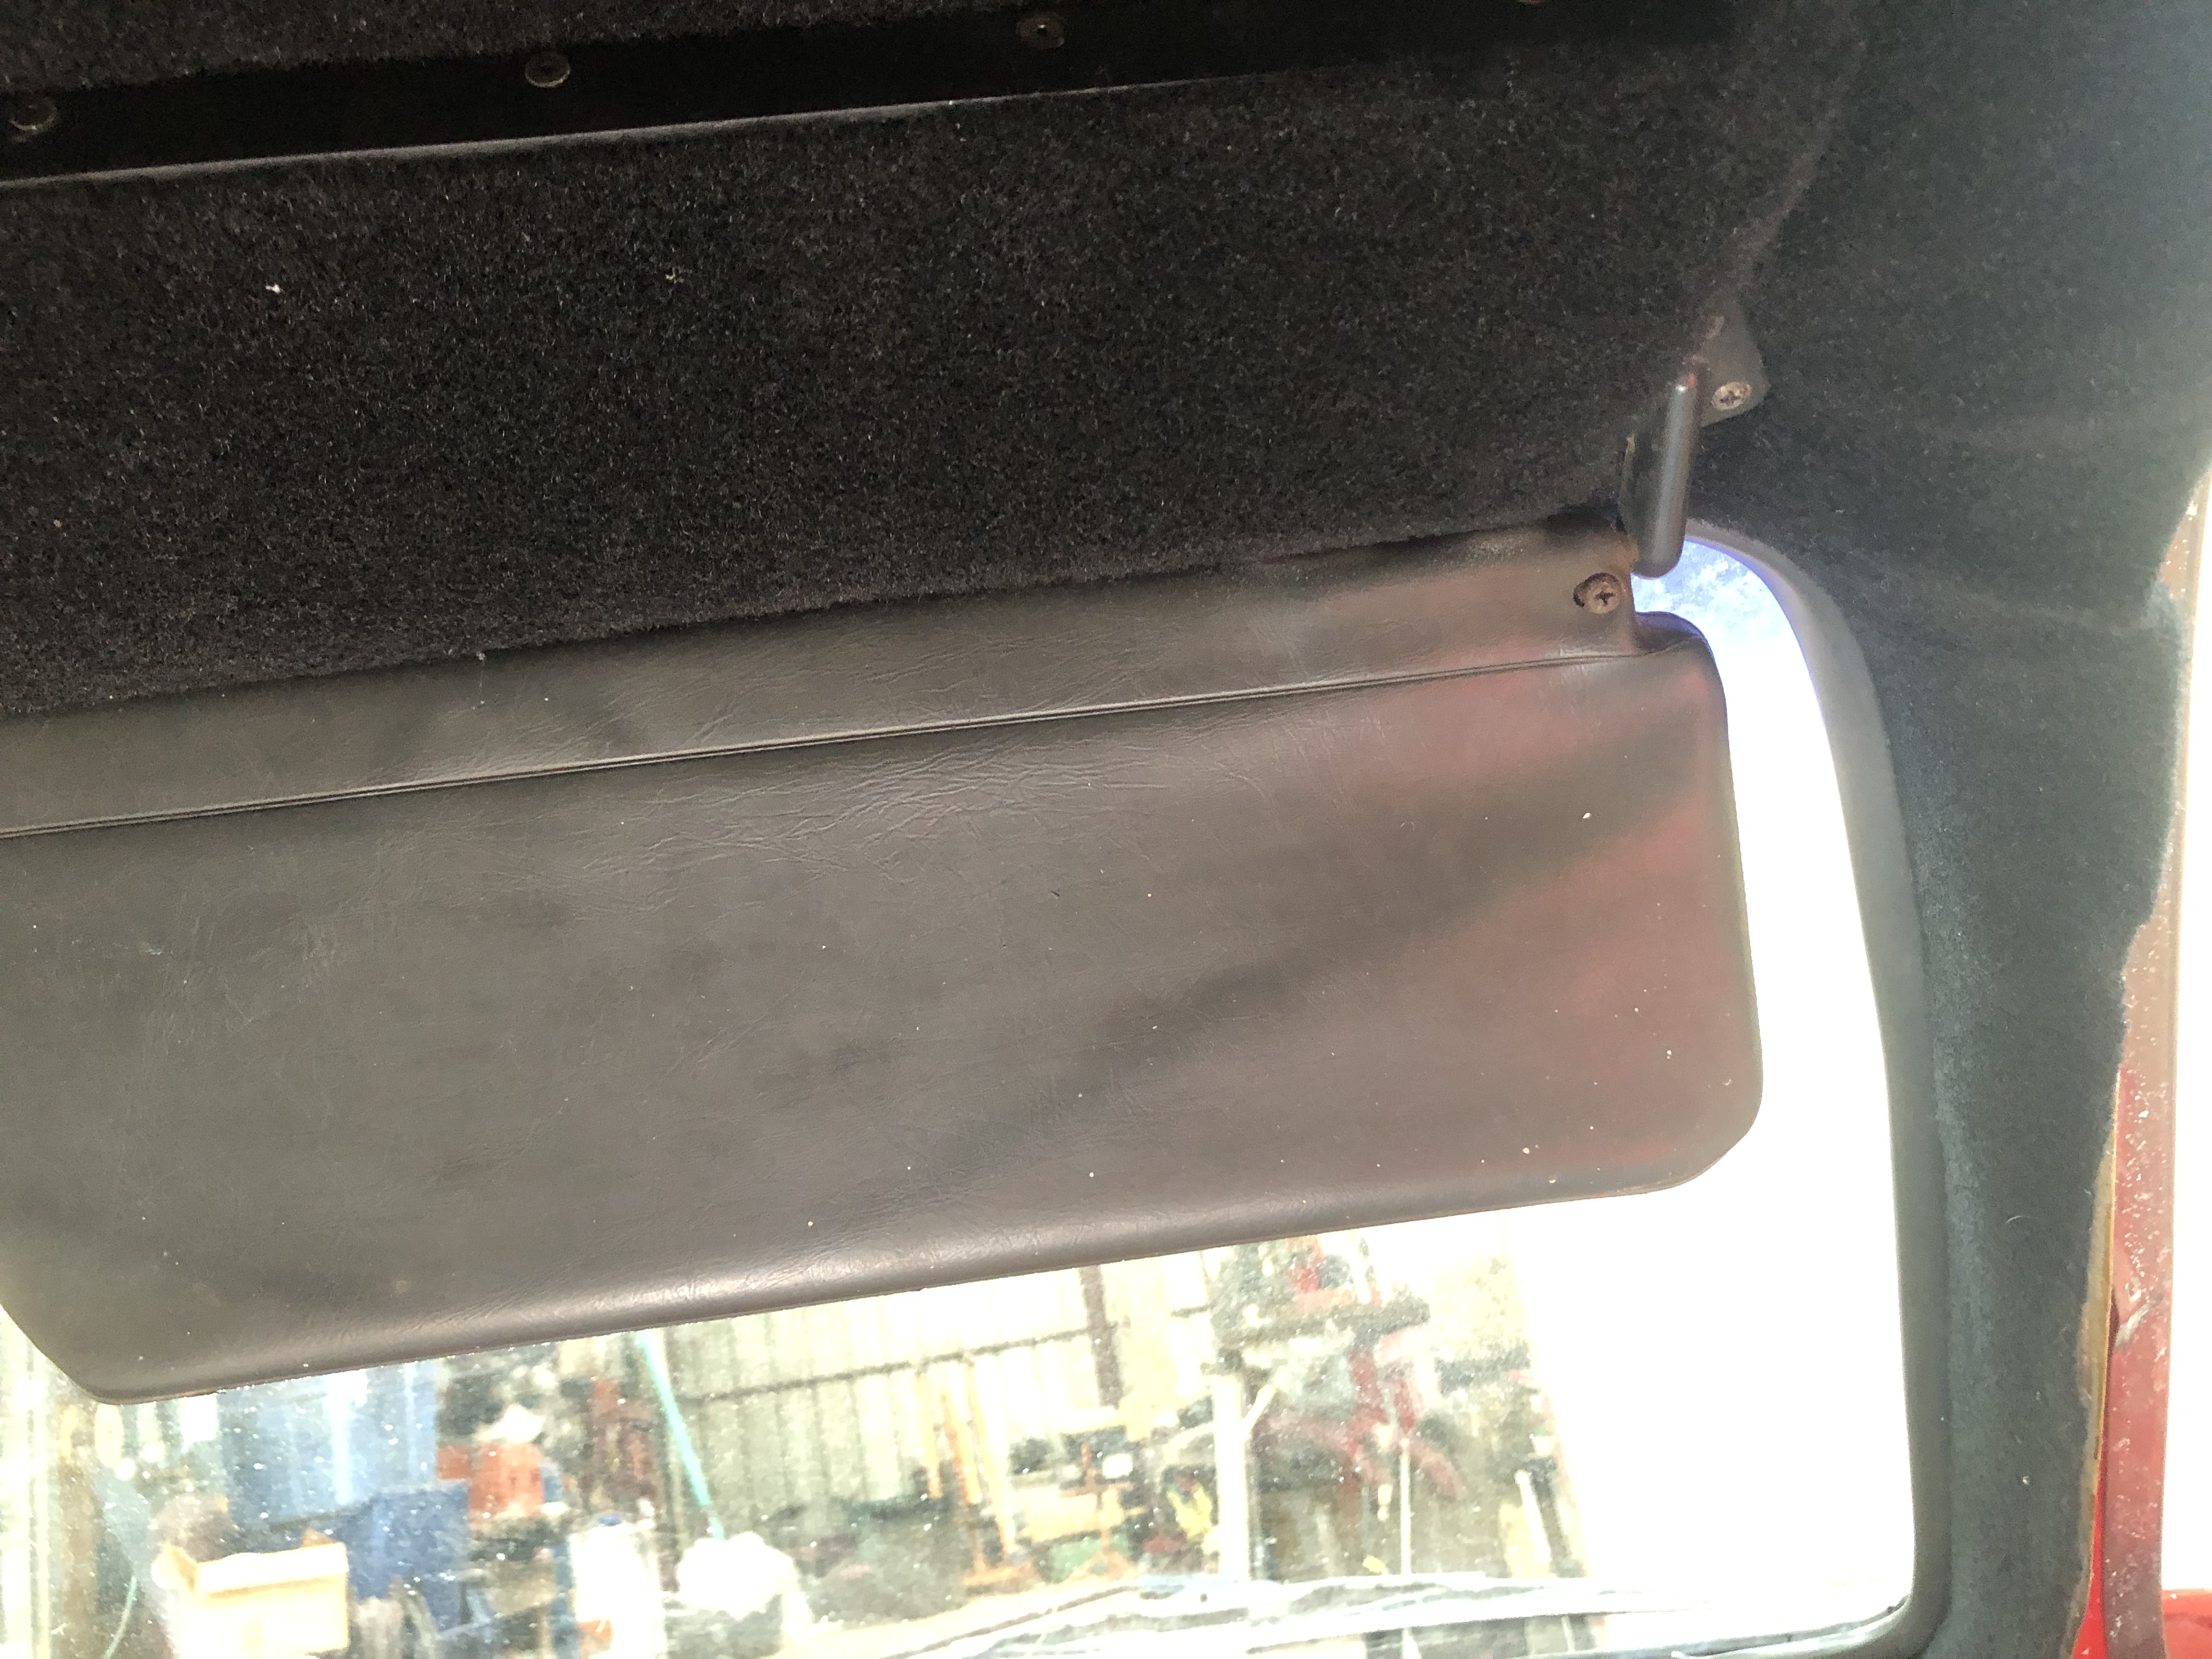
I installed the seats and the rest of the interior, and corrected a few things along the way. For example you can see the glovebox area sticking proud of the rest of the dash in Part 2. I had forgotten that it needs to be mounted from the back, and that’s what happens when you try to put it in from the front. So I fixed that. Then I installed the door cards, armrests, and roll bar padding. The only thing left to go in is the window cranks, I am waiting on some retainer clips for those and then they will be installed. Here is where it is at now.

Just a few things to do to get it ready for the Italian Carfest 2023, change some fluids and detail everything.
Interior trim part 2
StandardToday I finished most of the rest of the interior. The major thing it needs now are seats and door cards. Those are complete and assembled waiting to go in, but I ran out of time for today. There are a few small things the interior still needs besides those. HVAC knobs, a few fasteners, and so on.
Here is where it sits now.
Interior trim part 1
StandardI fabbed up a new rear window last weekend and got it in the rear clamshell. Apparently several years of bodywork somehow changed the shape of the clamshell enough that the holes that hold the window on no longer line up. Weirdly, a bunch in a row would line up, then it would start to wander. Very strange but there was not really any saving the old one so I made a new one and got it in.
Then I started to work on the interior trim. The dash and console and such were sent off to an actual upholsterer and I have most of that stuff back and it looks good. But that’s for another post. Before any of that can go in, the rest of the interior trim needs to be taken care of. Stuff like the covering for the rear bulkhead, and the trim around the windshield, and so on.
I’m working with a material called FlexForm carpeting, it’s pretty easy to work with. The colors are black and gray. Everything above the beltline of the car is black, everything below is gray. The piece I was dreading most was the rear bulkhead. Well actually the whole rear of the car behind the seats. I started with several smaller pieces, then did the large main piece. I’m pretty happy with how it came out. Here are some pictures of where it’s at now.
Unfortunately, while it was a good day of work on the trim in the 105 degree heat, the day ended on a downer when the clutch went to the floor trying to pull the car back into the shop. I gave it a quick bleed to see if I could revive it even a little bit, but no dice. Not sure if it’s the master, the slave, or something even more sinister. Ugh.
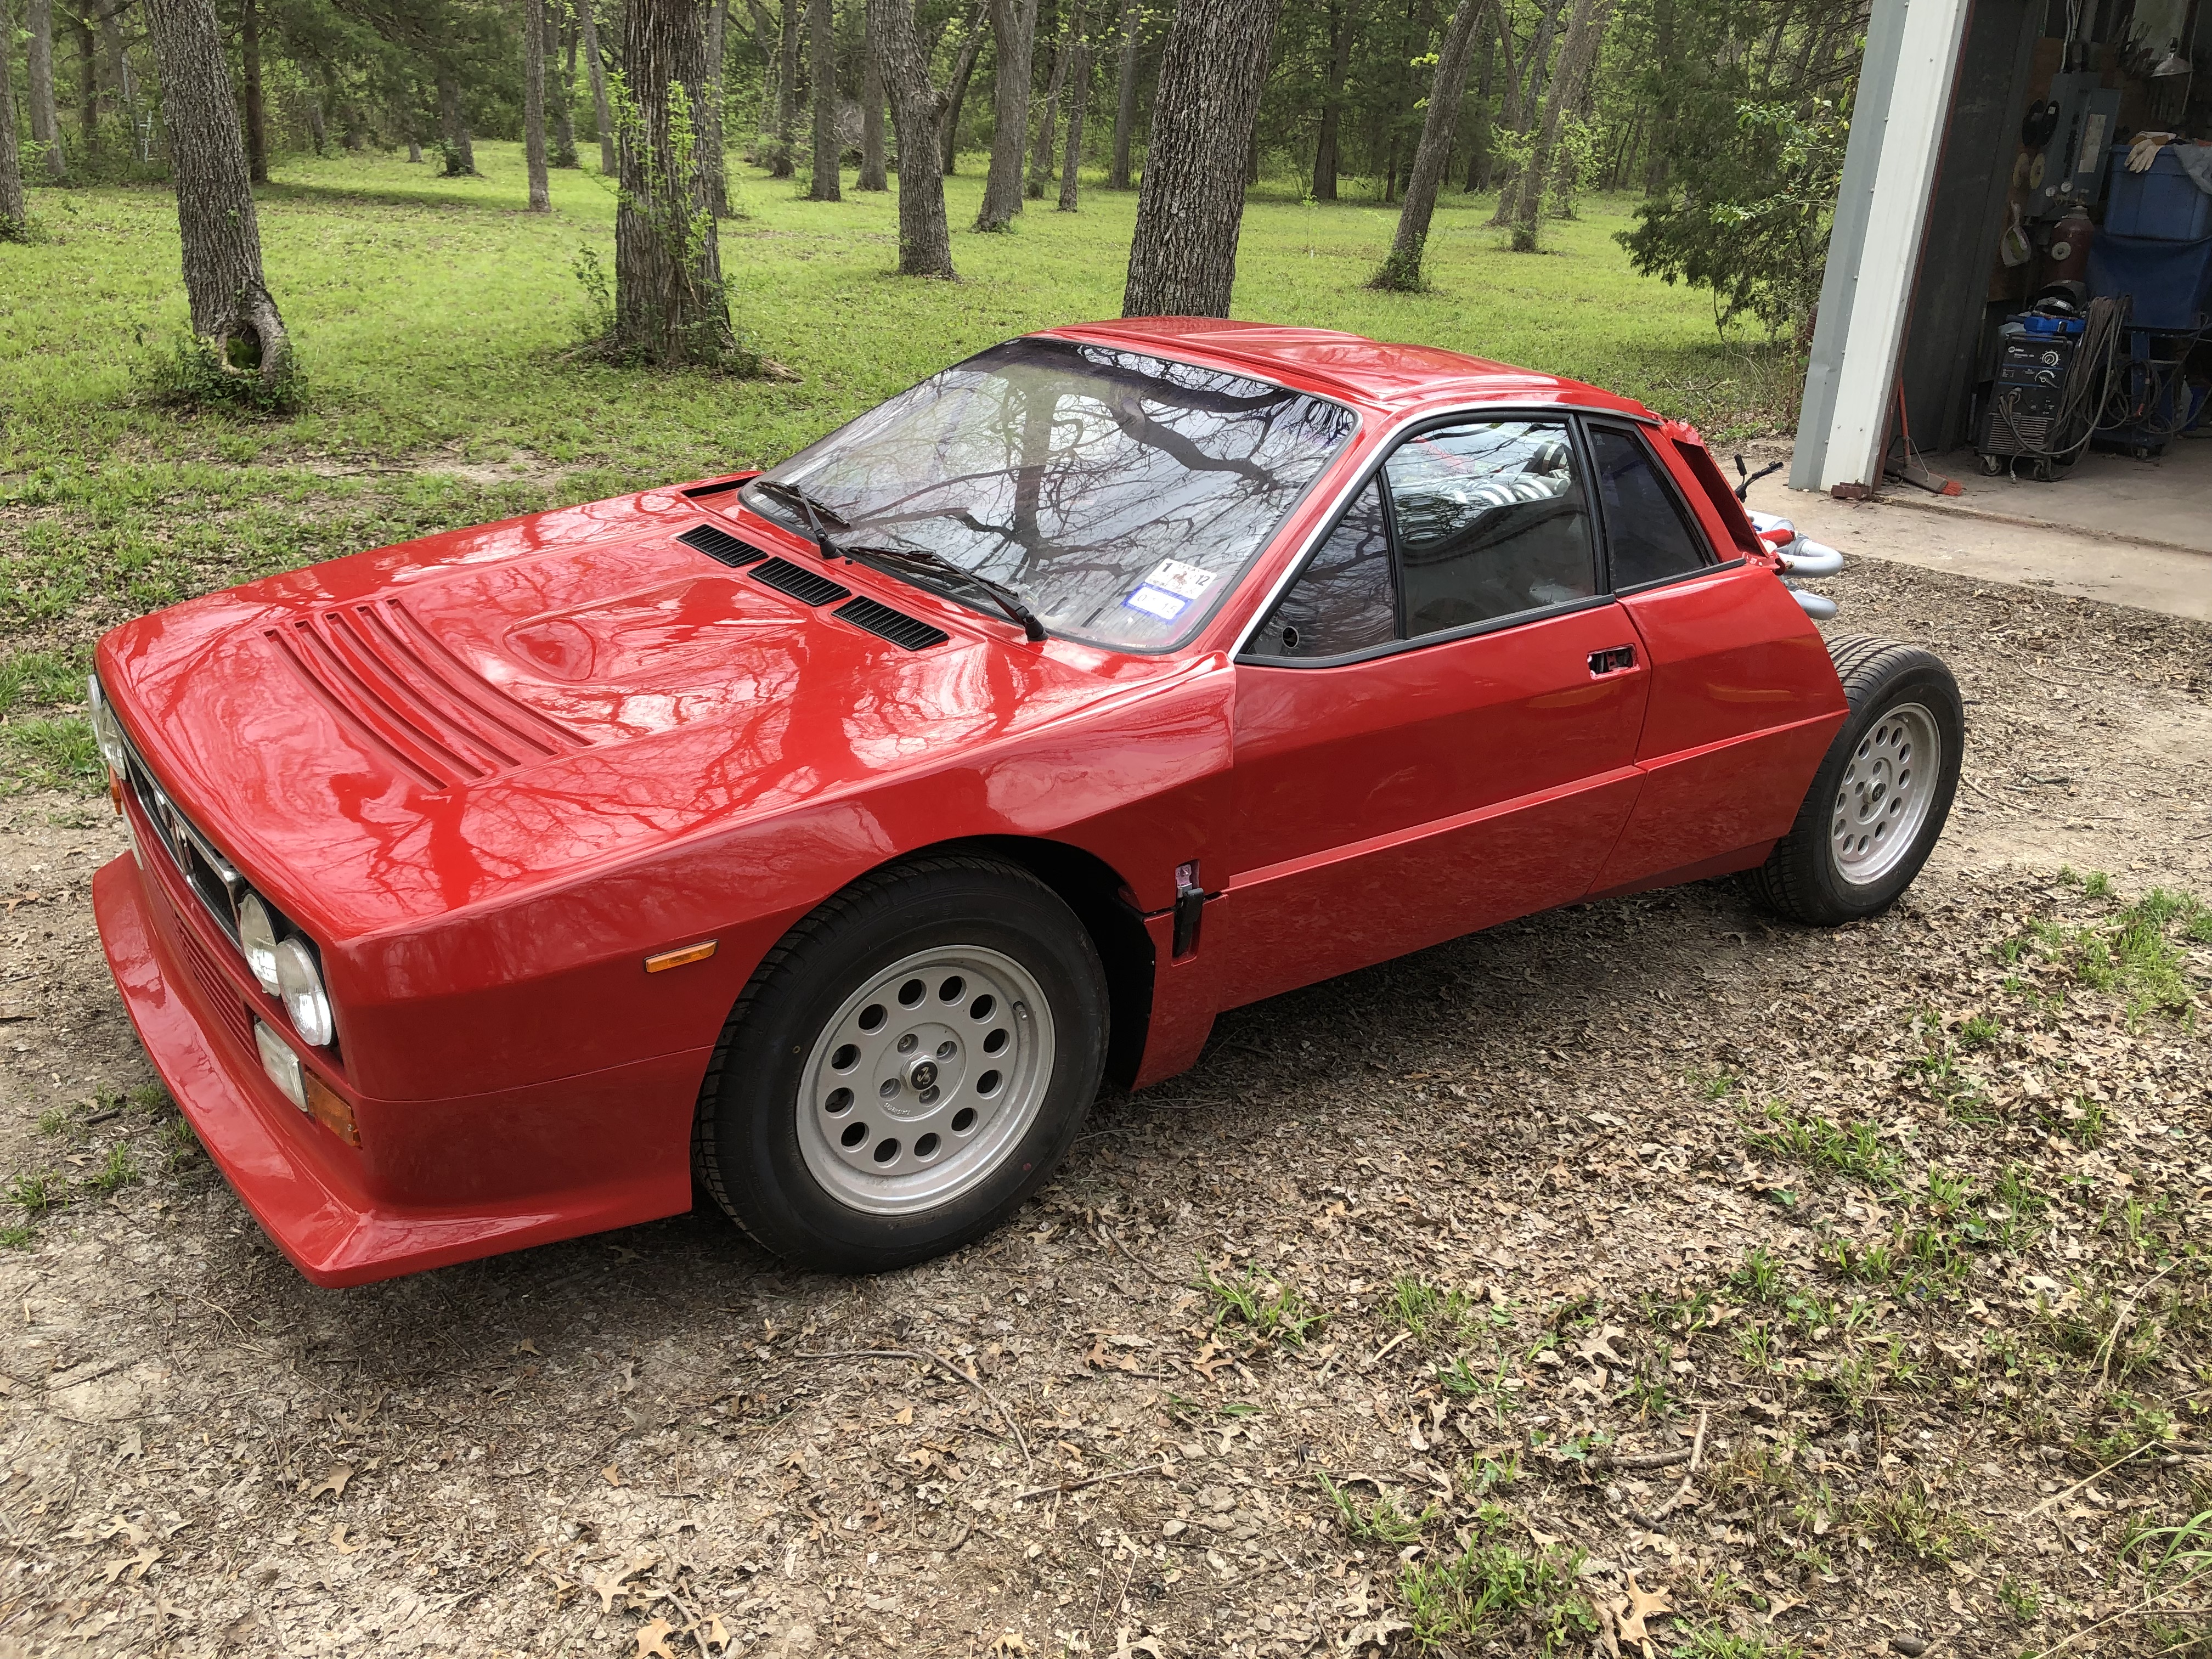
Paint is done, more or less
StandardI’m not going to mess with it much further, is what I guess I am saying. I had originally intended for it to be a single stage paint job, but while trying to cut and buff the paint left it with an unacceptable amount of scratches that I could not get rid of. So I got it the best I could, then experimented with clearcoating it. This filled in the scratches and gave it a good level of gloss. That’s the upside. The downside was basically starting all over with fresh coats of paint, which would then also need to be cut and buffed. And redone, where I screwed up, which I did many times. In the end, it’s not a flawless paint job, but it’s one I can easily live with. Here’s where it’s at now.

The next jobs are getting the door handles installed, the rear window installed, and the body badging on. I’m still debating whether I’ll add the “LANCIA” and “RALLY” script to the back of the ducktail. I think it may look cleaner without it.
After those relatively minor jobs are done, then it’s the interior work. I currently have the dash, center consoles and door handles at the upholsterer, I should be hearing from him in the next couple of weeks. More on that in future posts.
Bit by Bit
StandardI’ve been working on a bunch of small stuff that’s all necessary for the final product, but can’t really be photographed, so I haven’t posted for a little while. But in that time, I’ve checked all suspension settings and locked them down, painted the rear clamshell and have been working on refining it, and a number of other small tasks. For example:
Installing the rear lexan.
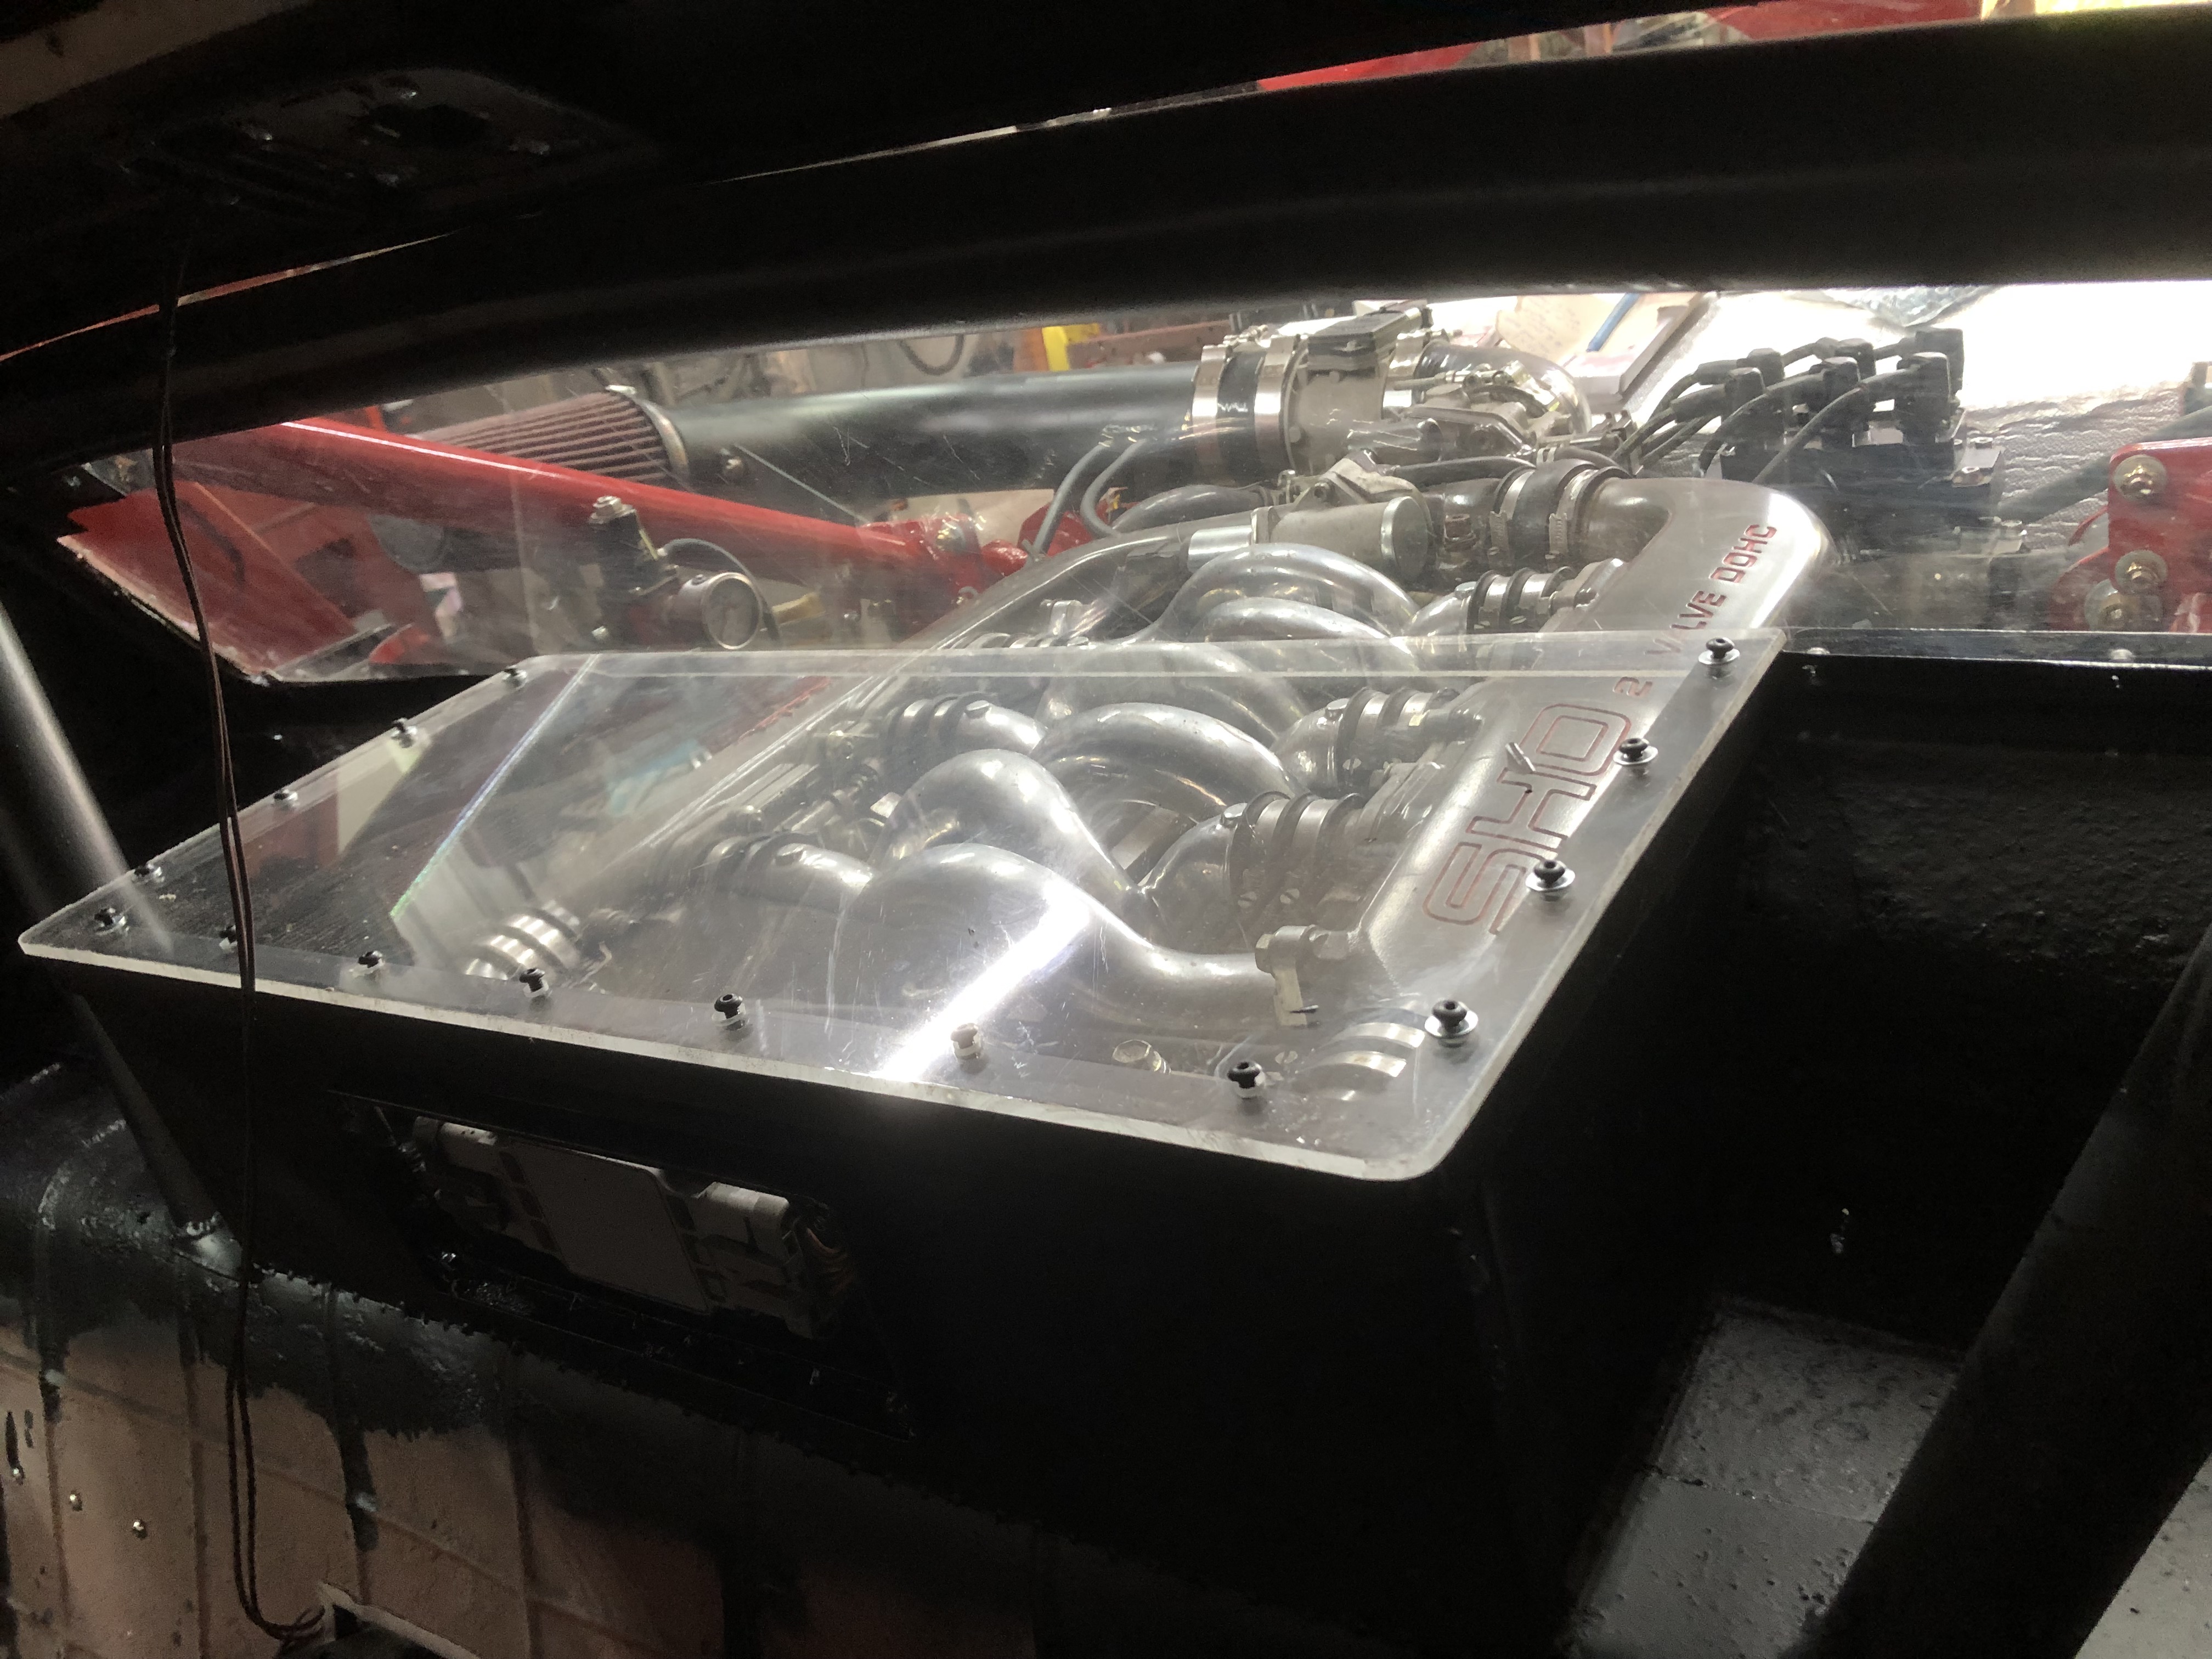
And cabin side engine cover. I ran out of washers so I don’t have the fasteners all cinched down yet.
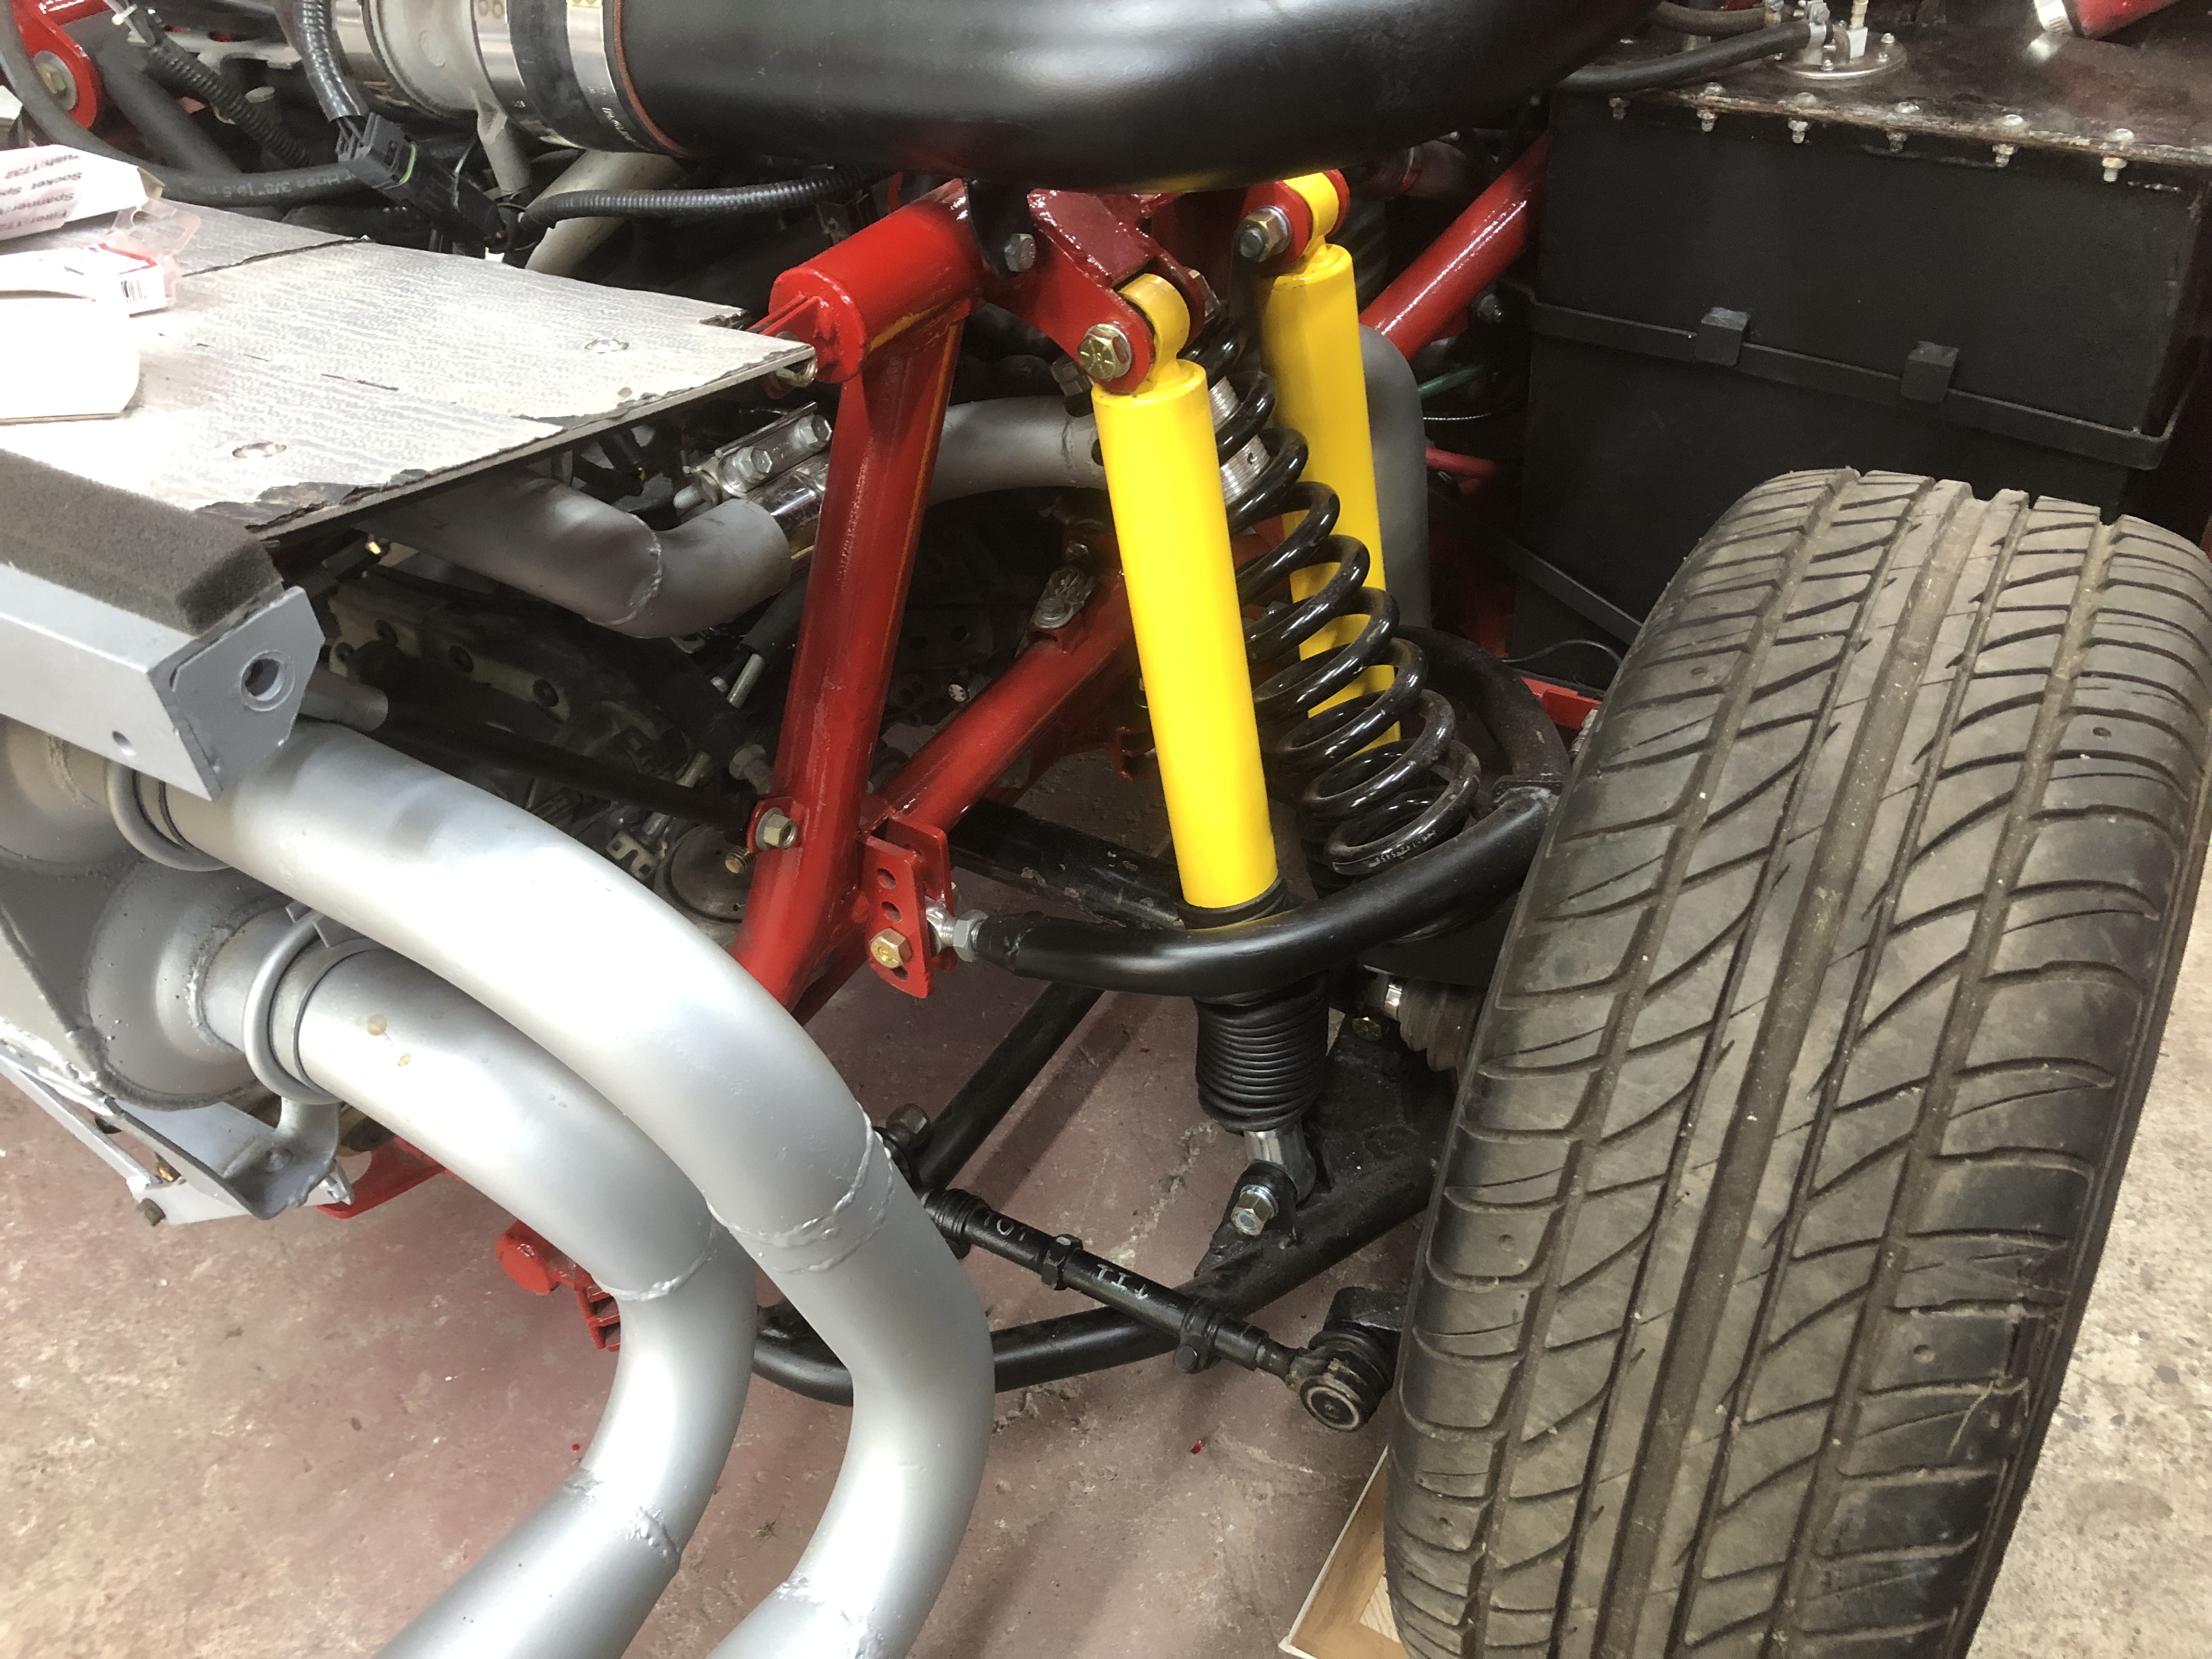
Installing the shocks.
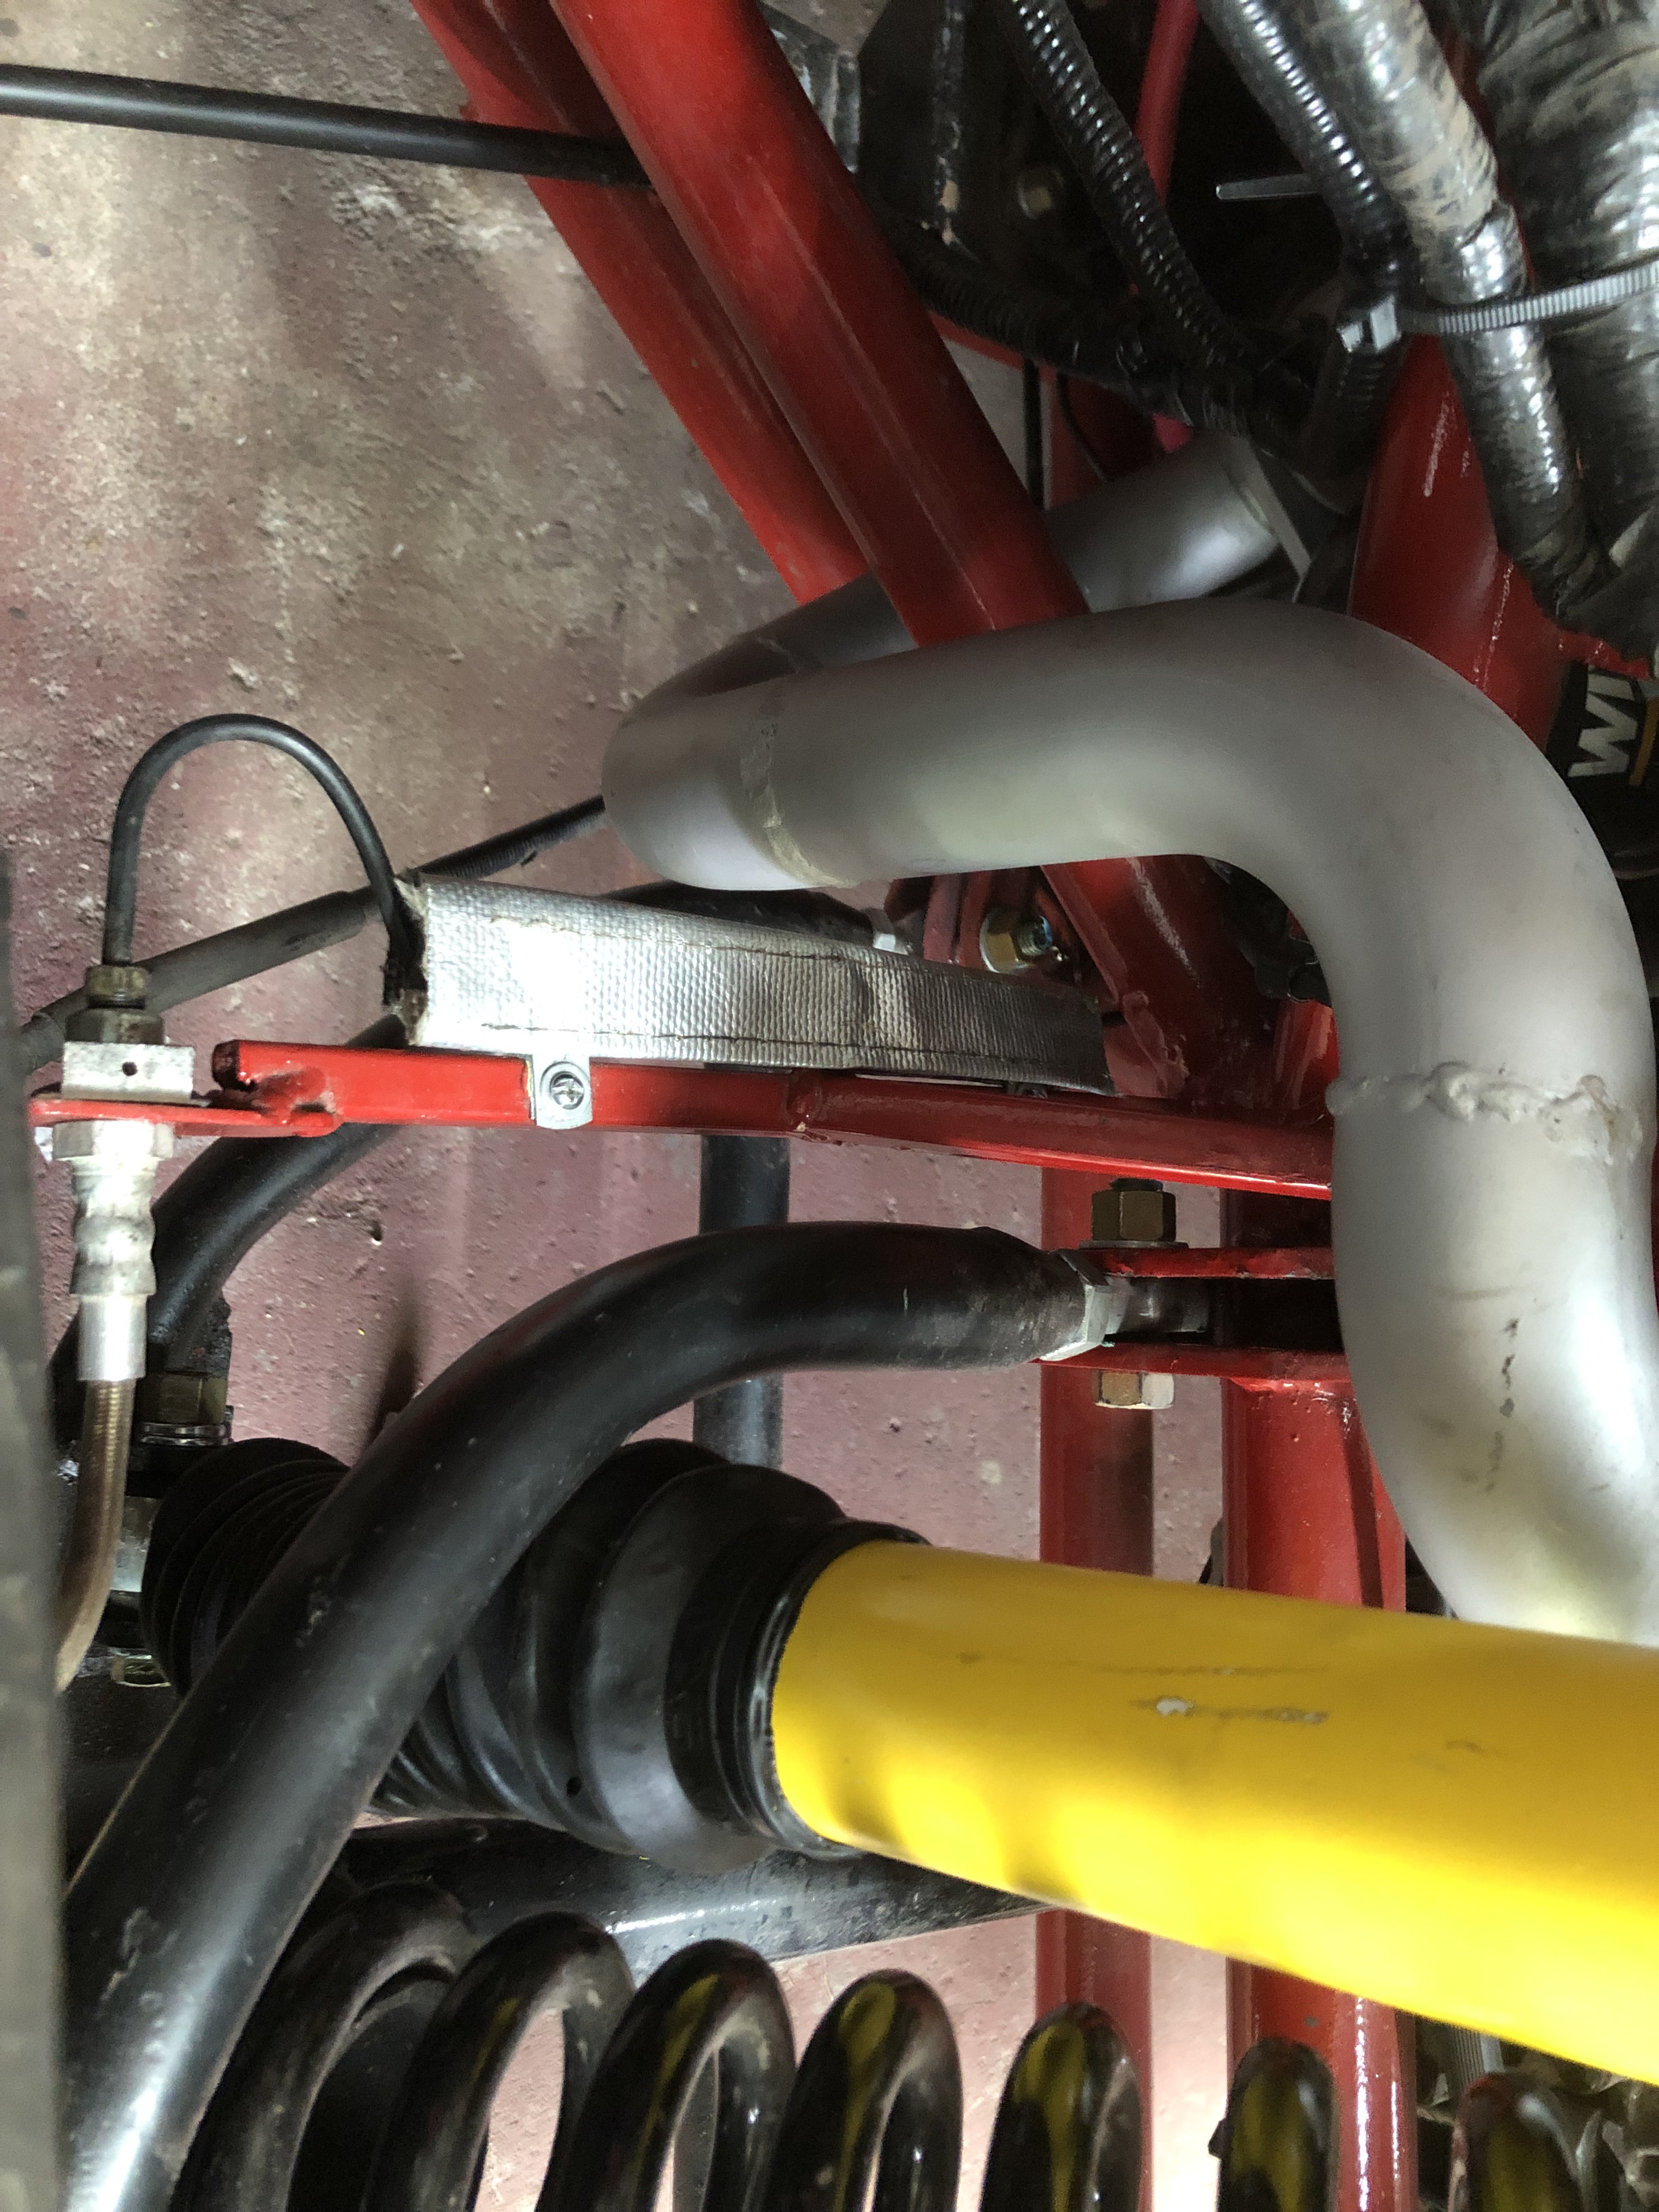
Some heat shielding for the rear brake lines.
Up next is finishing the paint on the rear clam and getting it re-installed. But the car is at the point where I could try to drive it without the clamshell on it.
After that, interior.
Got her legs under her
StandardWell, a little tiny bit, anyways, She moved under her own power!
Not very far or anything, but I got the engine started again, fired right up like it last ran yesterday. Eased the clutch out away we went. The clutch take-up felt great. I pulled it out of the shop and grabbed some pictures.
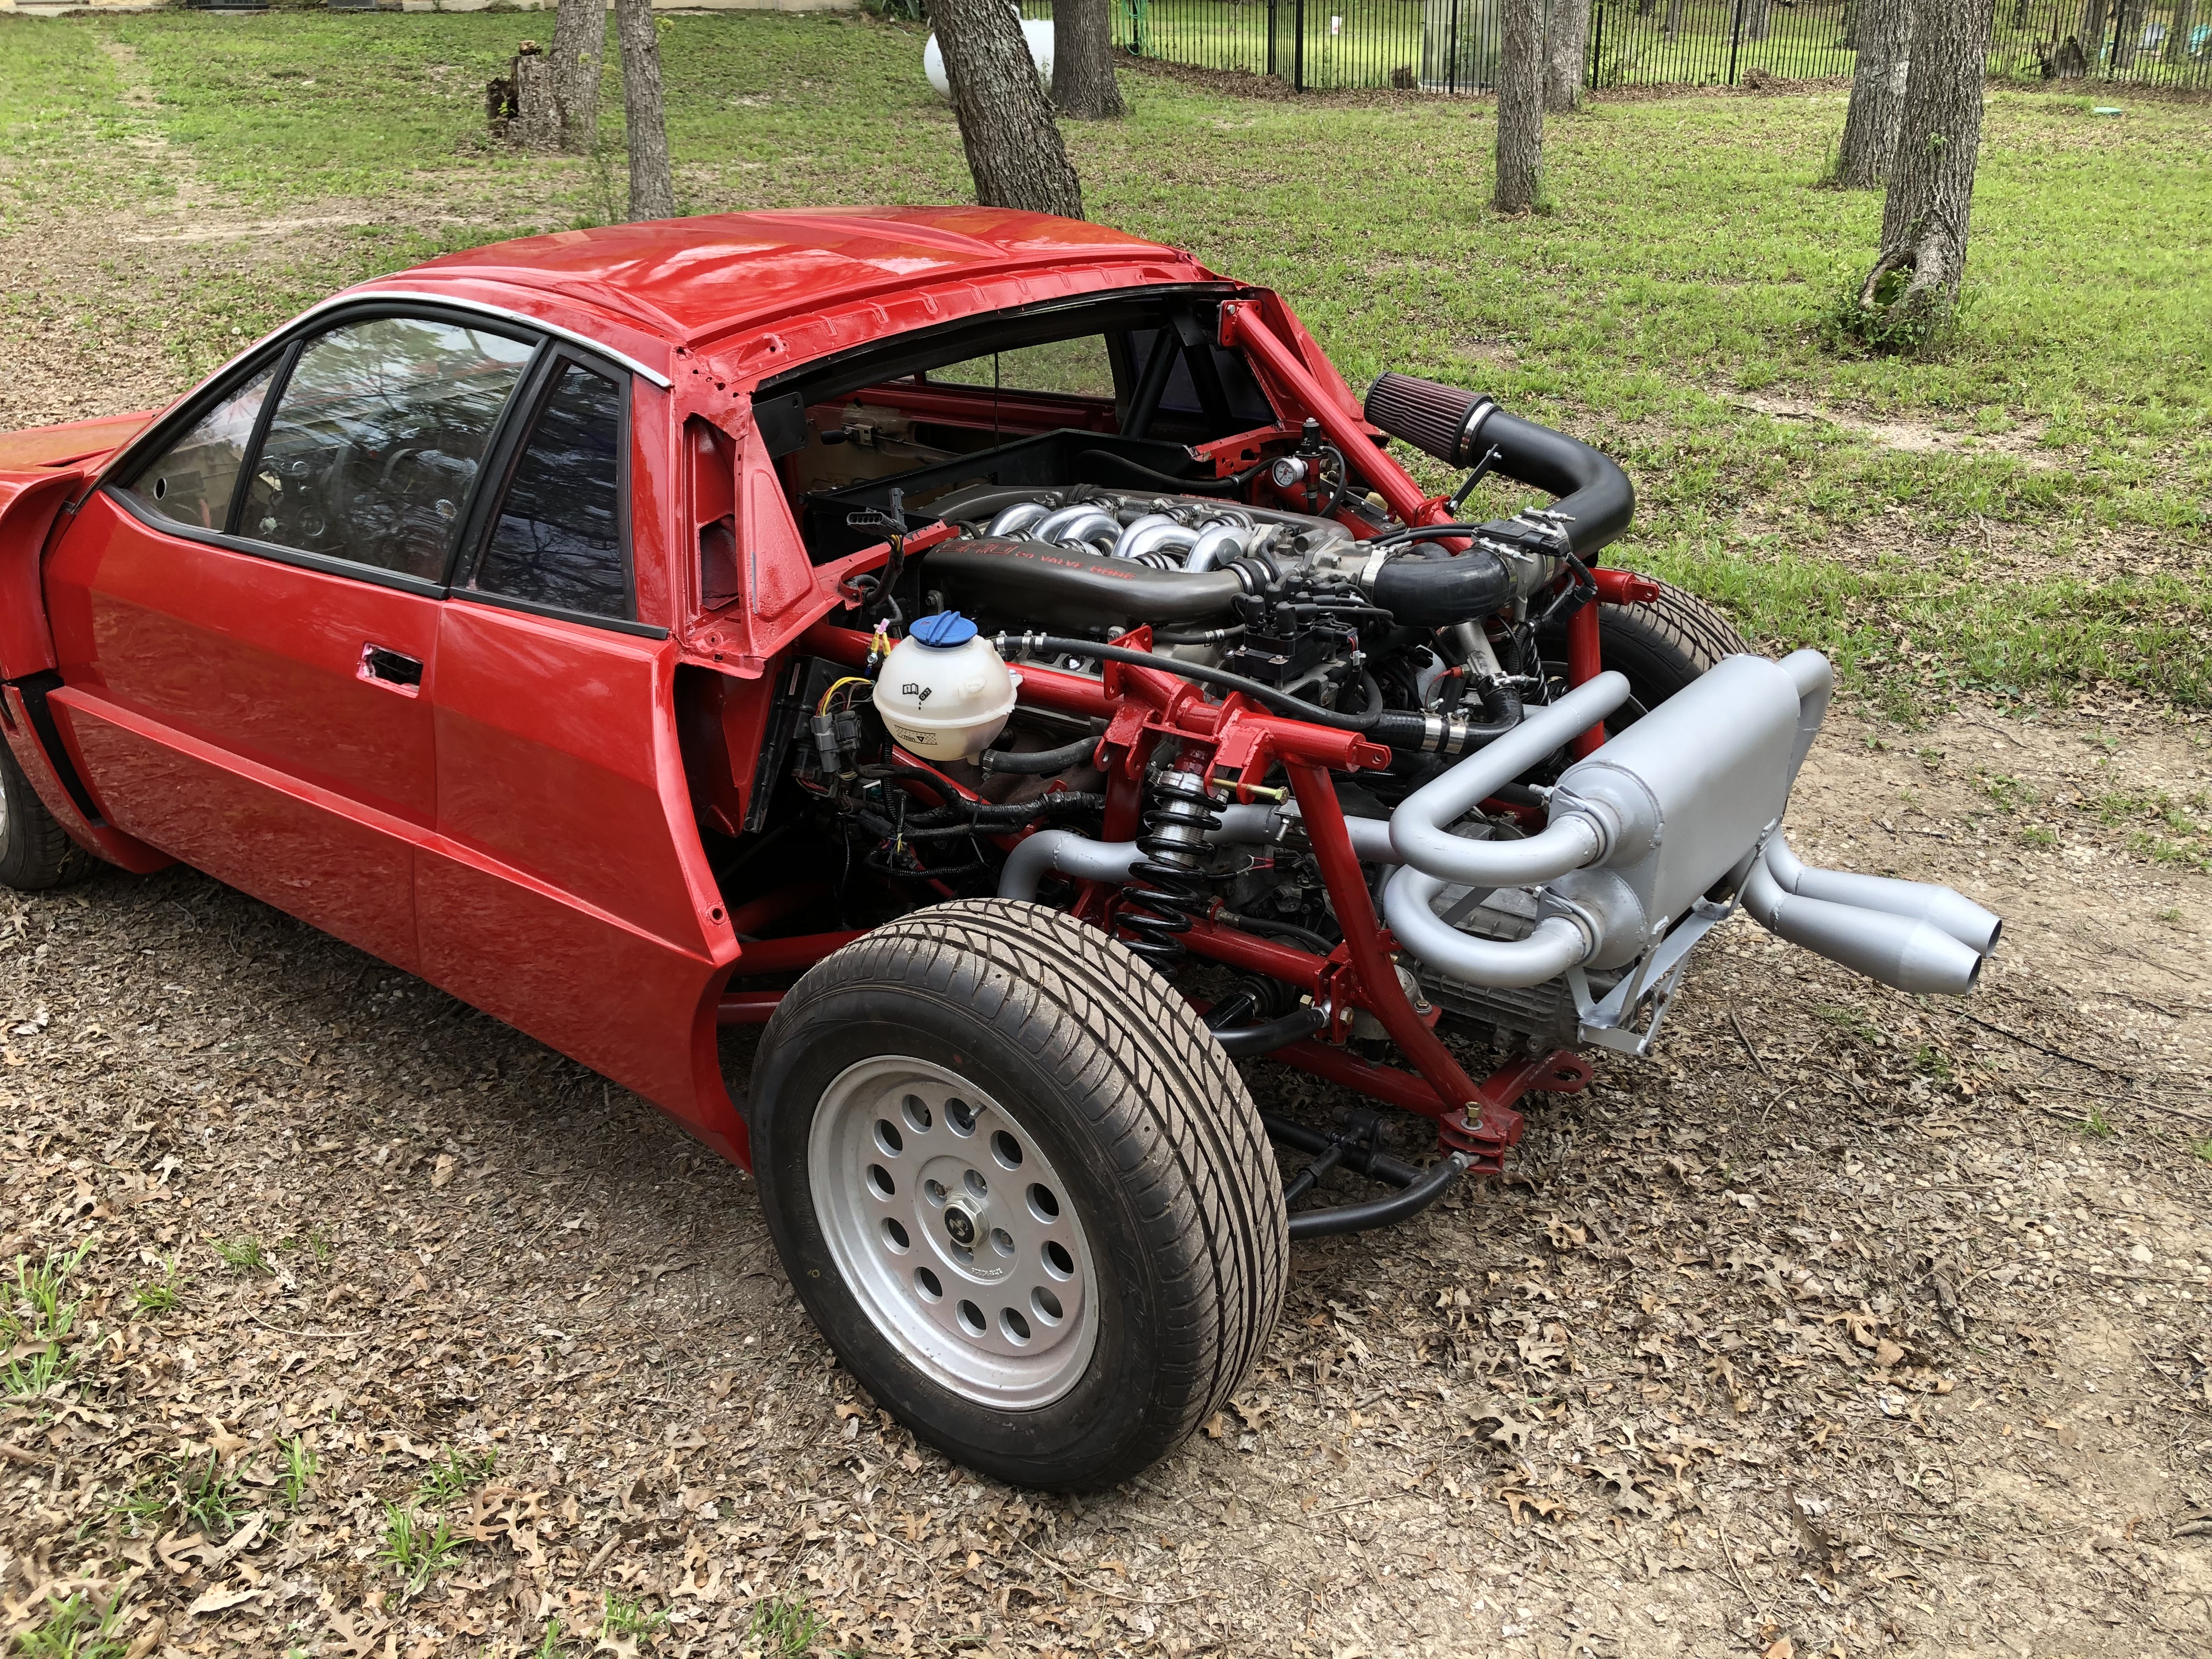
When it came time to back it back into the shop, I found I could not select reverse, so I have a little work to do on the linkage. Drove it around in a loop and pulled into the shop head first. I didn’t want to go very far, nothing is really buttoned up. Hopefully over the next couple weeks I can take care of some of that and try to get it on an actual road for a few minutes.
Pretty major milestone, I’d say.
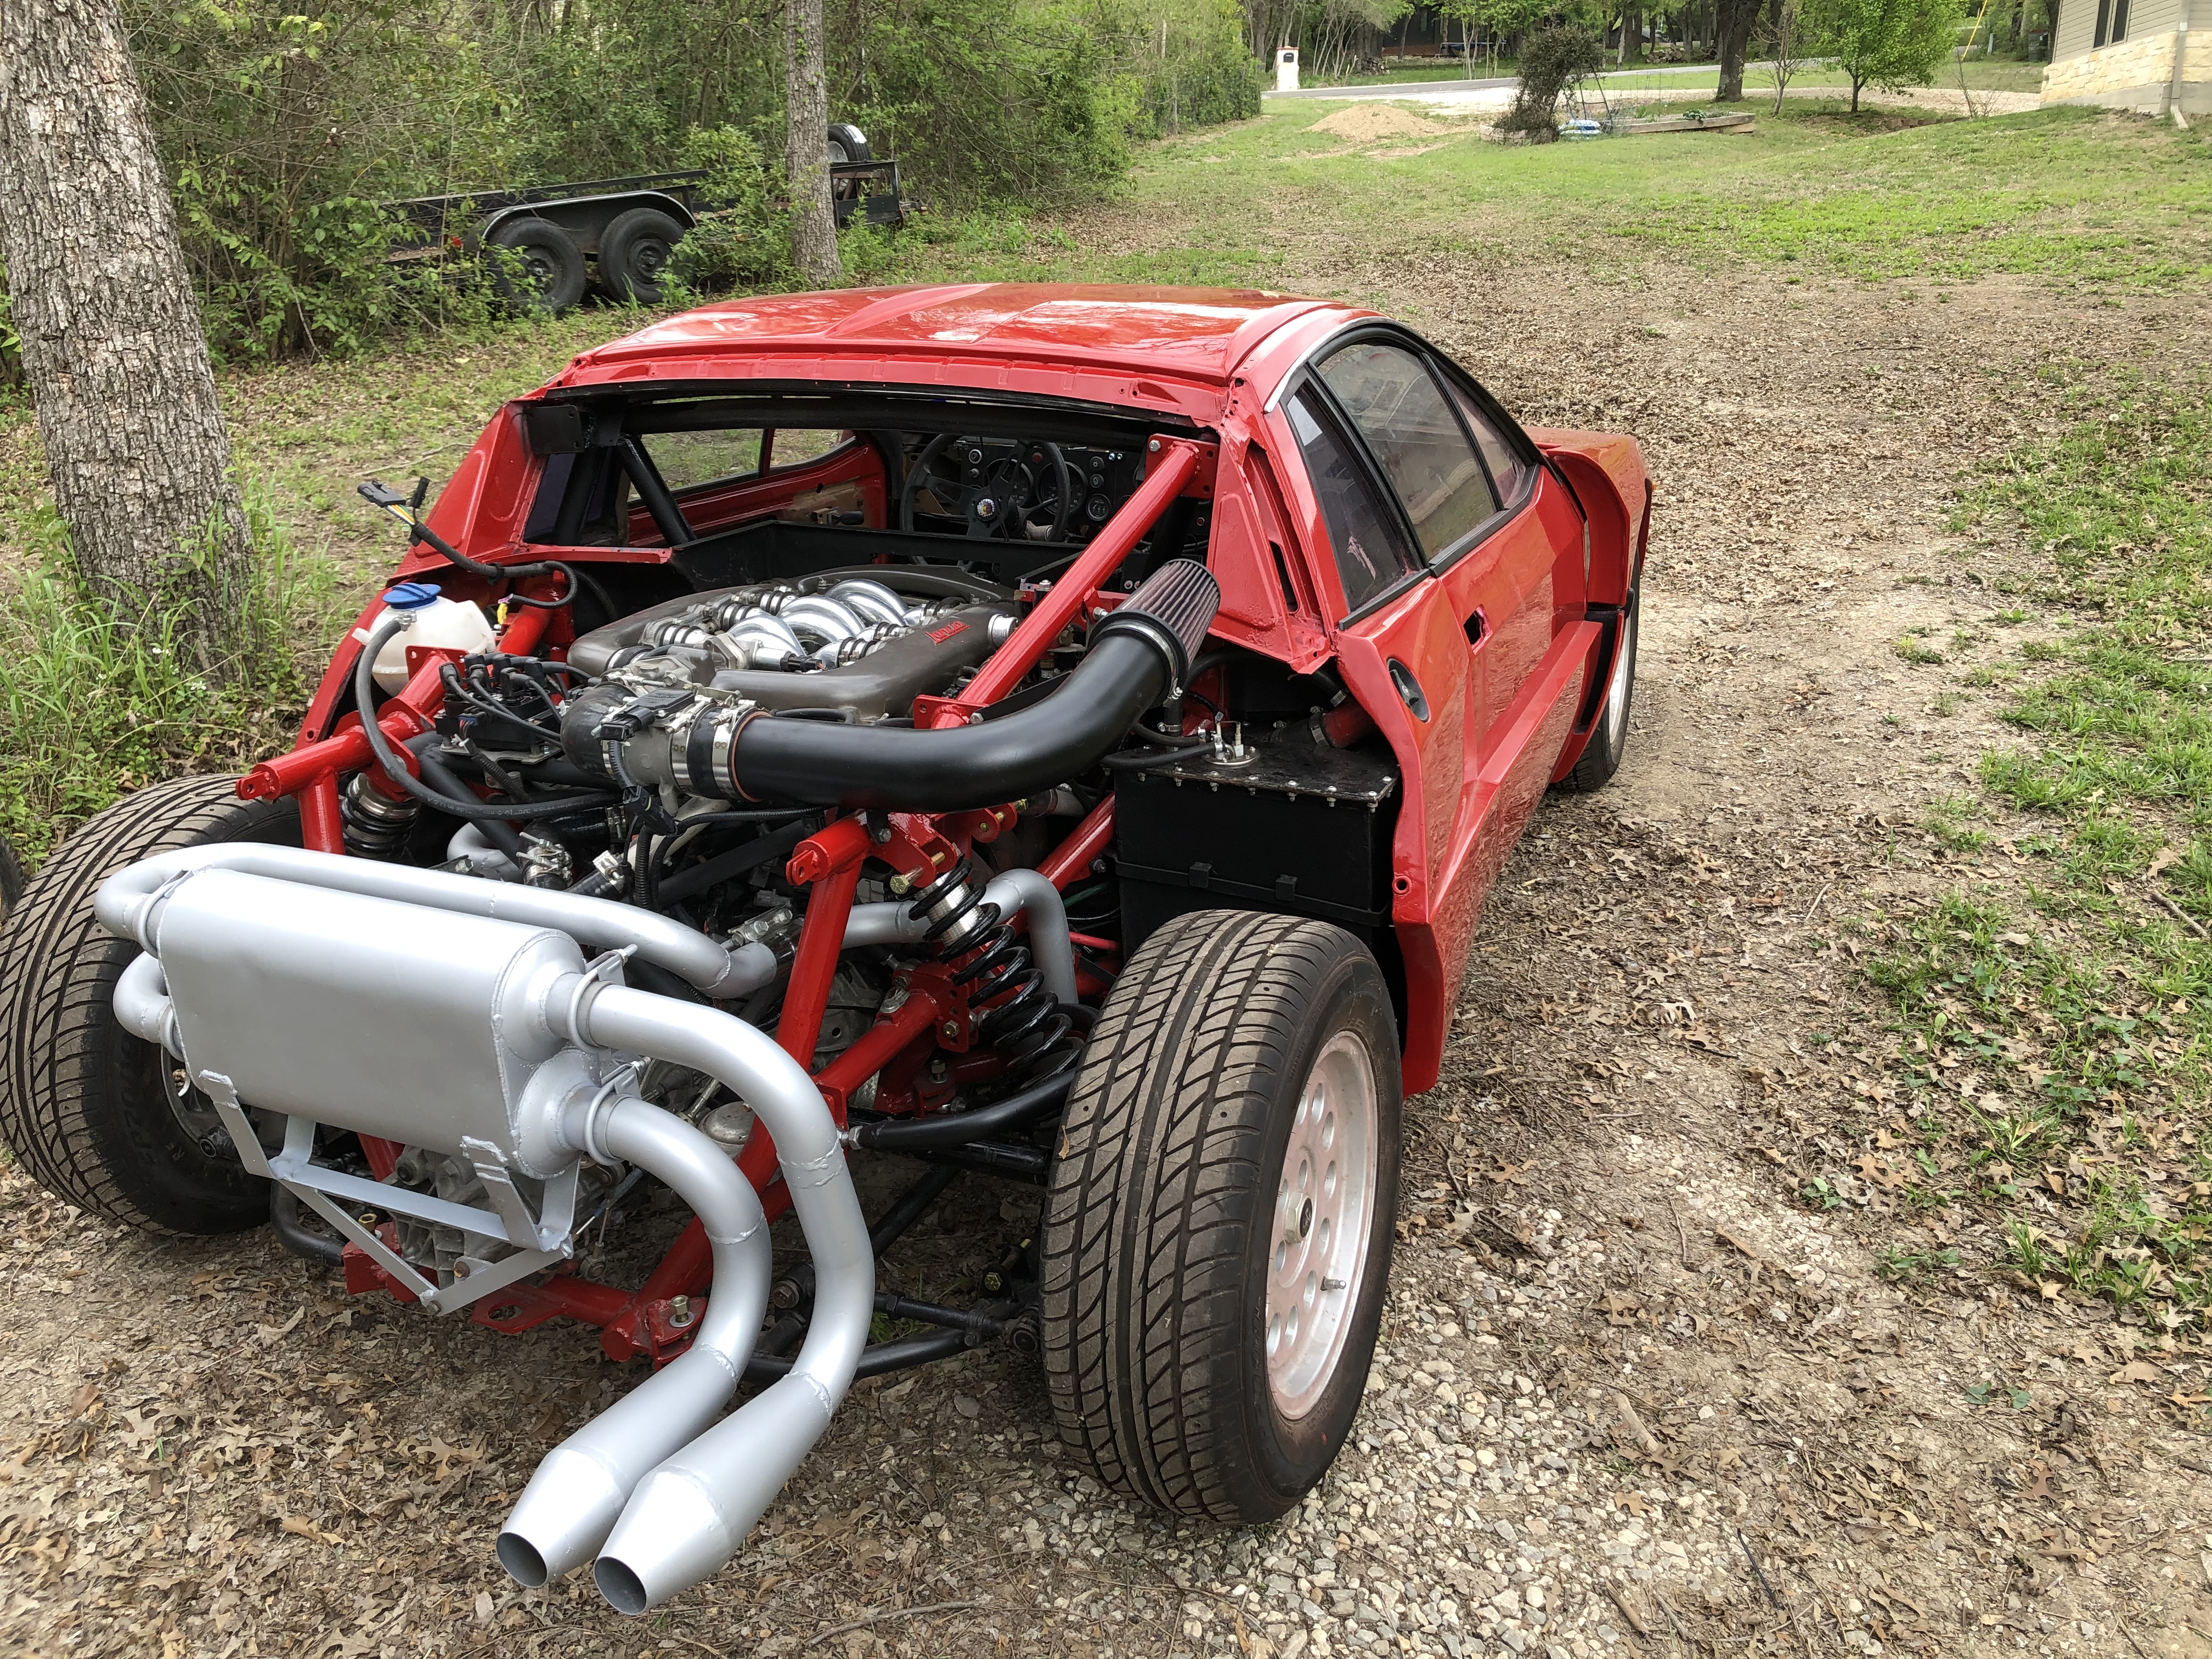
Engine is in
StandardBefore it could go in, I needed to arrange some stuff in the central tunnel area. Specifically, the heater box water lines, and to get the shifter and e-brake back in. Here’s where that landed.
It doesn’t look like it in that photo, but there are 2 blue coolant pipes.
What I had forgotten here was to get the throttle cable back in. I had the engine partly lowered in before I caught that and addressed it.
After wrestling with the engine for a couple hours, and of course dinging up the paint on the chassis tubes, I managed to get it dropped in place.
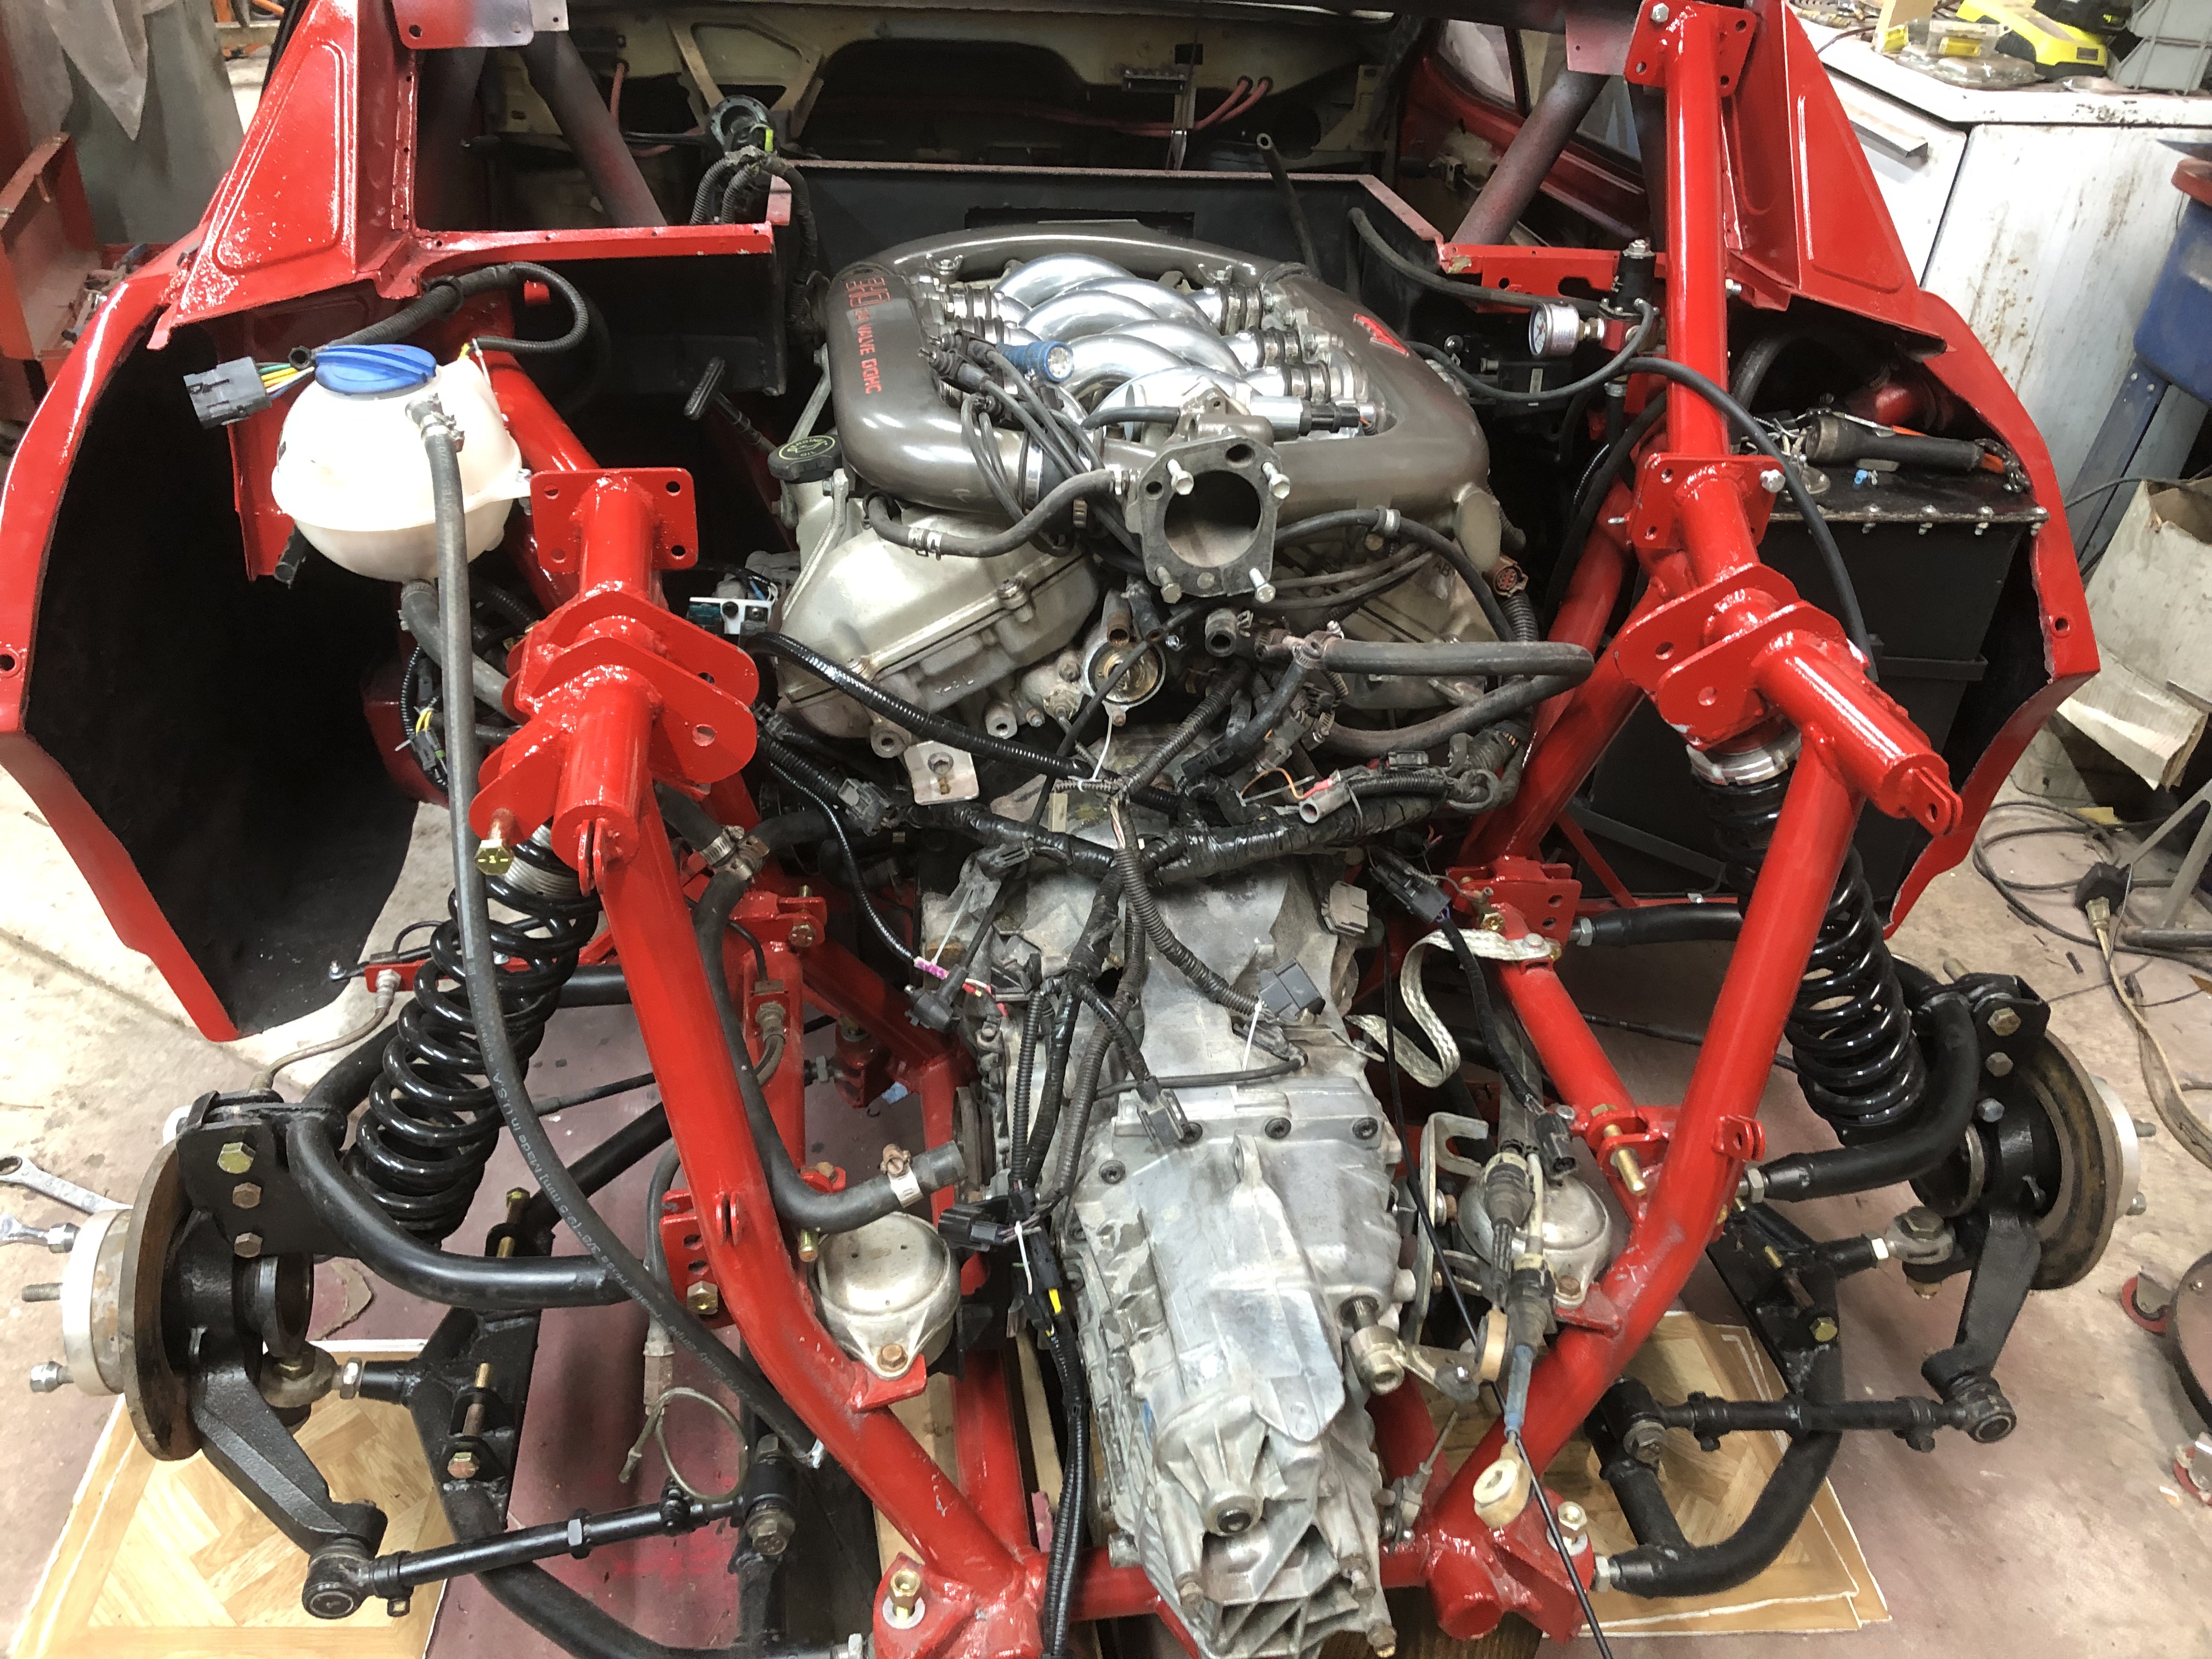
This week I will be adding back all the stuff that comes after that.
Exhaust
Cooling
Fuel
Clutch slave
Electrical connections
Checking all hardware for tightness
X-brace
And so on. I hope to get all that wrapped up by next weekend, and get the engine restarted. Maybe even make it move under its own power next month. After that, the major hurdles will be body & paint on the rear clamshell, and interior.
Engine ready for install
StandardUnfortunately, the chassis is not. Well technically, the chassis is ready but there is some central tunnel stuff that has to happen before the engine goes in and removes all workable room in the area. I am waiting on some 14mm 90 degree silicone elbows, which are apparently so rare that they must be imported from Latvia. So… it might be a little while. Delivery is supposed to occur by months end. We’ll see.
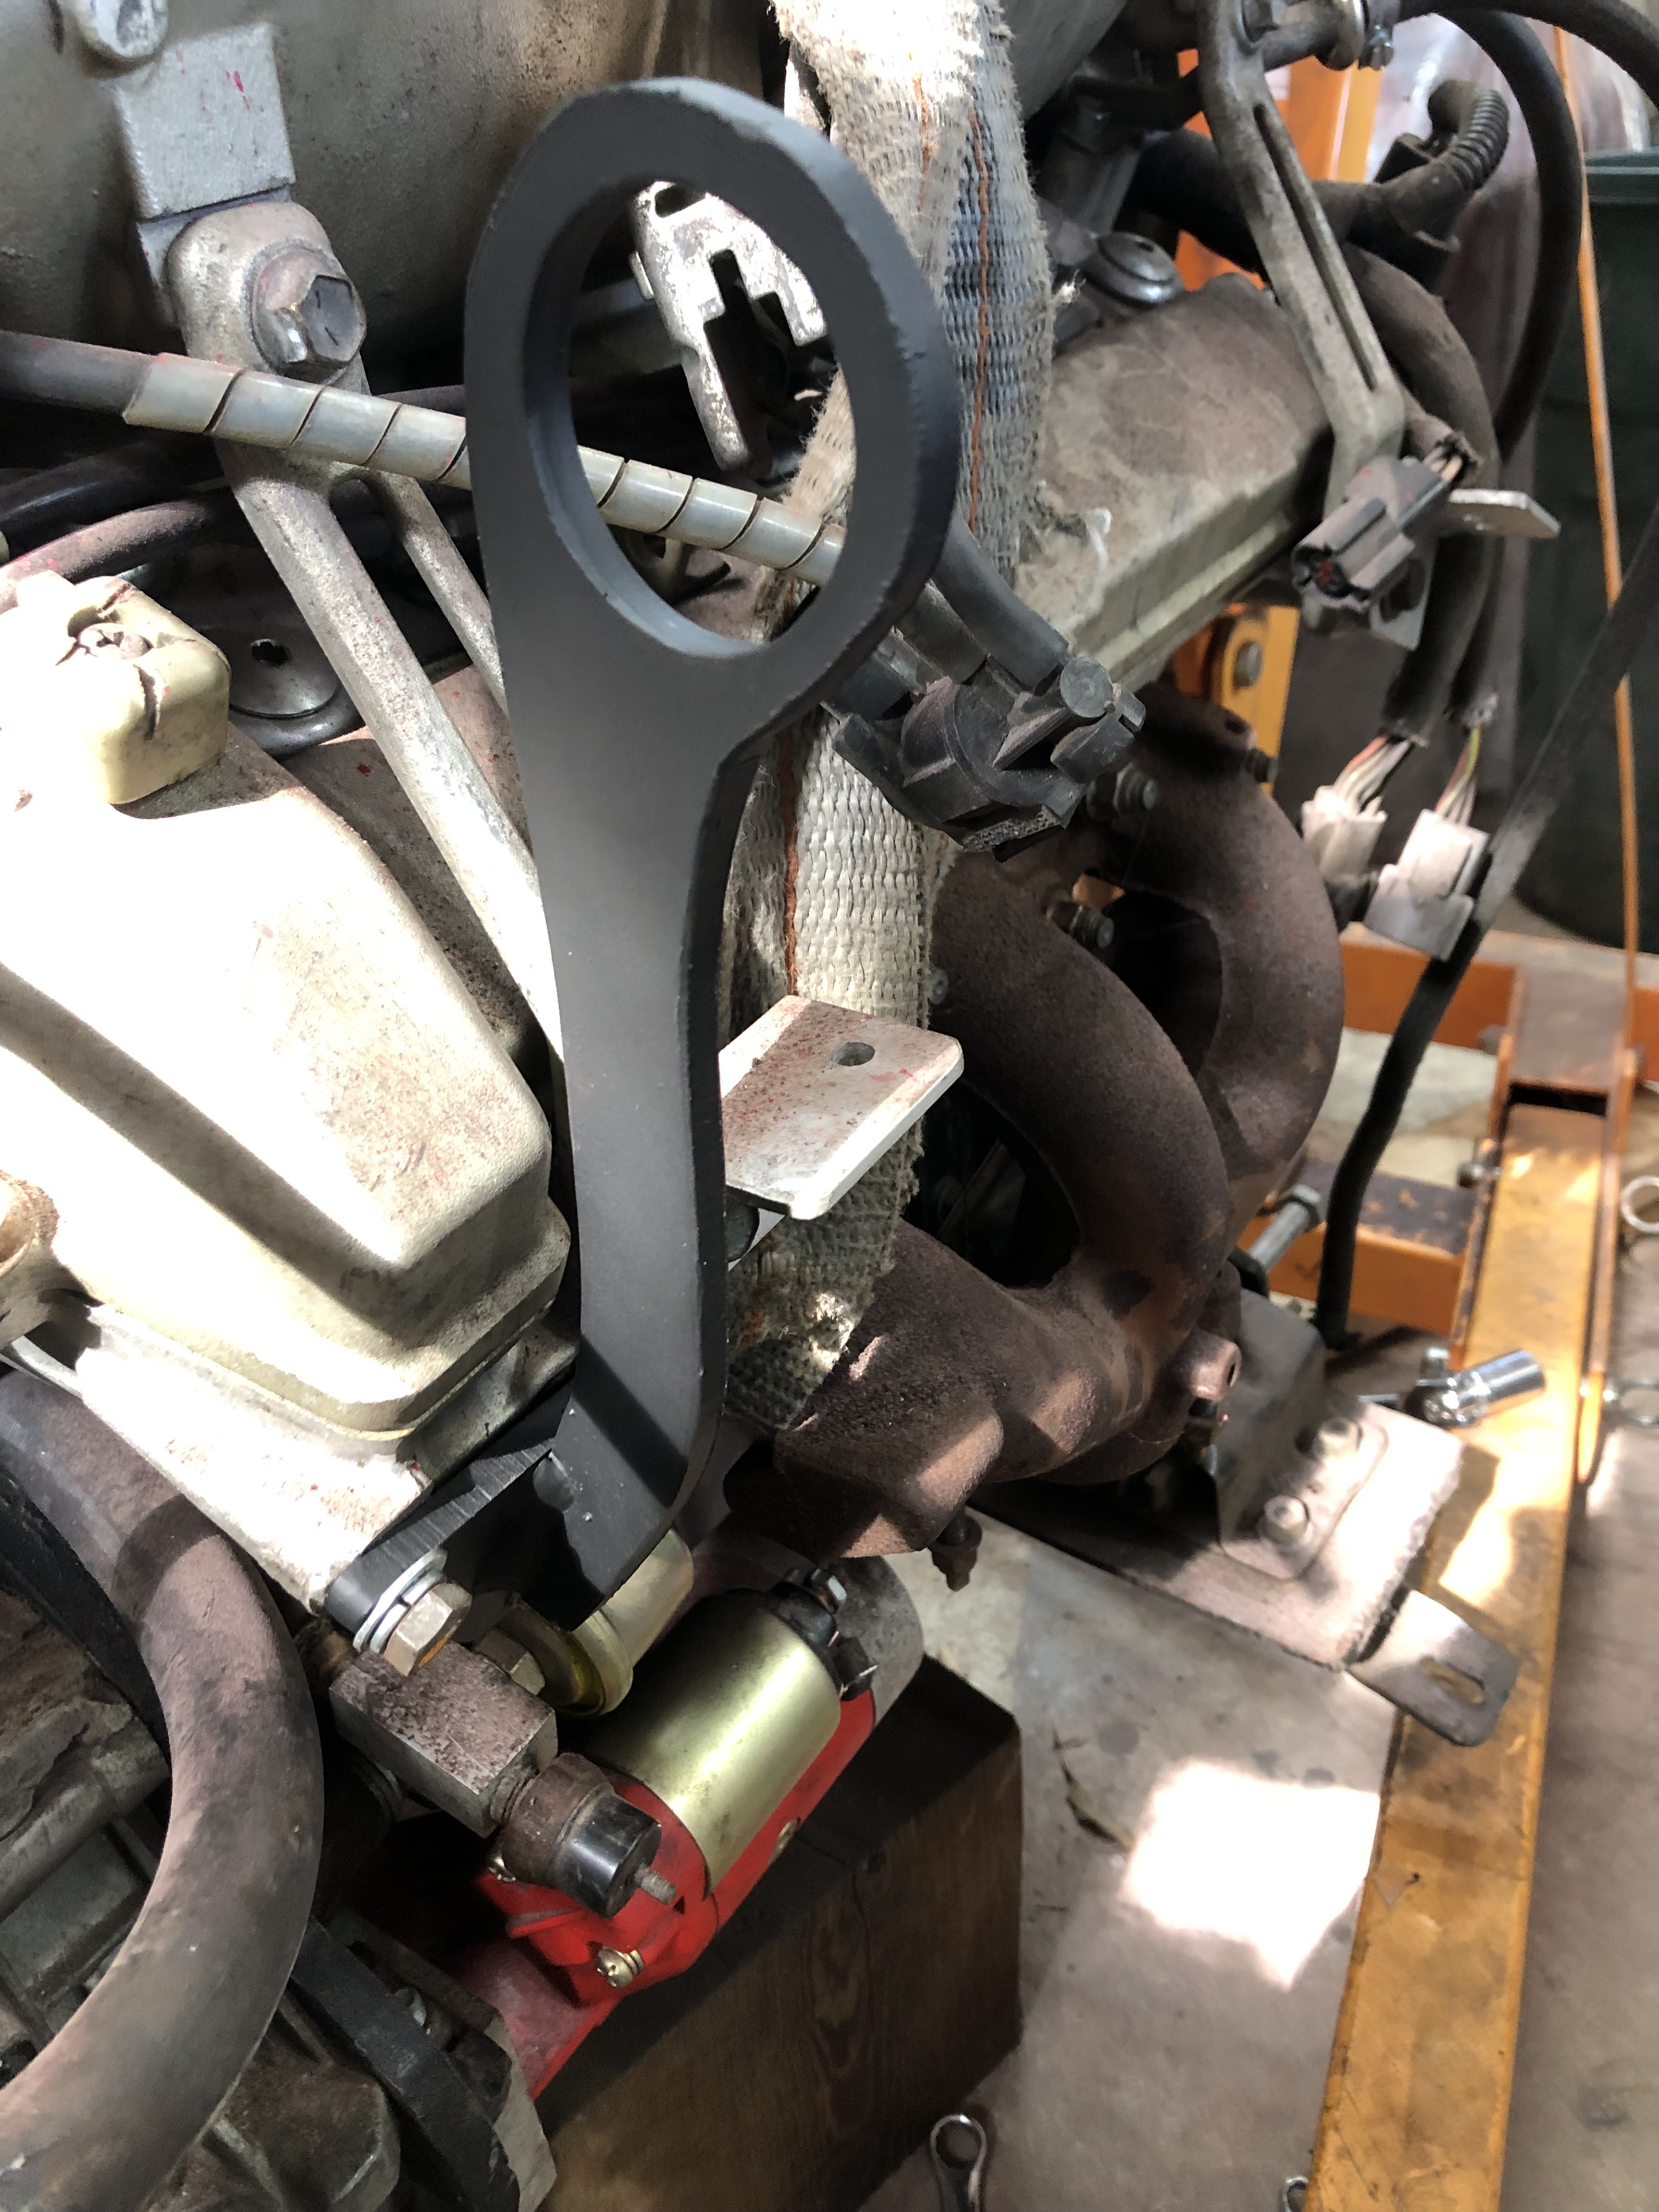
So in the meantime, I have fabbed up the lifting hook referred to in the last post.
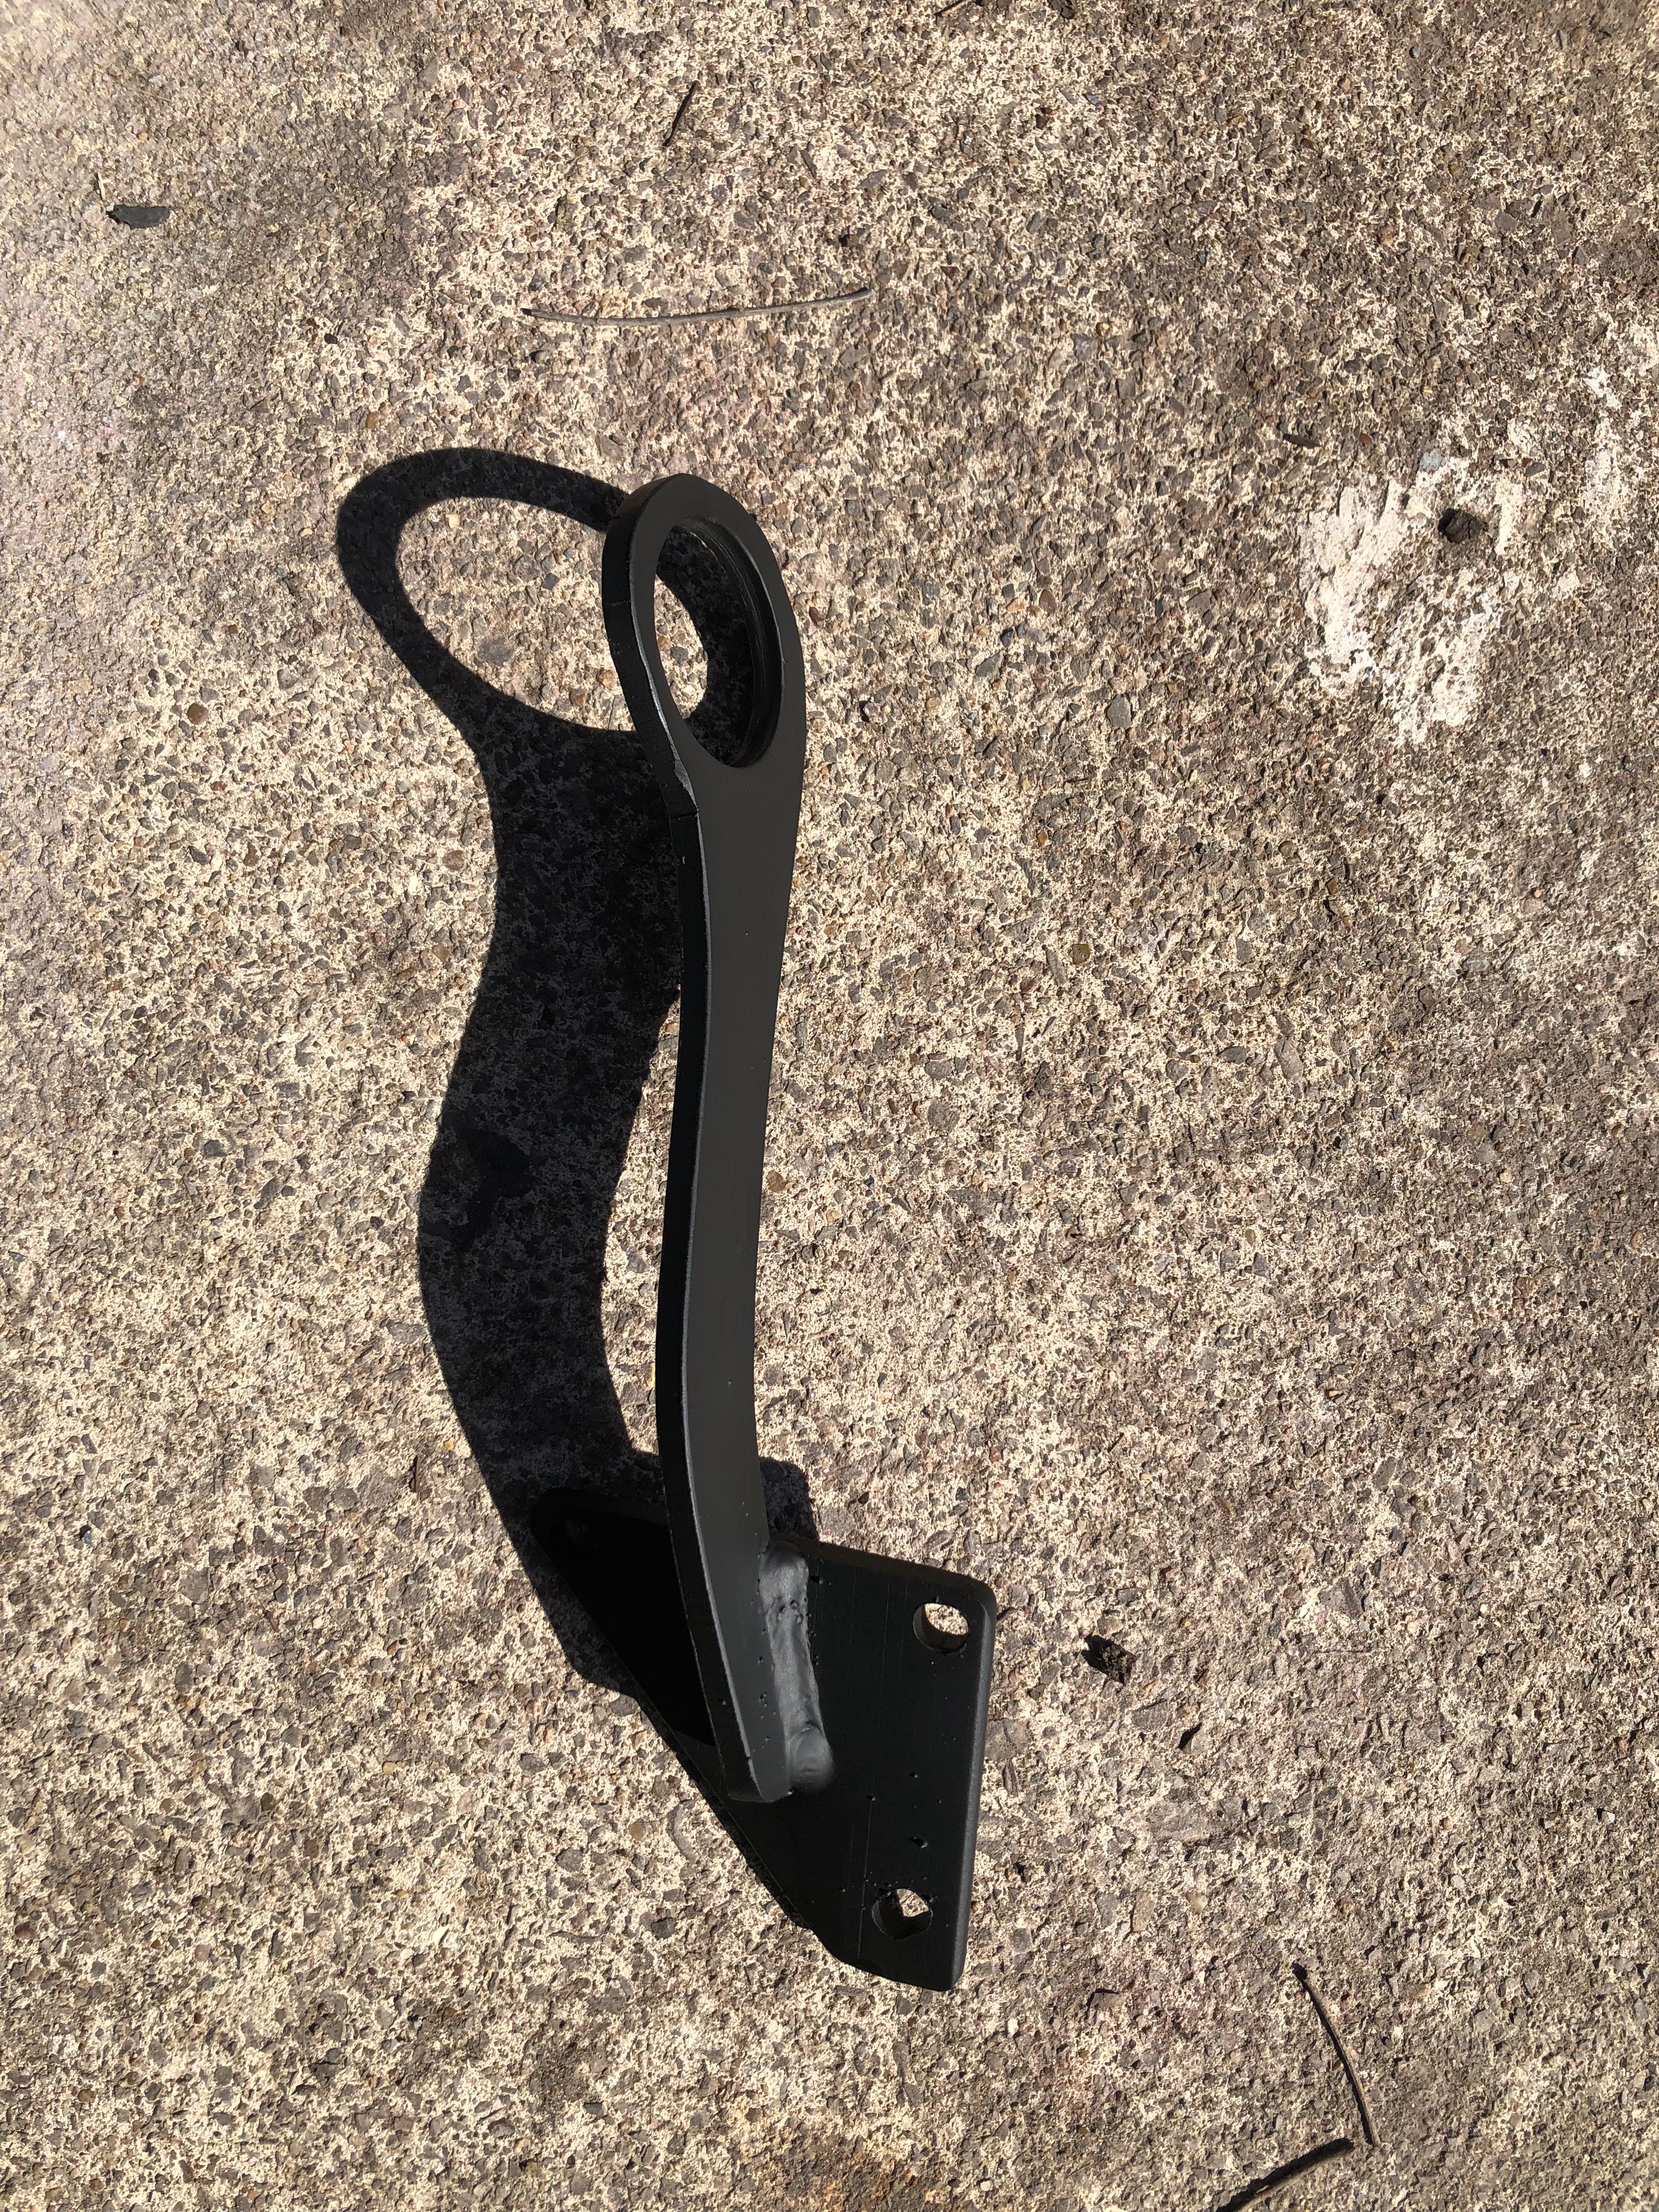
Which installs on the engine here.
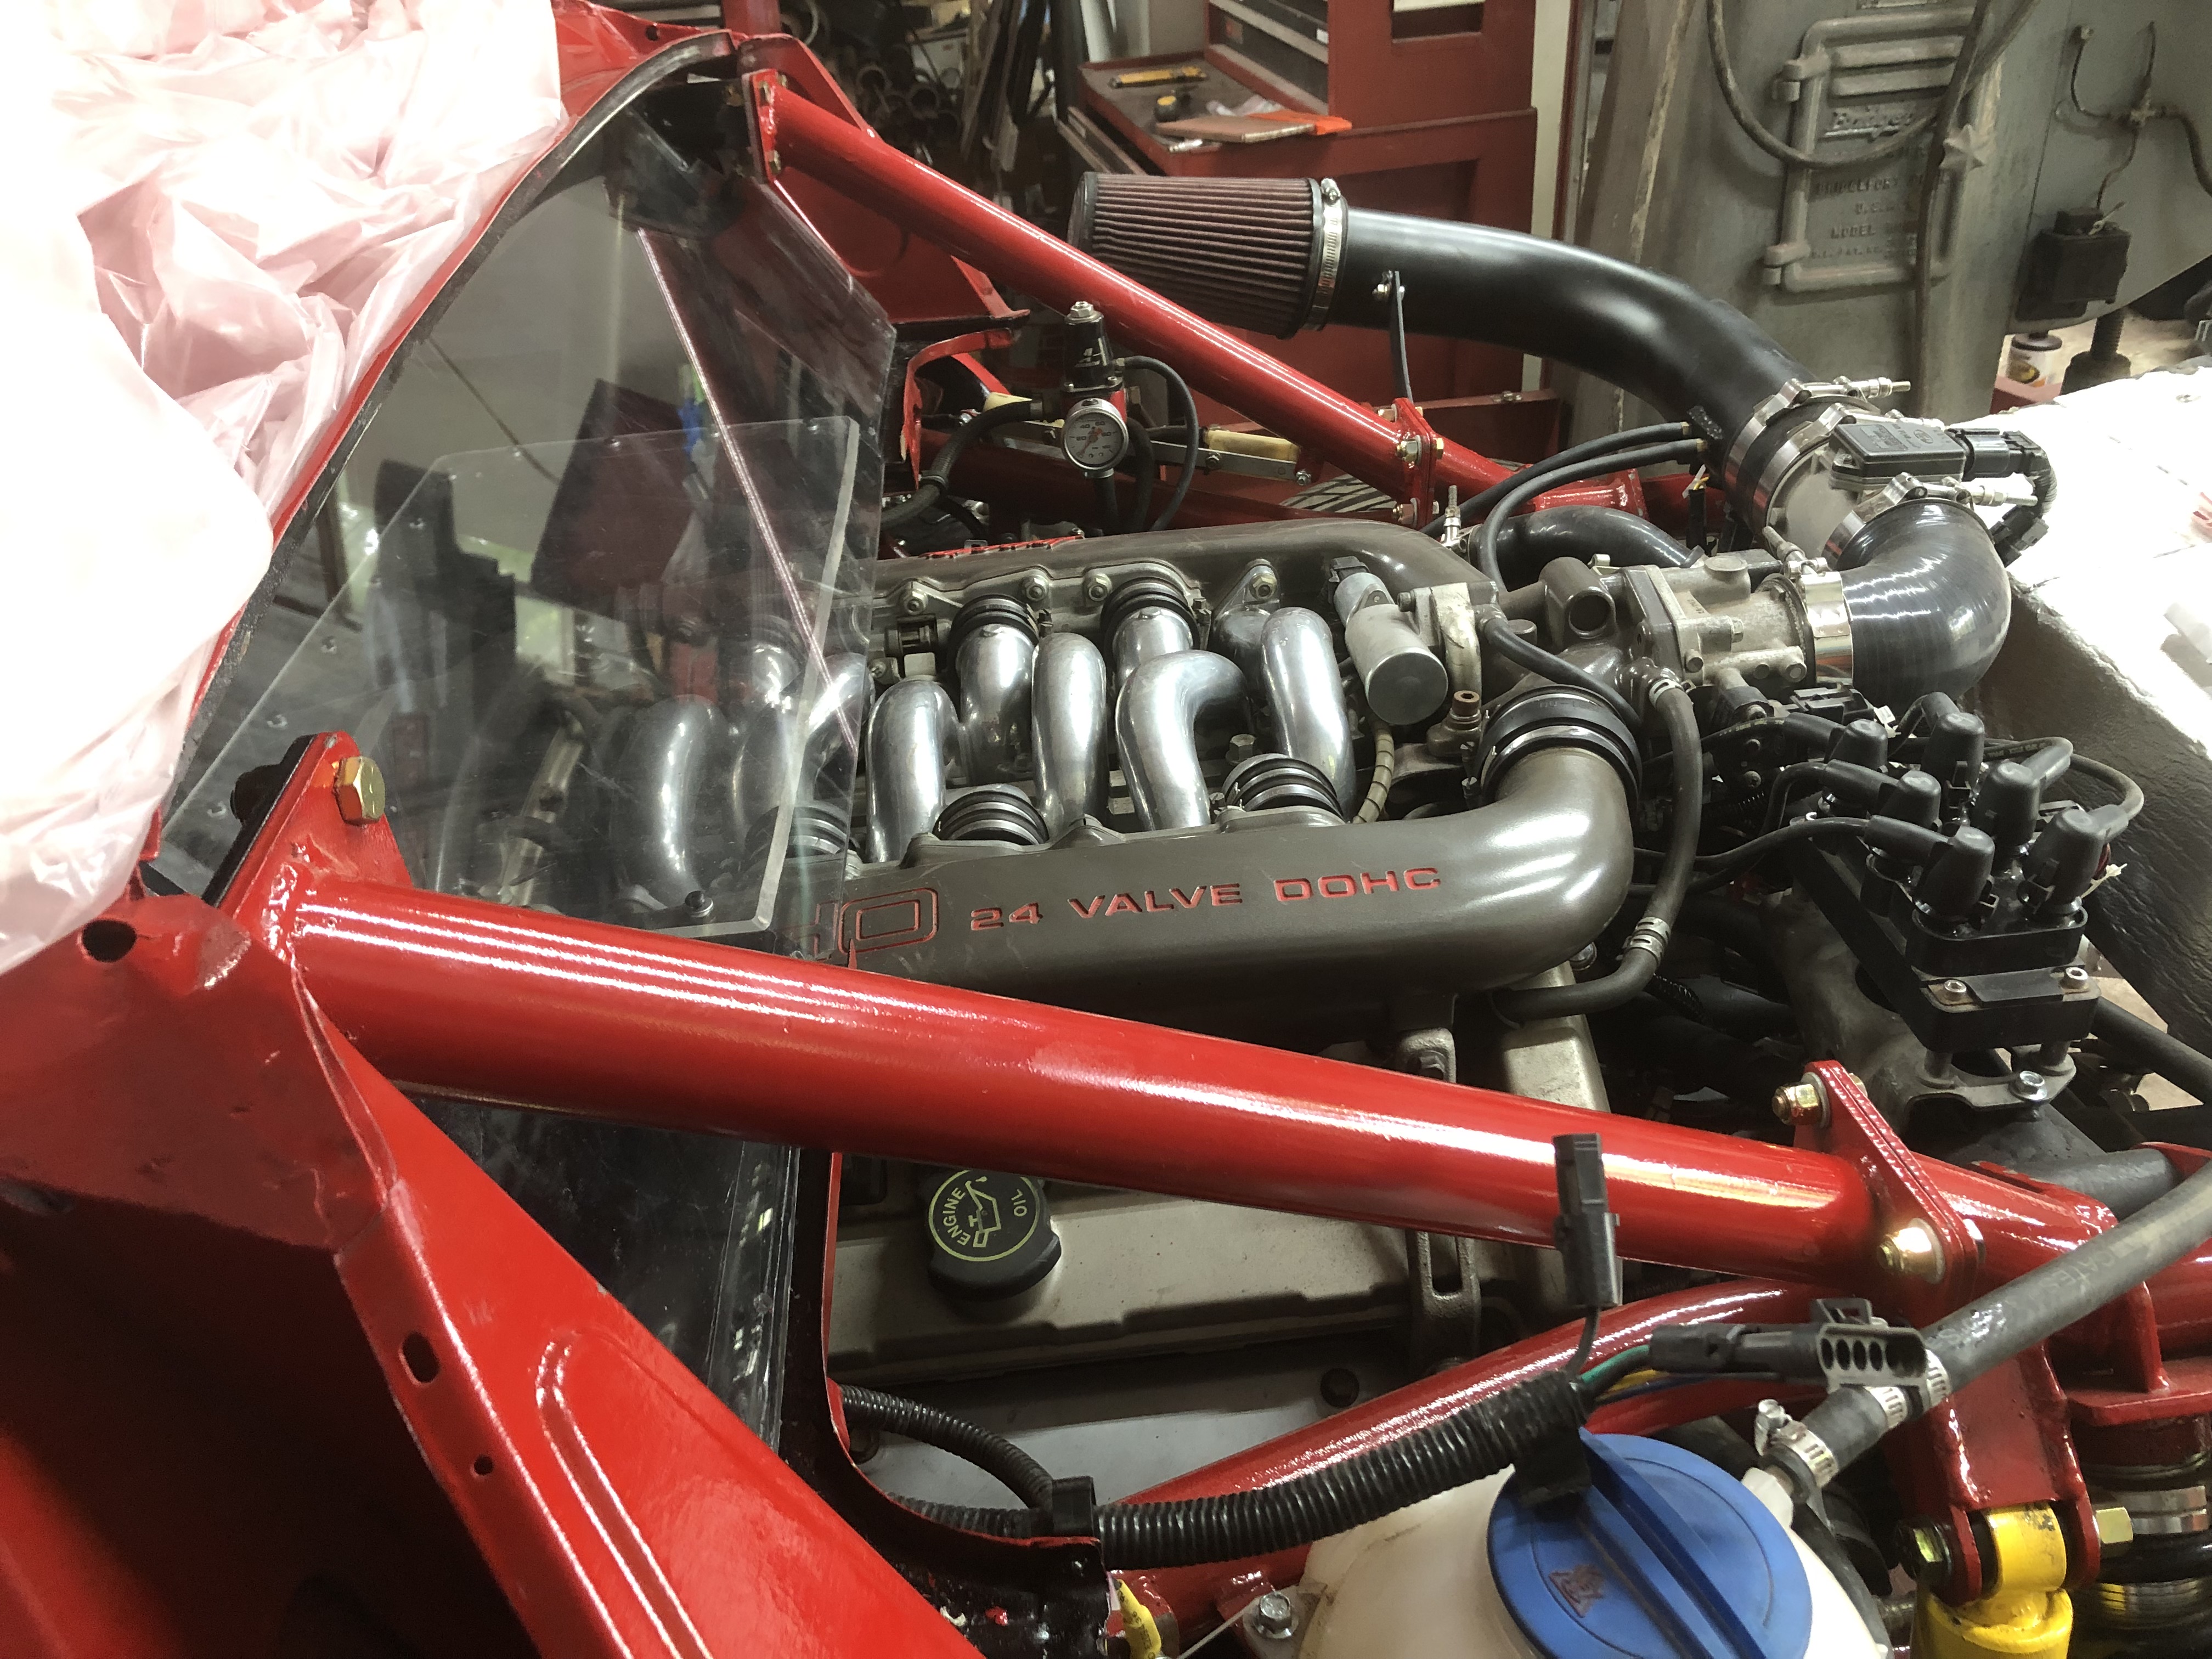
So now the engine should be ready to go back in. Except that it’s been about 8 years since the engine was built, and the theoretical life of the timing belt is 10 years, and changing it means pulling the engine. Same for the water pump and the front main seal. And when you change the timing belt, it’s a good idea to change the tensioner pulley on that. So no reason not to do all that now. I got all that done today, as well as switching over to the gussied-up intake manifold I will actually be running in the car.
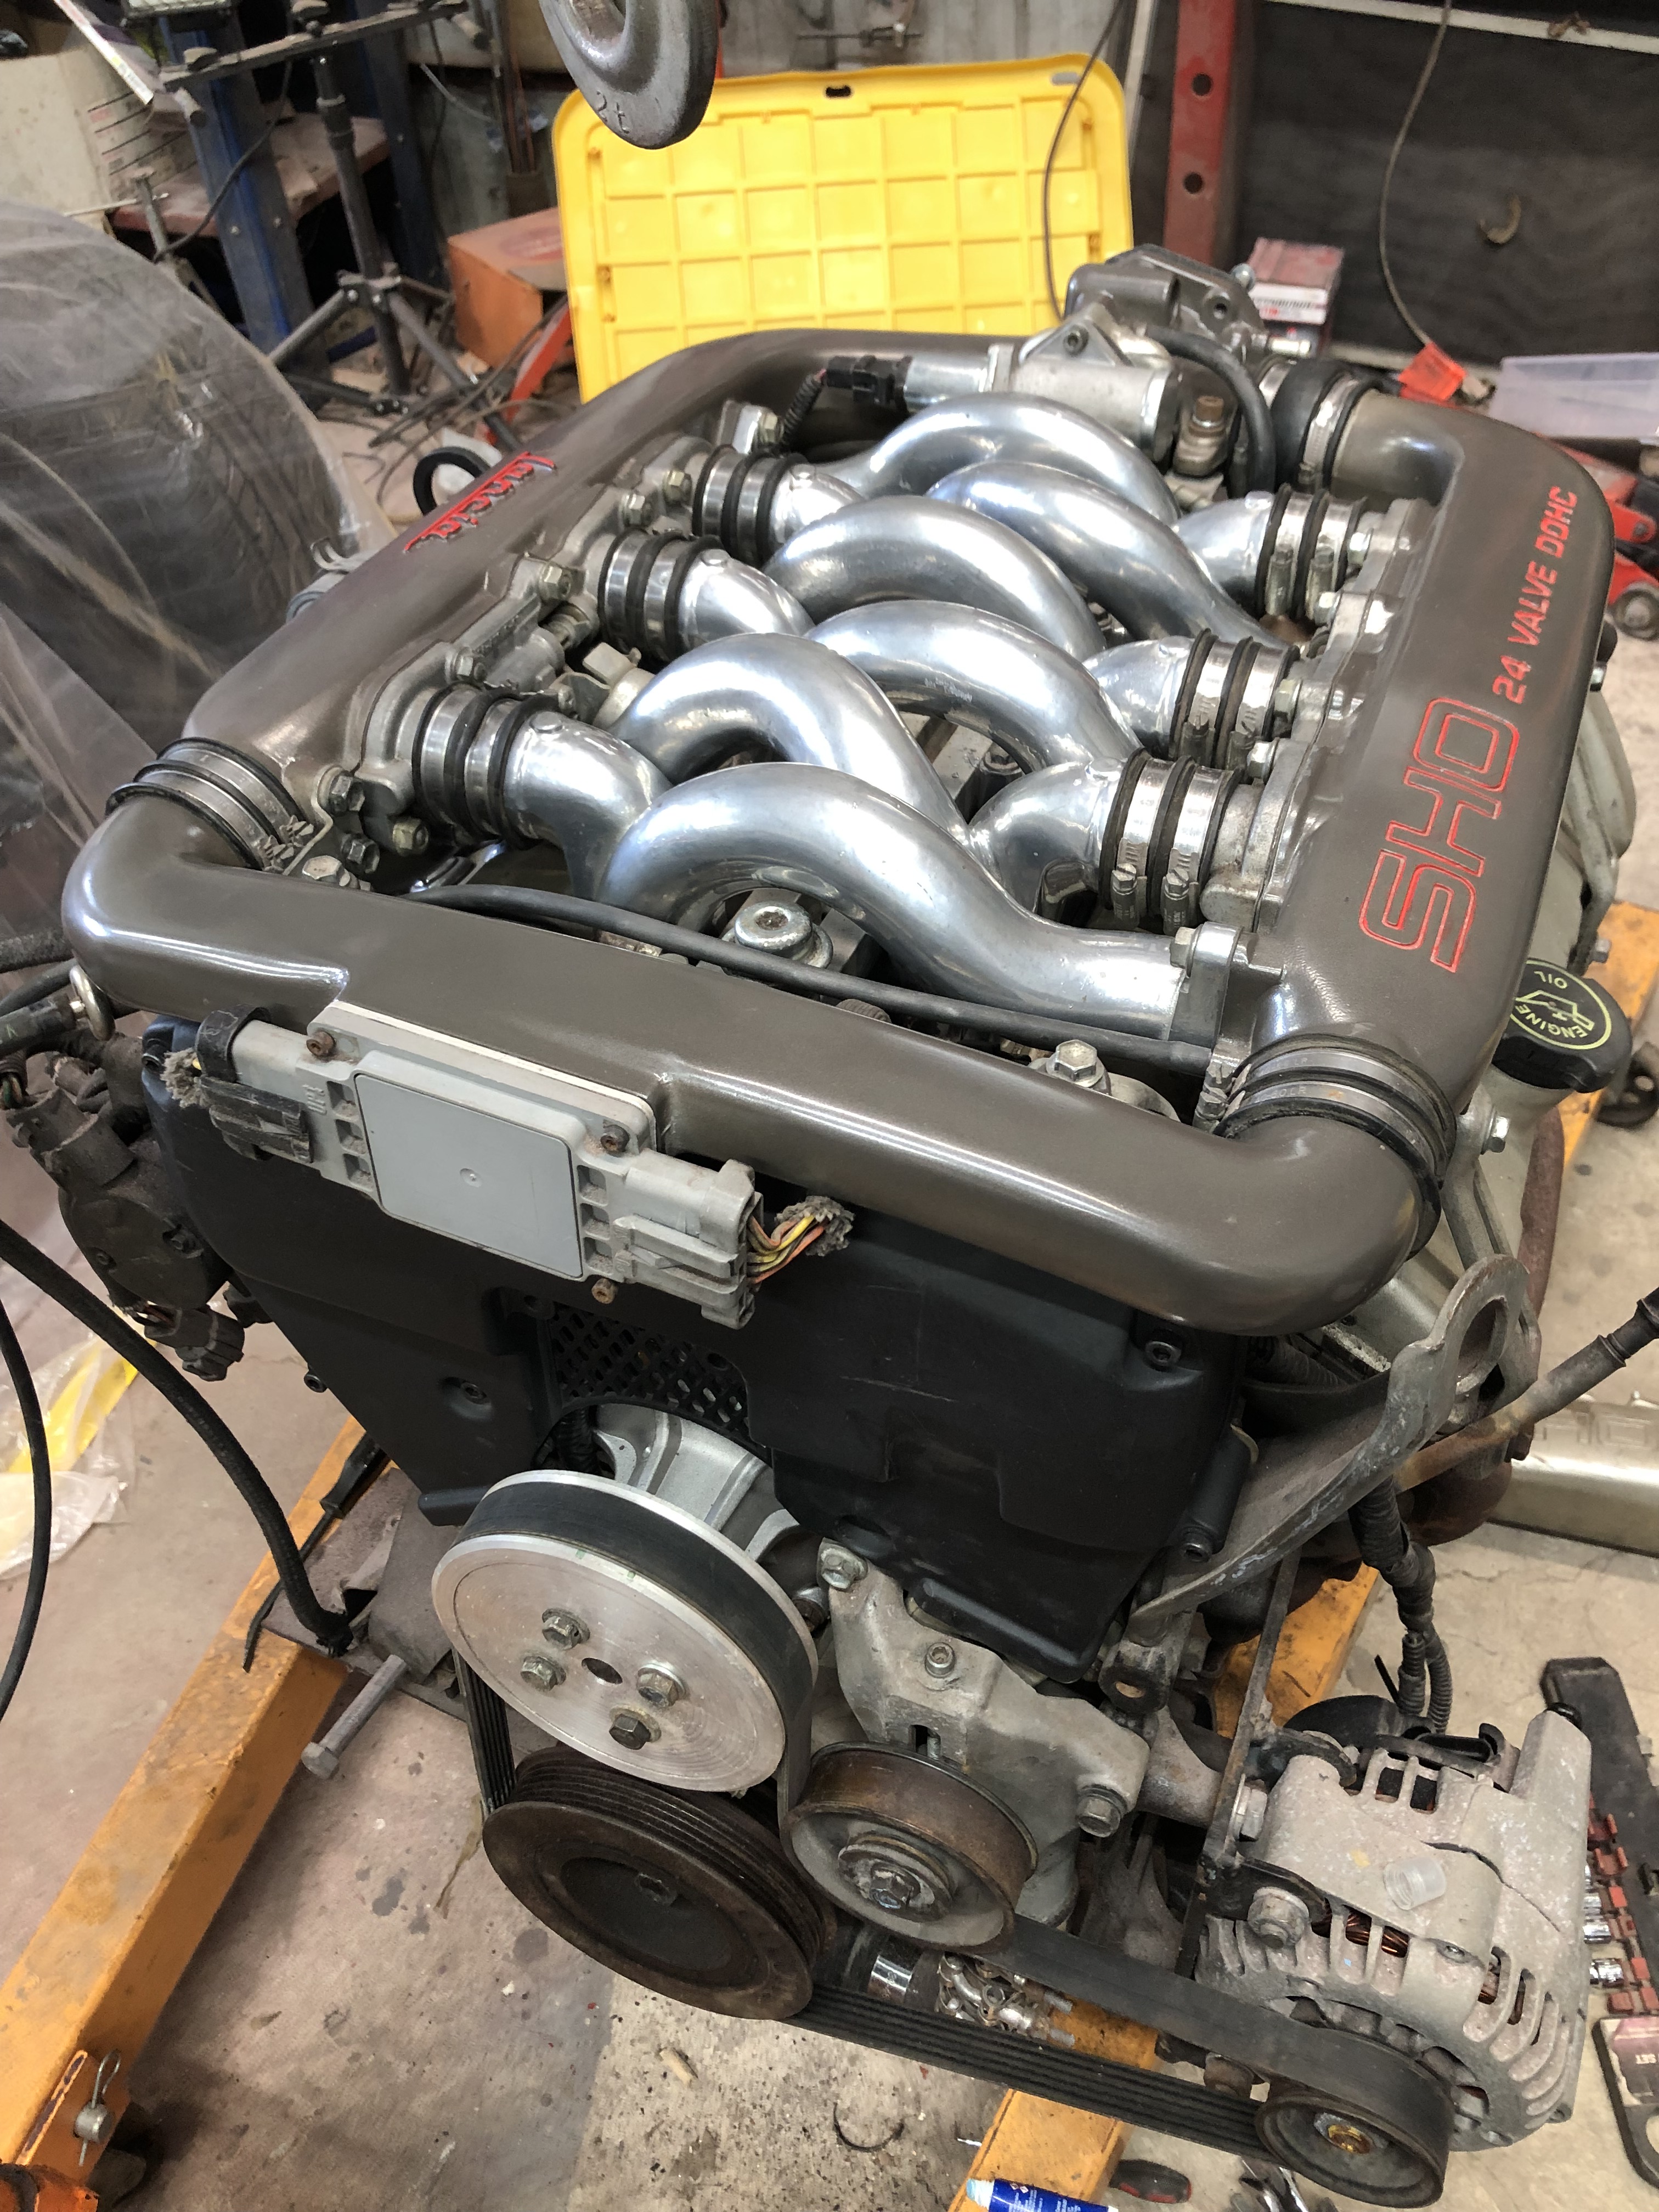
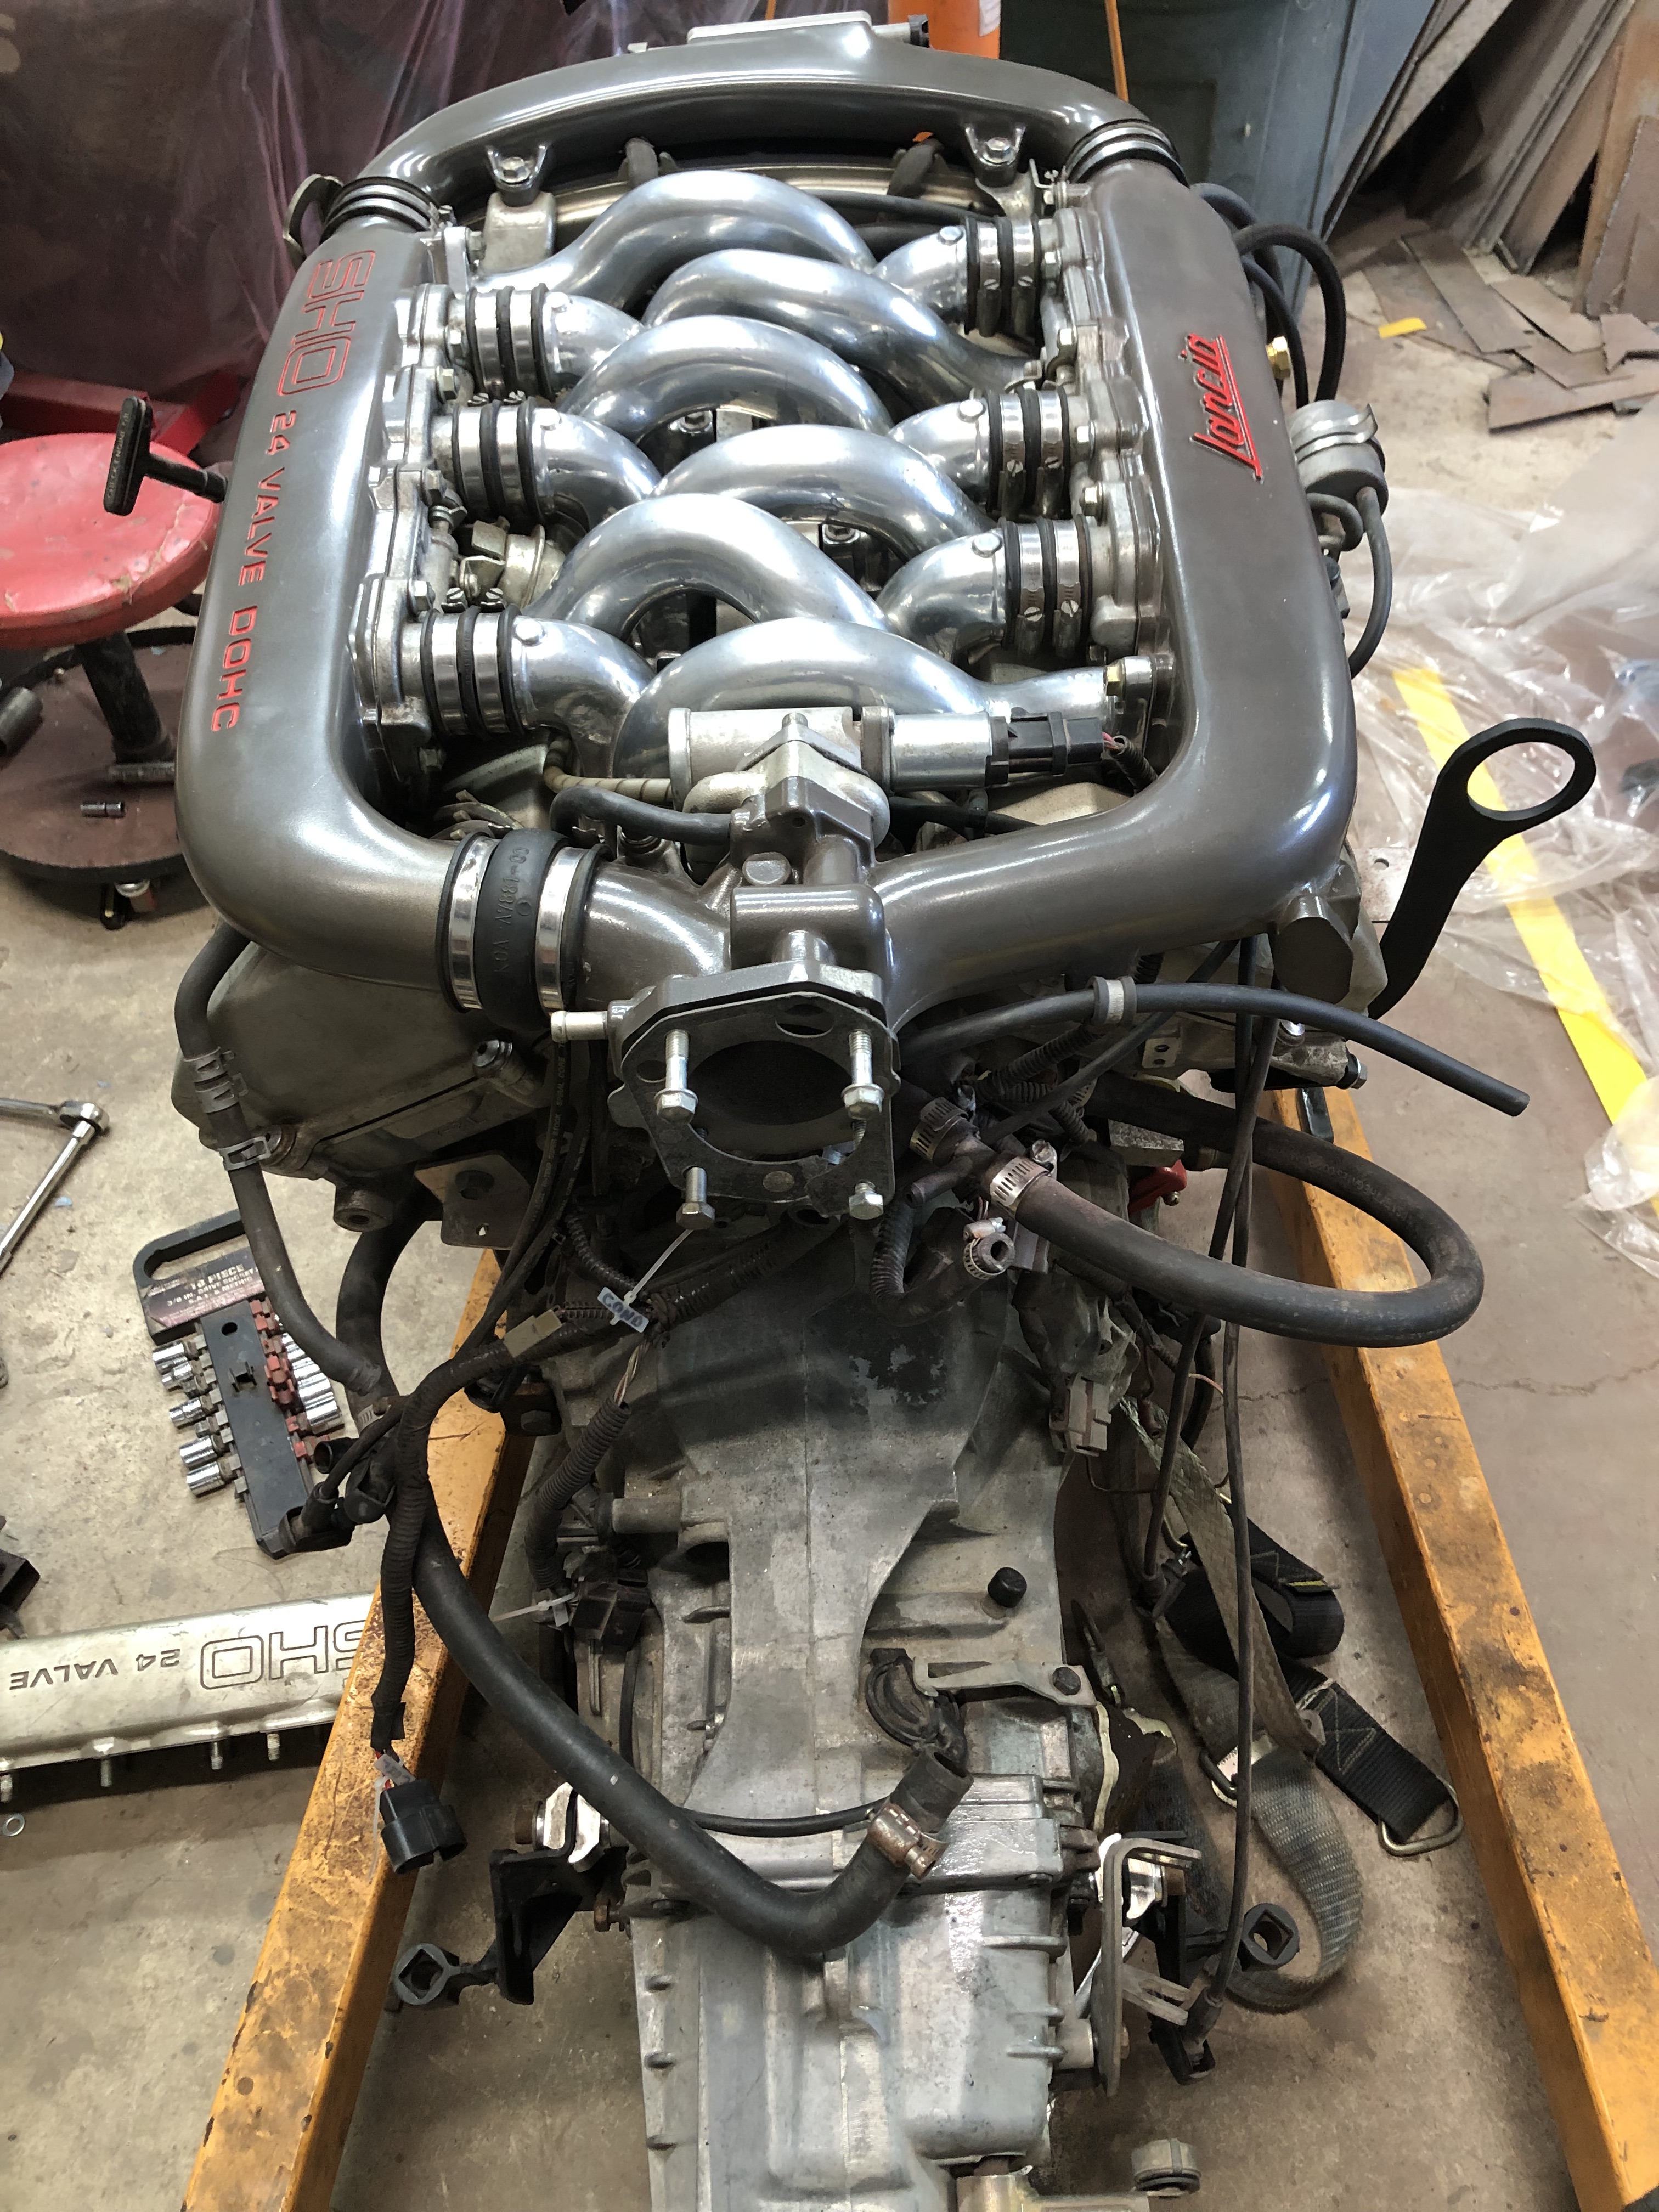
I figure with that Lancia badging on the manifold, I have managed to piss off the purists of both the Lancia and Ford crowd. The Yamaha people have yet to weigh in, but odds are that they are not happy either. Don’t care, my car, my rules.
Now if I could just get the Latvian customs people to release my precious silicone, I could be getting on with putting the engine in the car.
