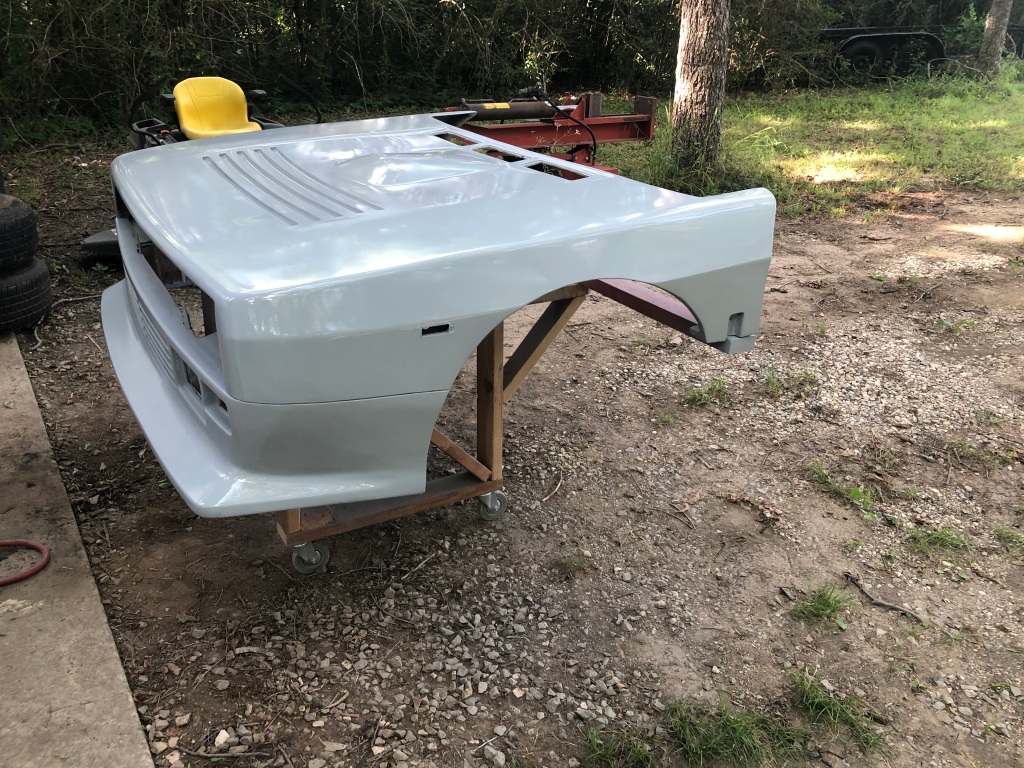
Tonight I was able to get the sealer coat on the front clamshell. This is now ready for topcoat, although that’s probably quite a few months away. But the sealer is ok to sit for as long as necessary, and will stop humidity from absorbing into the primer underneath.
Here are some shots after the first of two coats were put on, while waiting for it to flash off.


Yes I am painting outside, but for coats that will require sanding, that’s fine. Before the topcoat can go on, this has to be scuffed with 600 grit. Conditions were favorable, low humidity, no wind. It was pretty hot, however, this being Texas in June.
While waiting for that to dry, I turned my attention to the front subframe. It needed a good cleaning and sanding, and where the rust had broken through the rattle can primer, some new primer. Then the parts that should not get sprayed were taped and masked, and the epoxy primer was mixed. Being able to rotate the car on the rotisserie was crucial to getting the front subframe into primer.
I was originally thinking that I would use my small touch-up gun to shoot the subframes, thinking that it could get in between the tubes easier. I’m glad I gave the big gun a try though, the little gun would have been a pain with constant refilling, and I’m not sure I would have gained that much in maneuverability. The big gun was able to shoot it far enough that I really didn’t need to reach into the tubes.
Here’s a couple of shots of the front in primer.


Tomorrow I will probably topcoat it. This epoxy primer also acts as a sealer, so no separate sealer coat is needed, the finish coat can go right on top of it. I’m looking forward to seeing something in the red the entire car will eventually be done in.